
An arched window rarely fits the usual “width by height” ordering habit. The rectangular lower section may be simple, but the curved head needs enough site information to reproduce the opening and plan a continuous fixing boundary. A single maximum width and maximum height leaves the supplier guessing at the radius, spring line, corner transitions, and usable mounting surfaces.
The reliable approach is to create a measured elevation. Establish a horizontal datum where the curve begins, document the lower rectangle independently, then record the curved head with a consistent set of offsets and photographs. The net panel, edge finish, and fixing method can then be discussed against one shared drawing.
First Decide What the Net Boundary Includes
Stand inside the room and mark the complete area that needs pet netting. Some arched windows are one fixed glazed opening. Others combine a fixed curved light above a rectangular casement, tilt-turn sash, sliding section, or inward-opening cleaning panel. Those moving parts change the design more than the shape of the arch.
Create a simple boundary schedule with one row for each edge: lower sill, left jamb, right jamb, curved head, and any internal line where a moving sash meets a fixed section. Record the substrate, visible face width, obstacles, opening path, and whether the fixing surface is accessible during installation.
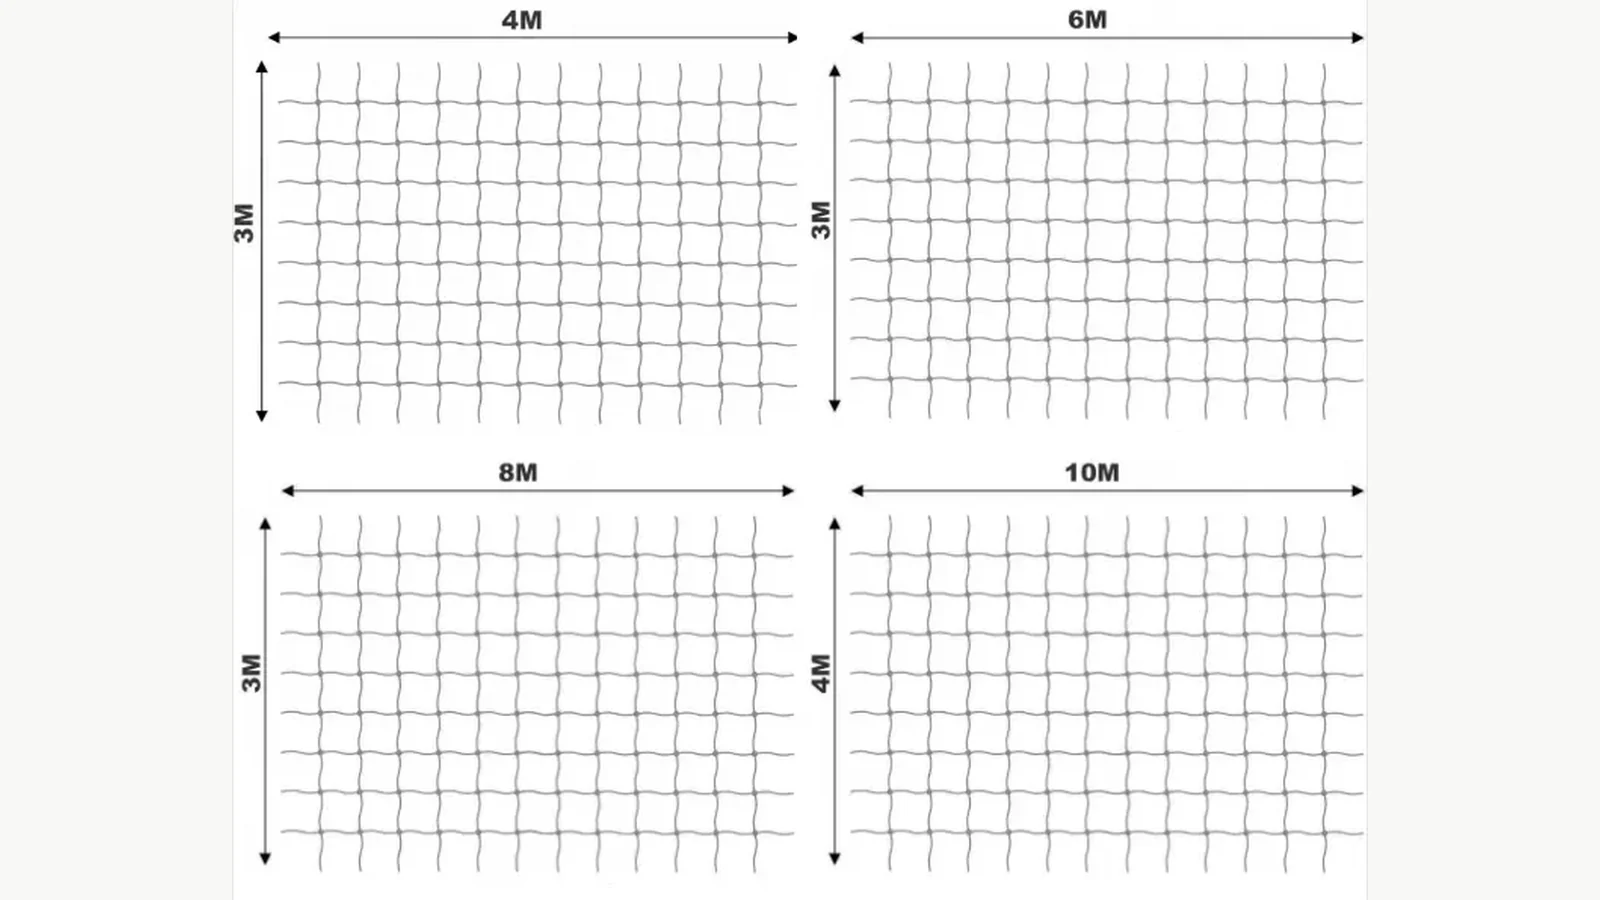
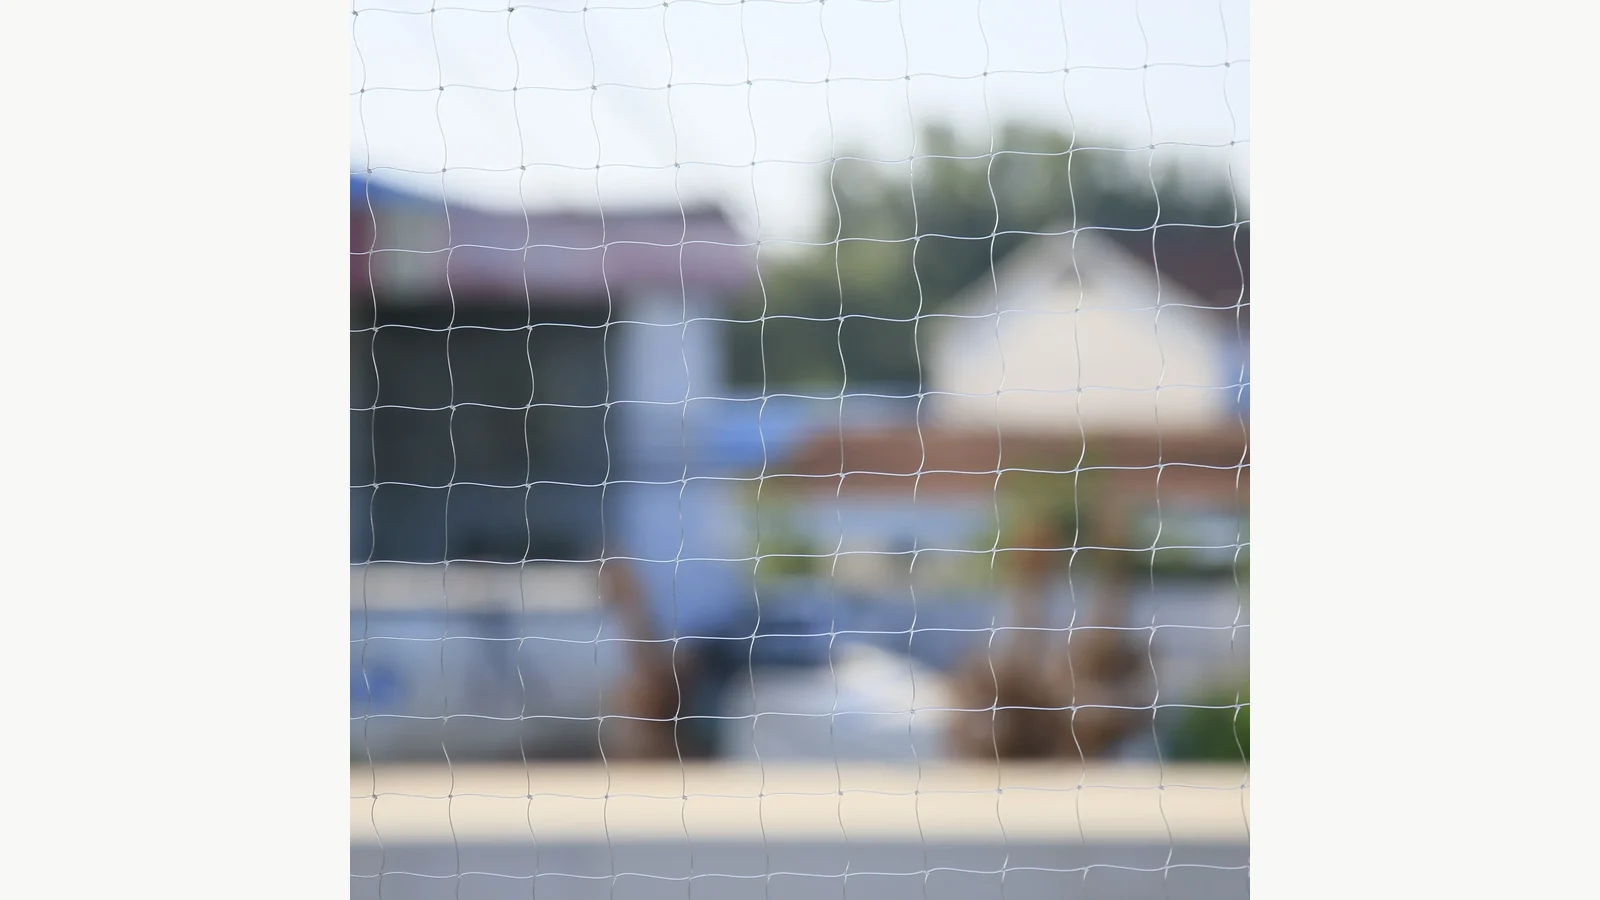
The MAXCAT transparent nylon cat protection net is a 0.40 mm monofilament product with a listed 30 × 30 mm mesh. The page offers standard rectangular sizes and custom size, color, packaging, and logo options. An arched opening belongs in the custom-panel conversation because its cut shape and edge length cannot be represented by a standard rectangle alone.
Establish a Datum Before Measuring the Curve
The spring line is the horizontal line where the vertical jambs stop and the curved head begins. Mark that line on the survey drawing as the datum. Measure its width between the intended fixing lines, not merely between the visible glass edges. Then measure from the datum to the highest point of the arch.
This creates two clear regions:
- the lower rectangle, defined by fixing-line width and height from sill to datum;
- the curved head, defined by the same datum width plus a series of vertical offsets to the curve.
Use one measurement origin, such as the left end of the datum. At regular horizontal stations across the width, record the vertical distance from the datum to the intended curved fixing line. Include the left transition, quarter points, center/high point, three-quarter point, and right transition at minimum. A complex, asymmetric, or hand-built opening needs more stations. The surveyor decides the interval from the geometry and required fit; the supplier confirms whether the information is sufficient before cutting.
Avoid describing the curve as “semicircular” unless the building drawing or a verified template proves that shape. Many decorative openings are segmental, elliptical, pointed, or slightly asymmetric. A photo can reveal that difference, but dimensions or a physical template carry the production decision.
Measure the Fixing Line, Not Just the Masonry Opening
Cat netting follows the installed boundary. A deep reveal, decorative trim, blind cassette, insect screen, window handle, or removable access panel may shift that boundary inward from the structural opening.
For each station, record both the opening dimension and the proposed fixing-line dimension where they differ. Add a close-up photograph with a ruler showing the usable face. Note whether the surface is masonry, metal, timber, PVC, painted render, tile, or another finish. The installation method and substrate assessment belong to the installer or fixing-system supplier; appearance alone is not enough to approve an anchor or adhesive.
The existing guide on measuring a balcony or window for cat netting covers the basic opening, fixing, and order details. The arched-window survey adds the datum, curve offsets, transition points, and panel-joint decision that a rectangular opening does not need.
One Shaped Panel or Two Coordinated Panels?
A one-piece shaped panel keeps the net surface visually continuous. It can suit a fixed opening when the whole perimeter is accessible, the shaped panel can be handled safely, and the supplier confirms the custom edge finish. The installation sequence still matters: starting at the wrong point can create uneven tension at the crown or transitions.
A split-panel arrangement treats the rectangular lower section and curved head as separate identified panels. It can simplify measuring, labeling, handling, and replacement, particularly when an architectural transom or another sound fixing line already separates the two zones. The joint must be designed as a continuous pet boundary, with an approved connection and no unrecorded gap.
| Condition | One shaped panel may suit | Split panels may suit |
|---|---|---|
| Fixed glazing, open perimeter access | Yes | Optional |
| Existing structural transom at spring line | Possible | Often easier to identify and install |
| Operable lower sash beneath fixed arch | Only with a confirmed access design | Can isolate the fixed head from the moving section |
| Very large or awkward handling route | Needs handling review | Smaller identified panels may be easier |
| Future access to one section | Whole-panel access may be inconvenient | Section-specific removal can be planned |
This is not a rule that every arch needs a seam. It is a decision about verified boundaries, panel handling, opening function, and the supplier's fabrication options.
Protect the Window's Opening and Cleaning Functions
Trace every handle and sash through its complete movement before finalizing the fixing line. An inward-opening sash can contact the net or its perimeter cable. A tilt-turn window uses two opening paths. A removable insect screen may need its own service route. Exterior glass cleaning may require controlled access that a permanently tensioned panel would block.
Draw the moving envelope in a contrasting color on the elevation and side view. Record handle projection, hinge side, maximum opening angle, nearby curtain or blind travel, and the route used to clean the exterior face. If the final design includes a removable or opening net section, its closure, edge continuity, and inspection routine need specific approval. An informal loose corner is not an access plan.
Keep insect control and pet netting as separate functions. An existing insect screen may remain, but it is not automatically the structural boundary for the cat net. Each system needs its own identification and maintenance access.
Specify the Panel Without Making Safety Claims From Shape Alone
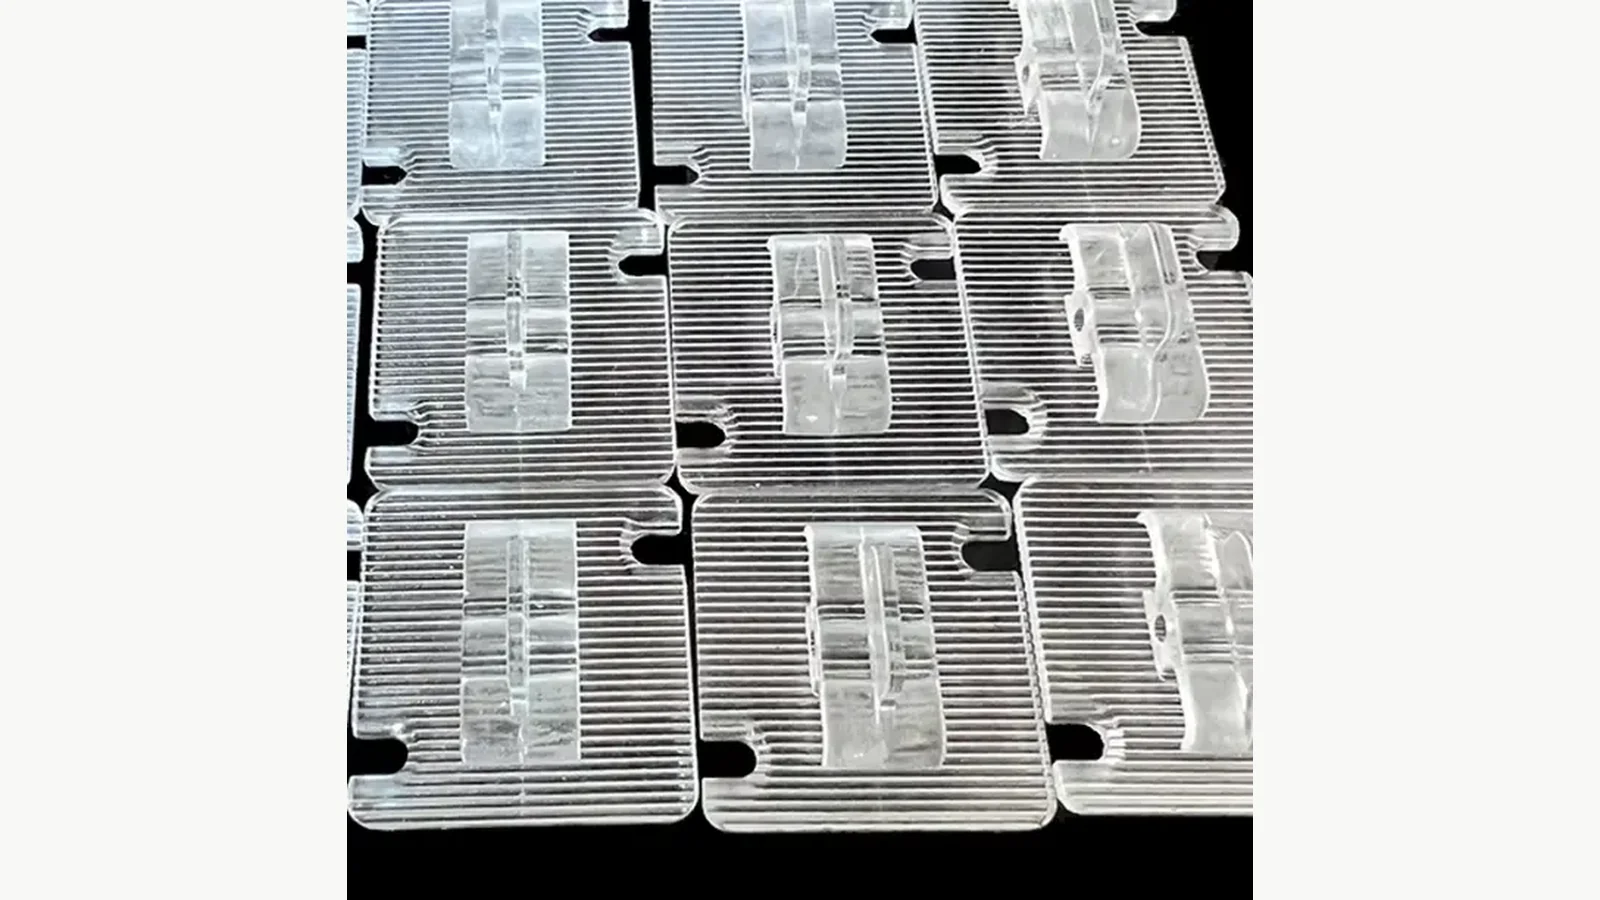
The order sheet should identify the product, mesh, strand, finished shape, edge finish, fixing method, accessories, and drawing revision. For the transparent nylon product, the recorded baseline is 100 percent virgin nylon monofilament, 0.40 mm strand, 30 × 30 mm mesh, and transparent appearance. The product page also describes a no-drill solution using polycarbonate hooks and MS transparent adhesive.
Those product details cannot replace a site assessment. Curved-head masonry, coated metal, aging paint, narrow trim, or dusty render may not provide the same fixing condition. Record the substrate and send close-ups before asking the supplier or installer to confirm a method.
Pet netting also remains a pet-specific product. It is not a child fall-protection system, guardrail replacement, or proof against every animal behavior. A cat's chewing, climbing, pushing, and repeated access pattern belongs in the material and inspection decision. If chewing behavior is a concern, review the separate wire-reinforced product with the supplier rather than making an absolute promise about nylon.
Build a Drawing the Factory and Installer Can Both Read
A useful arched-window drawing contains:
- opening ID and room/location;
- front elevation with sill, jambs, datum, curve stations, and highest point;
- fixing-line dimensions and substrate notes;
- one side view showing reveal depth, handles, blinds, screens, and sash movement;
- numbered photographs tied to drawing callouts;
- one-piece or split-panel decision;
- panel IDs and orientation marks;
- proposed edge finish and accessory set;
- drawing date, revision, surveyor, and approval status;
- a field-verification note before final cutting when building tolerances are uncertain.
For a split arrangement, label the parts consistently, for example AW-03-Lower and AW-03-Arch. Put the same IDs on the drawing, cut list, package label, and installation handover. Mark the room-side face and top orientation so a shaped panel is not rotated at the opening.
Check the Installation Before Handover
After installation, inspect the entire perimeter in good light. Follow the curved head slowly, then examine both curve-to-jamb transitions and any spring-line joint. Look for missed fixing points, loose edge sections, abrasion against sharp trim, excessive local distortion, access closures that are not fully engaged, and interference with the window.
Open and close every permitted sash mode under controlled conditions. Confirm the blind, curtain, insect screen, and cleaning arrangement still follow the approved plan. Photograph the finished elevation and detail points, then record the panel IDs and installation date for later inspection.
The best arched-window order is not the one with the most measurements. It is the one where every dimension describes the same verified fixing line, every moving part has a planned path, and the factory and installer are working from the same revision.
Related Reading
- No-Drill vs Drilled Cat Net Installation compares fixing approaches and their site-condition questions.
- Cat Net Edge Finishing and Fixing Points explains why perimeter continuity matters after the panel shape is approved.
- Cat Net Cut-Panel Identification for Multi-Opening Projects extends the panel-ID method to larger installation packages.