A pet flap crossing a cat-net boundary creates two different systems at one opening. The flap needs a rigid frame, a free swing path, a working lock, and access for cleaning. The net needs a continuous fixing line and a finished edge that cannot pull away from the frame. Treating the job as “cut a hole in the mesh” leaves the most important details unresolved.
The safer purchasing sequence is to define the pet-door frame first, decide which plane carries the net, and only then approve a mesh cutout. The drawing should show exactly where the frame overlaps the mesh and who is responsible for the perimeter finish. If the installer or pet-door manufacturer cannot approve that interface, keep the two systems separate rather than improvising on site.
Start With the Rigid Frame, Not the Flap Opening
Measure the outside of the installed frame, not only the clear hole the animal walks through. Most cutting errors begin when a buyer sends the nominal flap size but omits the flange, cover, screws, lock slider, or service clips around it.
Record four dimensions on the elevation:
| Measurement | What to record | Why it changes the mesh panel |
|---|---|---|
| Frame outside width and height | The full visible or concealed frame boundary | Sets the minimum no-cut zone around the pass-through |
| Clear flap opening | The usable opening inside the frame | Confirms the flap size without confusing it with the cutout |
| Frame overlap | How far the front and rear frame pieces cover the surrounding surface | Shows whether mesh can be captured by an approved rigid edge |
| Operating clearance | Flap swing, lock movement, cover removal, and cleaning access | Prevents the mesh or fixing rope from blocking normal use |
Add a straight-on photograph, a side photograph, and one image with a ruler. Mark which side is indoors and which side is inside the protected area. A mirror-image assumption is enough to put a lock or removable cover on the inaccessible side.
Decide Where the Net Sits
Three layouts are common in quotations, but they are not interchangeable.
- The pet door sits in a rigid wall or panel, and the net terminates beside it. This keeps the flap supported independently. The drawing must close every gap between the mesh edge, rigid panel, and surrounding fixing line.
- A rigid insert panel carries both the pet door and the mesh perimeter. The insert, not the mesh, supports the pet-door hardware. Its material, thickness, fixing, and weather exposure need project approval.
- The pet door is outside the cat-net boundary. No mesh cutout is needed, but the route between the door and protected area must still be checked for an uncontrolled side or lower gap.
A pet-door frame should never be suspended from flexible mesh unless a specific tested frame system and installation method have been supplied for that purpose. The mesh can complete a boundary; it should not be assumed to replace a structural mounting panel.
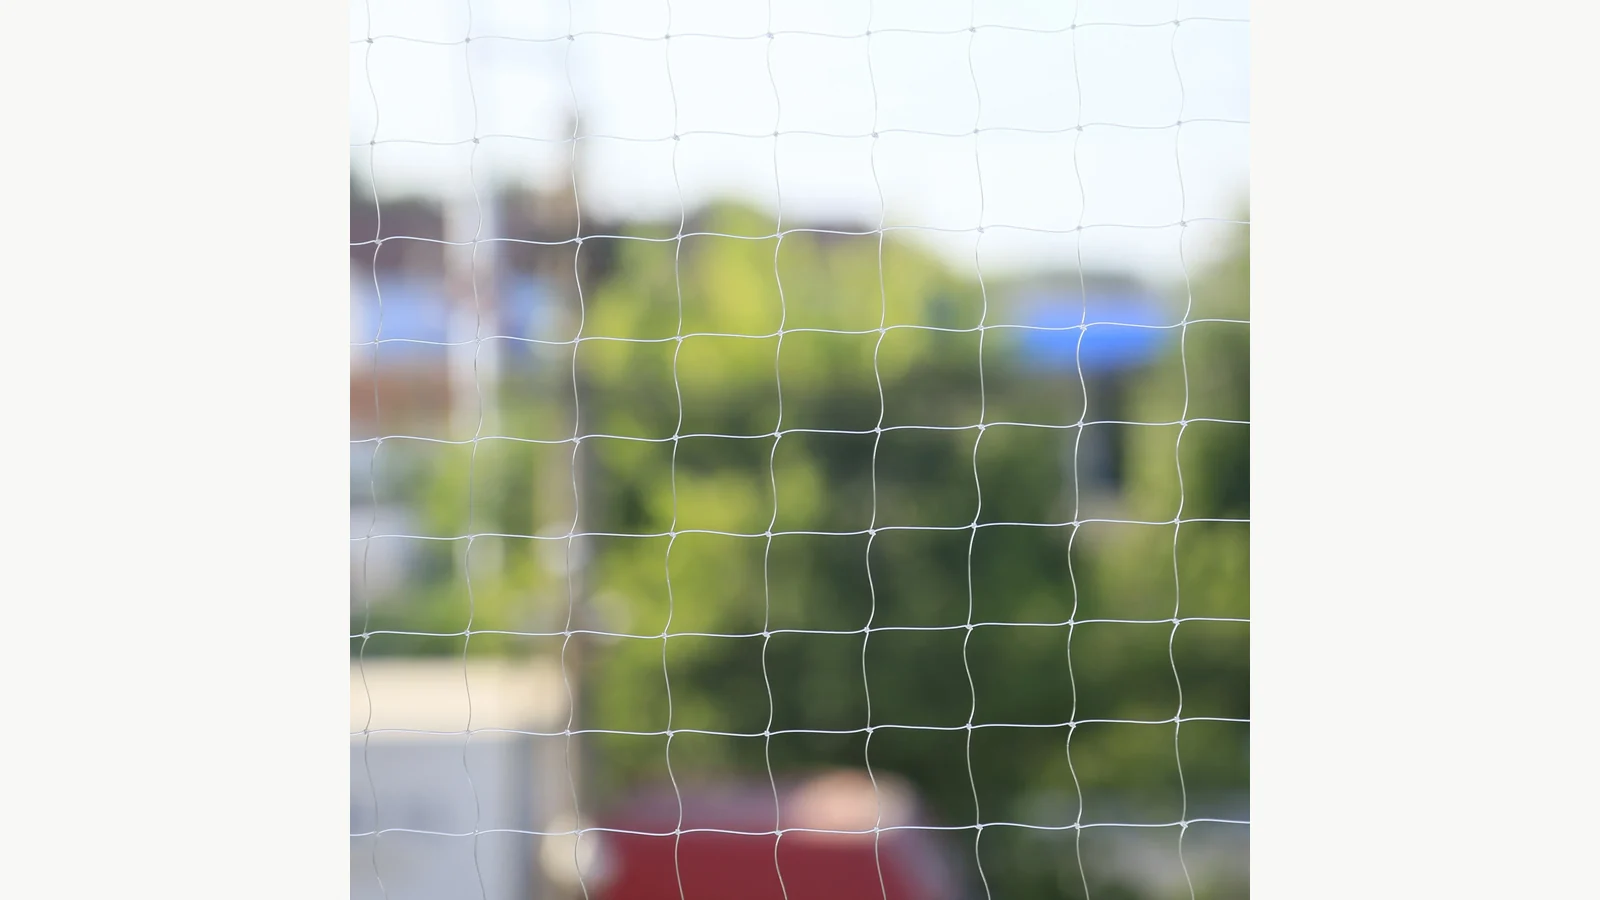
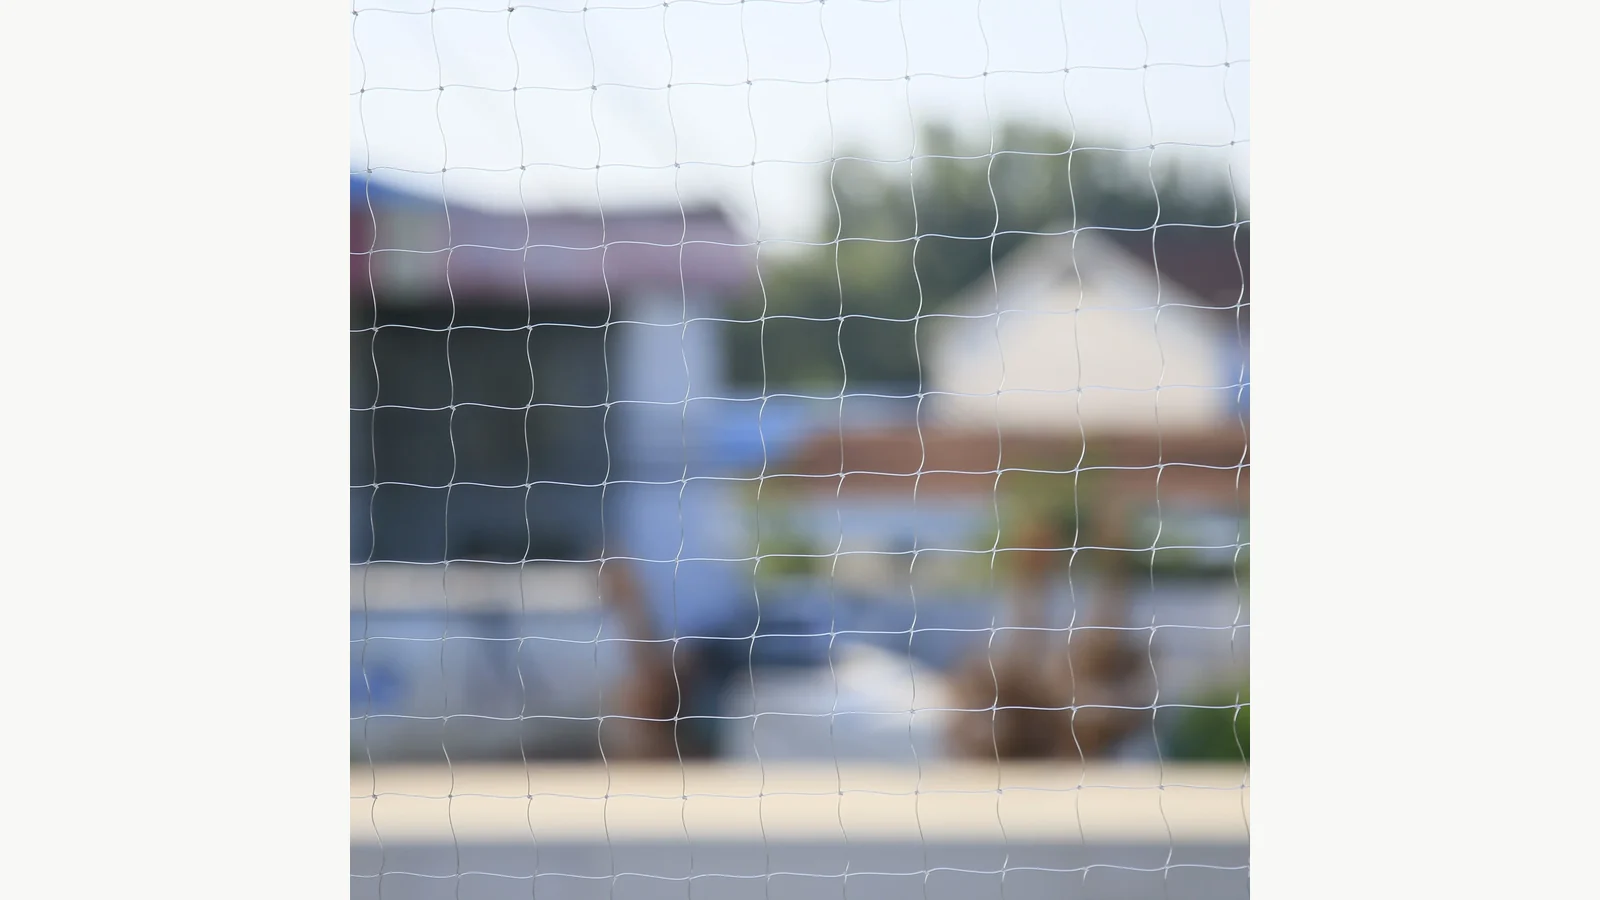
MaxCatNet lists a transparent nylon cat protection net made from 0.40 mm nylon monofilament with a 30 × 30 mm mesh and custom-size options. Those product facts help identify the mesh being quoted, but they neither define the pet-door frame nor approve a cutout detail by themselves.
Draw the Cutout From Fixed Datums
A usable fabrication drawing references the pet-door frame to fixed edges: left jamb, floor or sill, ceiling, post, or rigid insert-panel edge. Avoid a note such as “hole near the bottom.” It cannot be checked before cutting and cannot be repeated for another panel.
Show these items on one annotated elevation:
- overall net-panel width and height;
- finished fixing line on all sides;
- pet-door frame outside dimensions;
- horizontal and vertical datums to the frame;
- proposed mesh cut line, if a cutout is approved;
- minimum frame overlap required by the selected rigid system;
- rope, clips, hooks, or other edge components;
- removable side and lock access;
- floor, sill, or threshold gap below the frame.
The cut line and the visible frame edge are rarely the same line. If the frame needs material behind its flange, the drawing must preserve that overlap. Cutting to the outside size of the cover can leave nothing for the frame to capture.
Keep Fixings Out of the Operating Path
The door should be opened, locked, released, and cleaned during the site check. Watch the flap corners, lock slider, removable tunnel, and any hinged cover. Then place the net fixing line where those movements remain clear.
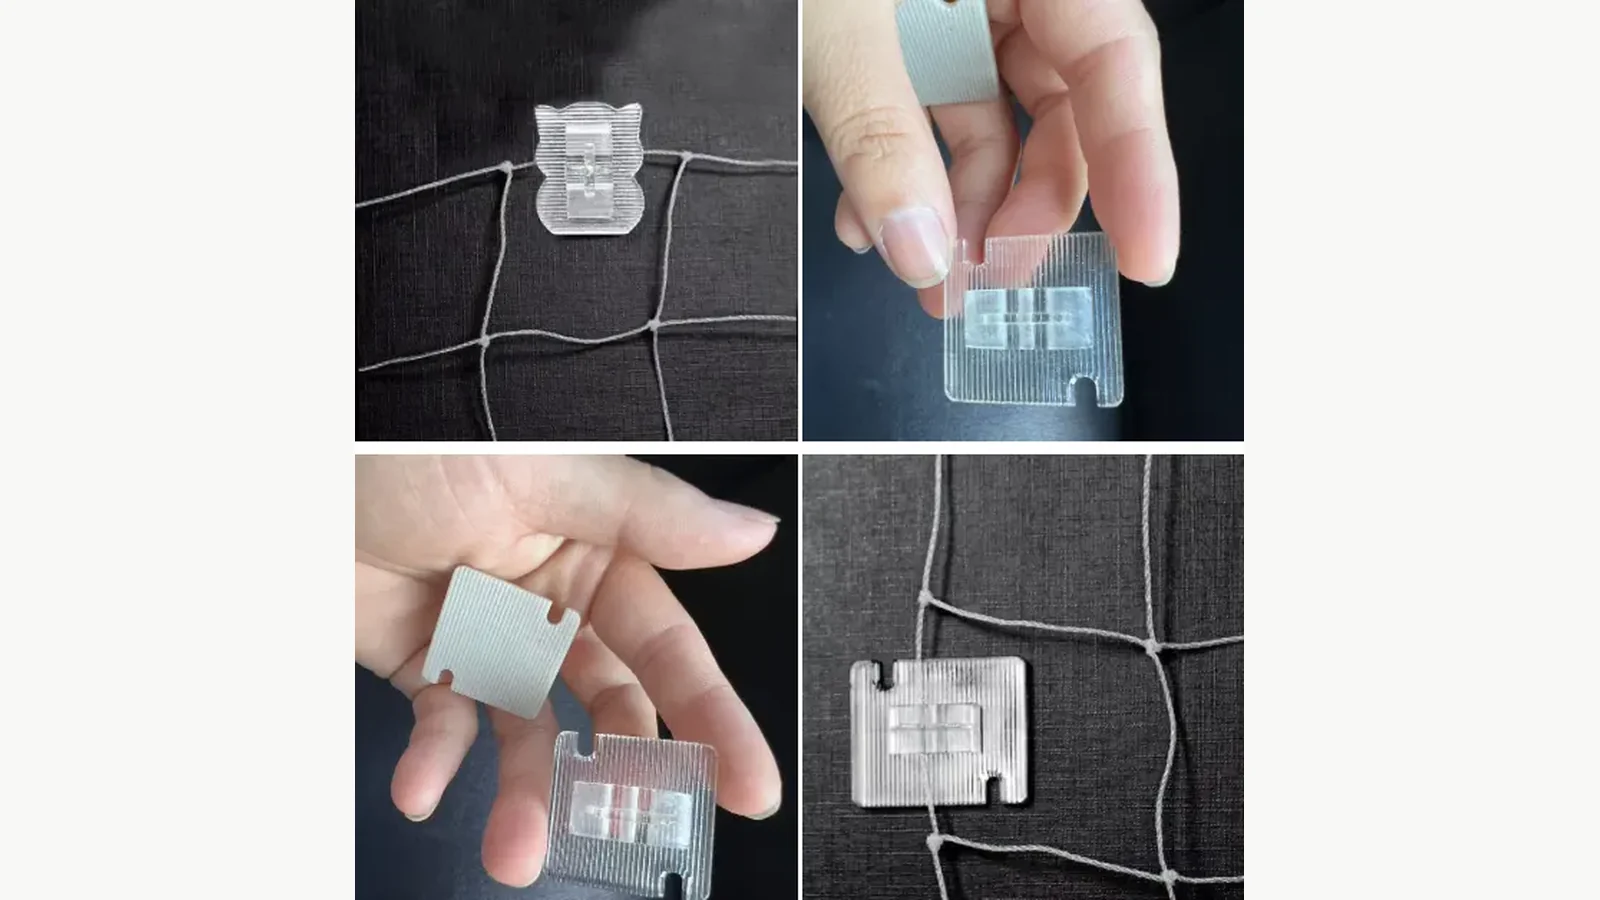
This is especially important where a no-drill method is being considered. MaxCatNet's product information describes a system using polycarbonate hooks and transparent MS adhesive. Surface suitability, curing, spacing, and the actual loads at a framed interruption still require installer approval. A hook layout that works along a continuous edge may need a different detail beside a rigid pass-through.
The earlier guide to cat-net edge finishing and fixing points explains why the perimeter should be treated as a system rather than a loose strip of mesh. For a pet-door detail, name the responsible party for the frame-to-mesh junction: mesh supplier, pet-door supplier, fabricator, or installer. If responsibility is split, obtain an approved drawing from both sides before production.
Approve a Sample Detail Before Cutting the Main Panel
A small physical mock-up can expose problems that are easy to miss in a flat drawing. The approval sample should use the intended mesh, frame profile, edge finish, and attachment method. It does not need to reproduce the whole wall, but it should show the critical corner and enough frame length to test capture.
During approval, check:
- the mesh is captured continuously and has no loose cut strands;
- the frame closes without pinching the flap or lock;
- covers and service pieces can be removed;
- no fixing component projects into the clear passage;
- the lower edge does not create an unrecorded gap;
- the assembly can be inspected from the side available after installation;
- the mesh material and color match the approved order sample.
Photograph the accepted front, rear, and edge views. Put the drawing revision and sample date in the order record. If site dimensions change, revise the cutout drawing rather than scaling the sample by eye.
Information to Put in the Supplier Inquiry
Send one concise package rather than a chain of unmarked photos. Include the selected net entity, overall panel size, pet-door manufacturer and model, frame outside dimensions, clear opening, flange overlap, wall or insert-panel material, inward and outward views, fixing method, lock location, required quantity, and installation responsibility.
Also state whether the supplier is expected to cut and finish the opening or provide an uncut panel for an approved local fabricator. That single sentence prevents a supplier from pricing raw mesh while the buyer assumes a finished framed pass-through is included.
The release condition is straightforward: a rigid mounting method is identified, the mesh plane is fixed, the cutout has datums, the edge detail has an owner, and normal flap operation remains accessible. Until all five are confirmed, keep the mesh uncut.
Related Reading
- Cat Nets With Existing Insect Screens shows how to keep two opening systems functionally separate.
- Cat Net Sample Panel Approval provides a useful record structure for approving a detail before bulk production.
- No-Drill vs Drilled Cat Net Installation helps frame the fixing-method discussion before an installer confirms the site detail.