A ceiling-mounted laundry rack makes a balcony survey three-dimensional. Its bars may lower, raise, fold or extend through the same space proposed for the net. Cords, cranks, motors and ceiling brackets also need access. The installer therefore needs a movement map and a perimeter drawing before choosing the net plane.
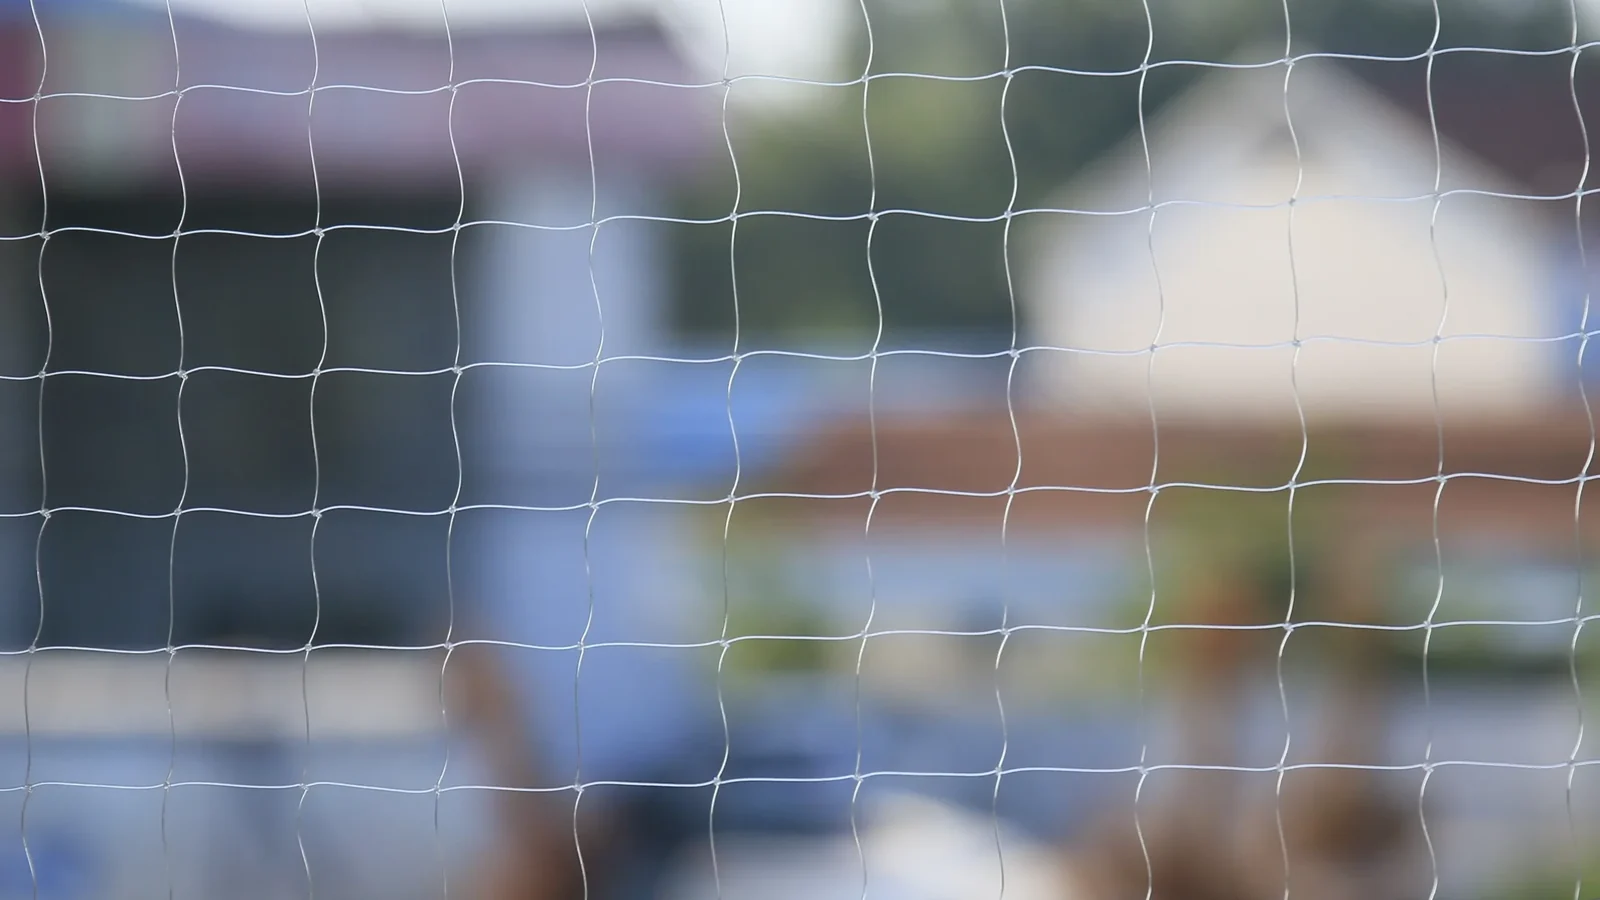
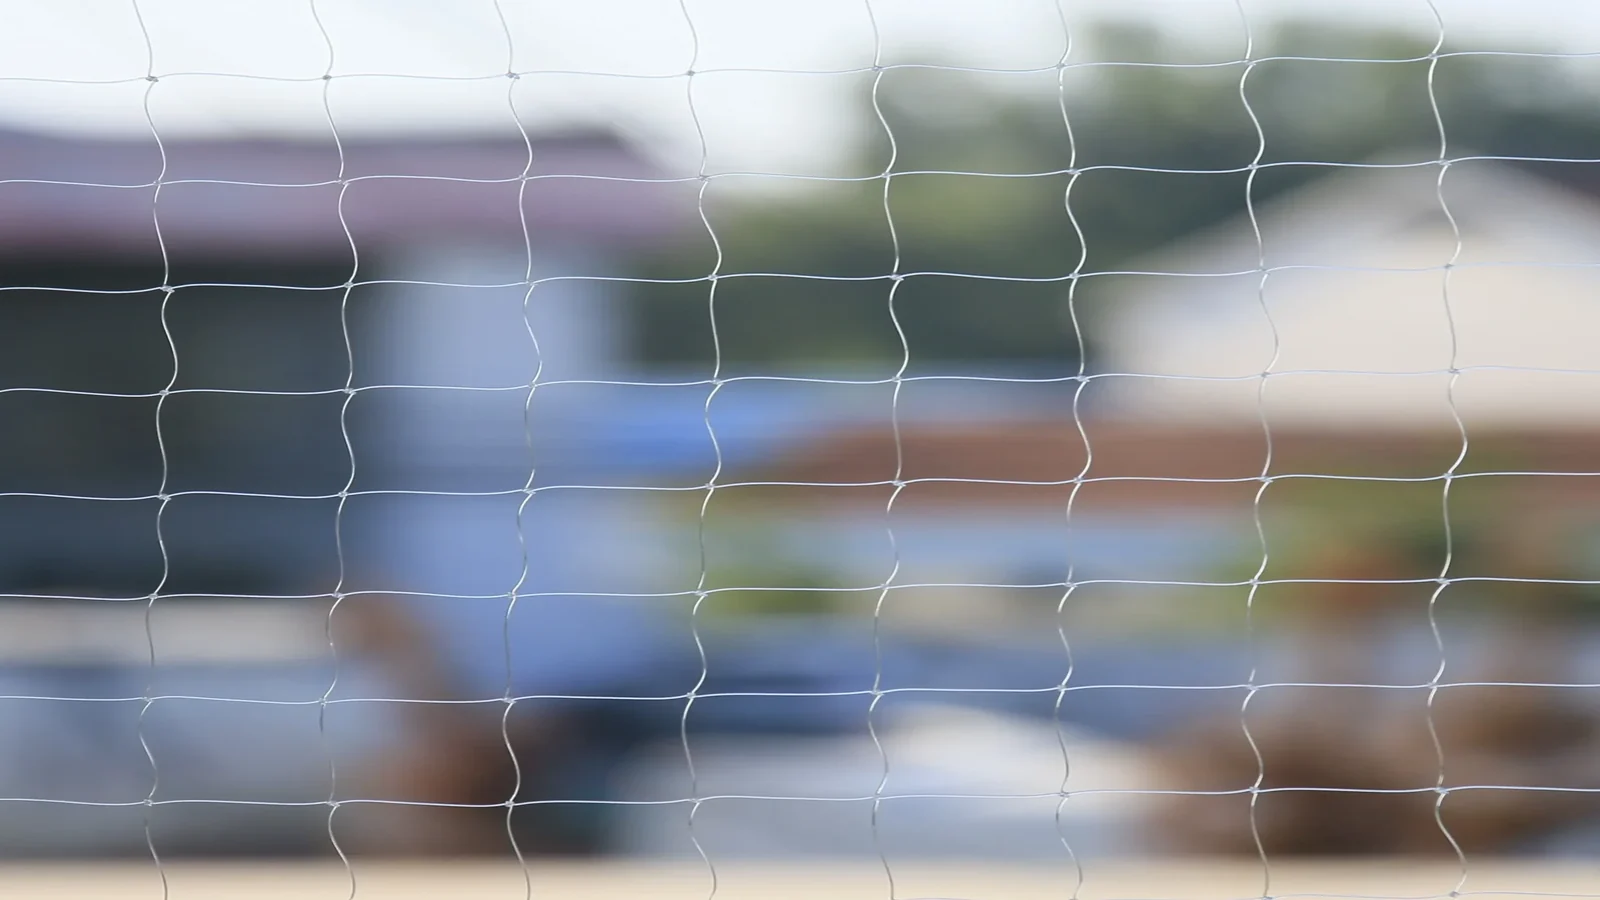
The transparent nylon cat protection net page lists 0.40 mm virgin nylon monofilament with 30 × 30 mm mesh. Standard sizes shown are 4 × 3 m, 6 × 3 m, 8 × 3 m and 10 × 4 m, with custom size, color, packaging and logo options. Those are product facts; the final panel and fixing method must match the surveyed balcony.

Record the Rack in Every Position
Photograph the rack fully raised, fully lowered and at any folded or extended position. Measure the envelope swept by bars, hangers, handles and loaded clothing. Mark its ceiling brackets, motor housing, control cable, pull cord and user standing zone on the elevation and ceiling plan.
The relevant boundary is the nearest point reached during normal use, not the rack's parked outline. Add a reviewed allowance so fabric, hangers and the operating cord stay clear of the proposed net and perimeter line. The rack supplier or responsible installer should confirm its required service zone.
Choose a Net Plane That Can Be Inspected
Compare an inner plane and an outer plane against the balcony edge, rack travel and access route. Measure width and height at multiple points because soffits, columns and parapets can shift the available plane. Show the top, bottom and both side returns as separate boundaries.
The existing retractable-awning clearance guide applies the same movement-envelope principle to another overhead element. With a laundry rack, the survey also needs clothing depth, cord operation and routine cleaning access. A single photograph with the rack raised cannot prove clearance.
Keep Cords and Controls Usable
Trace every manual cord or electrical control from the rack to the user position. A cord should not be threaded through mesh as an improvised opening. If it crosses the proposed boundary, the drawing needs a reviewed detail that preserves both perimeter closure and normal operation.
Record any socket, isolation point, remote-control receiver or junction box that requires service. The net layout should leave an intentional access method rather than a loose flap added after installation. Any alteration to powered equipment belongs to a qualified party and the applicable local requirements.
Approve Fixing Lines from Verified Substrates
Identify concrete, masonry, metal, glazing frames and finished surfaces separately. Photograph the exact proposed fixing line, not just a nearby wall. Record coatings, joints and inaccessible sections. The attachment proposal needs the confirmed substrate and property approval where required.
Run the rack through its full movement after the perimeter is installed but before handover. Inspect all edges and corners from inside and outside where access is safe. Confirm that rack motion, clothes, cords and service points remain clear, then record any change from the approved drawing.
Hand Over a Movement and Inspection Record
Give the owner an elevation, ceiling plan, net identity, boundary photographs, rack movement envelope, access detail and inspection schedule. Identify who checks the perimeter after rack service, building work or severe weather. Flexible netting, supervision and the surrounding balcony arrangement should be treated as one risk-control system.
Related Balcony Survey Guides
- Detail cat netting at a ceiling beam or stepped soffit
- Plan netting around pipes, drains and other obstacles
- Measure a balcony or window for cat netting
Request a Laundry-Rack Layout Review
Send balcony elevations, the rack model, full-travel photos, cord route, perimeter dimensions, substrate notes and maintenance-access needs through the MaxCatNet inquiry page. Ask for the panel size and boundary concept to be tied to the surveyed movement envelope.