A retractable awning changes shape every time it opens. The arms rotate and extend, the front bar travels outward, fabric rolls through the cassette, and installers may need access to brackets, covers or controls. A cat net fixed from a single “awning closed” photograph can enter that moving space as soon as the shade is extended.
Survey the awning as a moving assembly before choosing the net plane. The goal is two independent systems: an awning that completes its full approved cycle without touching the mesh, edge line or fittings, and a cat-net boundary whose perimeter can still be inspected. Keep the cat away during surveying, installation and movement testing.
Record the Awning Type and Its Owners
Start with identification. Photograph the cassette or cover, wall or ceiling brackets, folding arms, front bar, manual crank or motor arrangement, sensor if present, cable route and any label that identifies the awning. Ask who is authorised to service it and obtain the current installation or maintenance guidance where available.
A convenient-looking awning bracket is not automatically a suitable attachment point for net fittings. The awning supplier or responsible building professional should approve any proposed interface with the awning or its supports. In most plans, the clearer solution is a separate building-fixed net perimeter that remains outside all moving and service zones.
Assign owners before work begins:
| Decision | Evidence needed | Owner to confirm |
|---|---|---|
| Awning travel and service zone | Approved awning information plus measured cycle | Awning supplier/installer |
| Building substrate and fixing method | Substrate record and fixing approval | Property owner or building professional |
| Net panel size and edge layout | Survey drawing and product specification | Cat-net supplier/installer |
| Electrical isolation for a motorised unit | Manufacturer procedure and local requirements | Qualified awning/electrical technician |
Map the Full Travel Envelope
An elevation shows width and height, but the key conflict often appears in section. Draw both. Mark the awning in its fully retracted and fully extended approved positions, then add the path swept by the arms and front bar between those endpoints. Include fabric sag or movement only from verified awning information rather than guessing a generic allowance.
Cycle the awning under the manufacturer's normal procedure while the balcony is controlled and the cat is elsewhere. Observe from more than one angle. Record the closest approach to walls, ceiling, railing, lights, drainpipes, screens and the proposed net plane. If conditions such as wind make operation unsafe, stop and reschedule rather than forcing the survey.
The published guide to cat-net clearance around roller shutters and exterior blinds uses the same separation principle for a different moving shading system. An awning needs its own geometry because articulated arms and a travelling front bar follow a different path from a shutter or blind.
Choose a Net Plane Outside Movement and Service Paths
Place the proposed net line only after the travel envelope is visible. A useful section drawing marks four independent boundaries:
- the furthest awning movement;
- the clear space required by the awning supplier;
- the proposed mesh plane and perimeter fittings;
- the route needed for inspection, cleaning and future service.
The mesh must not become a stop, guide or restraint for the awning. Avoid routing edge rope or fittings where an arm, joint, front bar, valance, crank or service cover can catch them. If no independent fixing line can remain clear through the complete cycle, record the installation as unresolved and revise the layout with the awning and building specialists.
Match the Net Panel to the Verified Opening
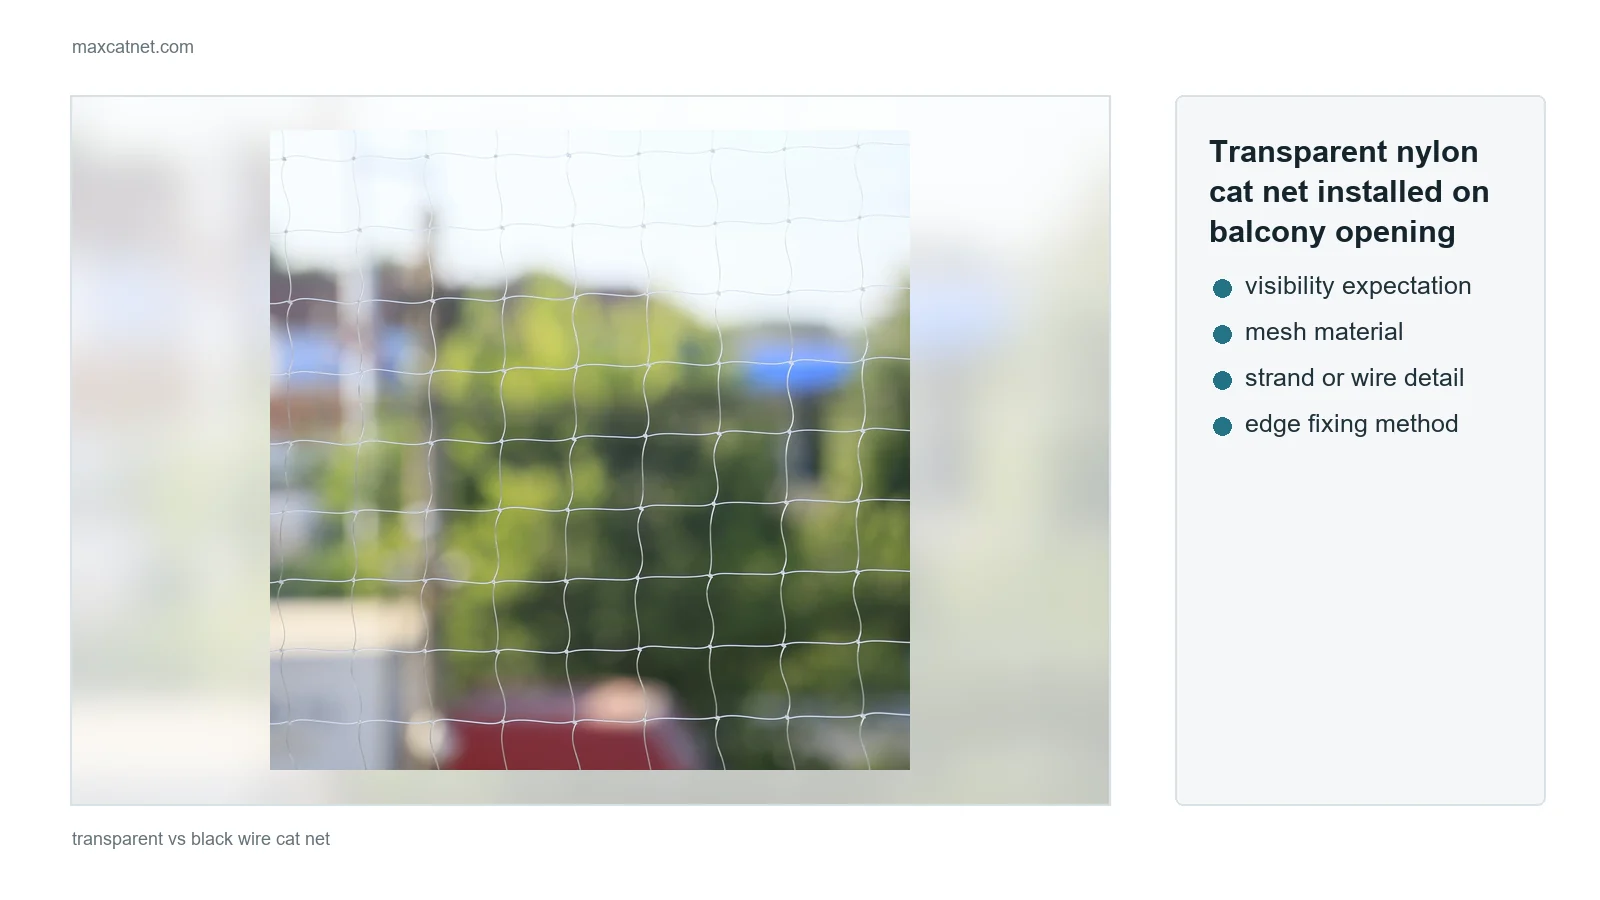
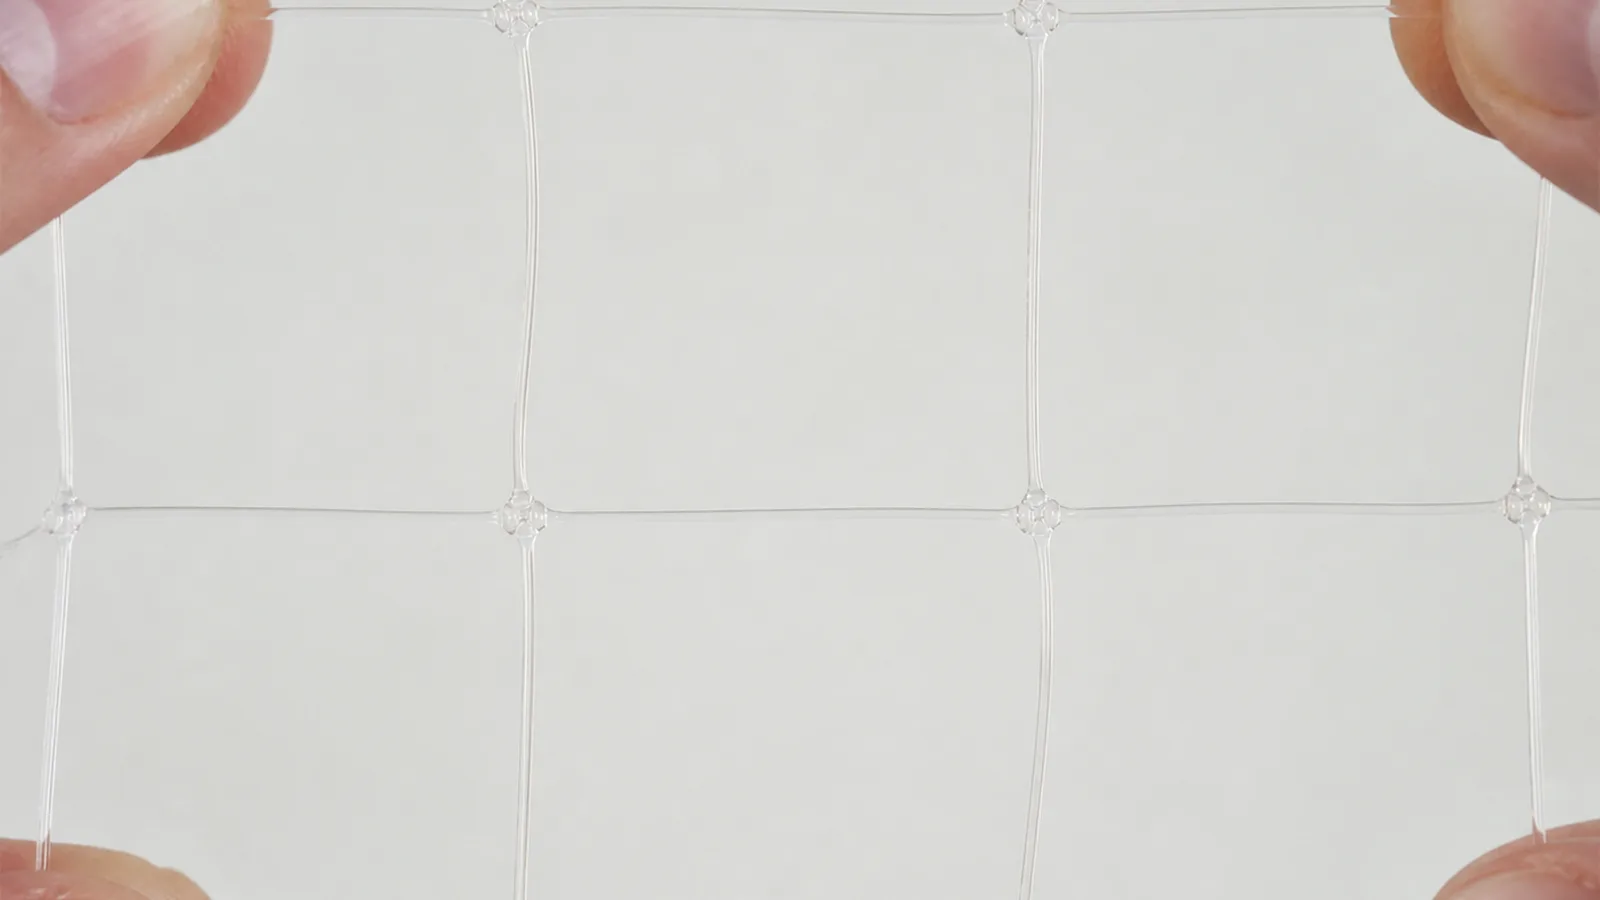
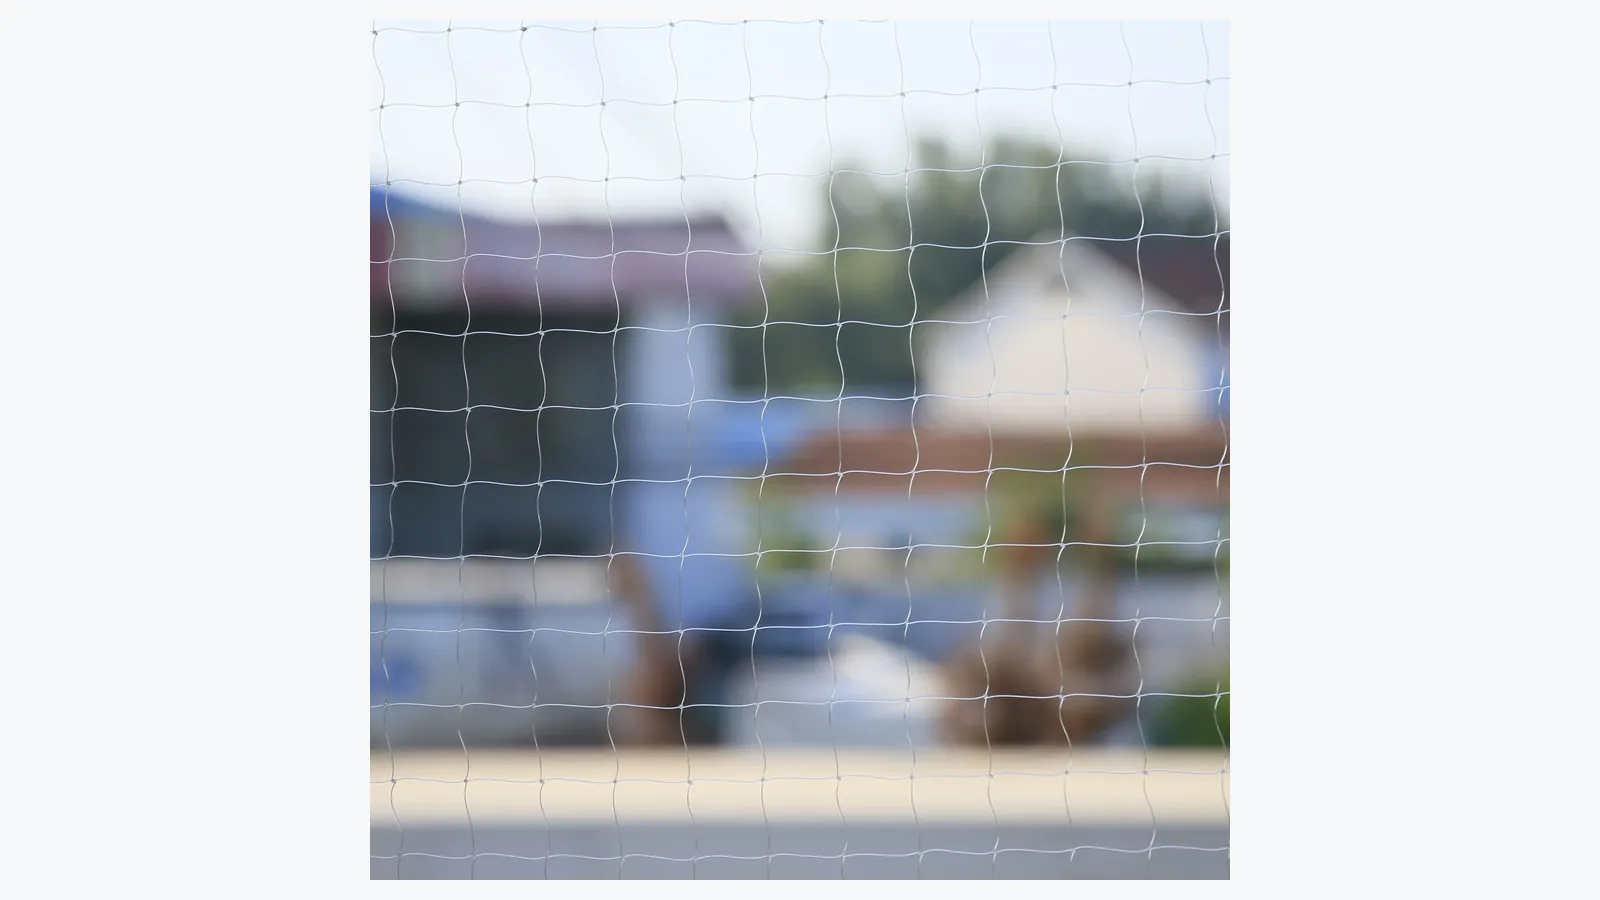
The current transparent nylon cat protection net is listed as 0.40 mm UV-stabilised nylon monofilament with a 30 × 30 mm mesh. Standard sizes are 4 × 3 m, 6 × 3 m, 8 × 3 m and 10 × 4 m, with custom sizes available. Those product facts help define the order, while the building fixing and safe distance from an awning require separate project approval.
Measure to the approved fixing line, not to the moving front bar. Break a complex balcony into named panels and dimension each edge between fixed reference points. Show returns, corners, columns, railing transitions and every penetration. If a seam or access panel is proposed, put its exact location and opening method on the drawing.
The product page also lists transparent polycarbonate hooks with MS transparent glue as a no-drill option. Whether that method is acceptable depends on substrate, surface condition, exposure, building rules and the project-specific approval process. “No drill” is a product option, not automatic permission to use it on every balcony.
Keep Controls and Maintenance Reachable
Manual and motorised awnings create different access needs. A crank socket must remain reachable without pushing the tool through mesh. A motor cover, limit-setting point, cable entry, sensor or emergency procedure may need technician access. Confirm those requirements with the exact awning documentation.
Plan access deliberately. A removable or releasable net panel may be appropriate in some projects, but it needs a controlled closure method and a clear handover procedure. An informal gap left for a technician is not an acceptable pet boundary. Mark who may open it, how it is secured after work and how the perimeter is re-inspected.
Cleaning routes matter too. Fabric, front bar, cassette, glazing, railing and the net itself may all need attention. Avoid a layout that forces staff to detach an unlabelled edge every time the awning is cleaned.
Inspect the Perimeter and Every Obstacle
Walk the proposed fixing line clockwise and number the photographs. At each corner or obstacle, record substrate, edge geometry, available fixing area, nearby movement and the proposed detail. Pipes, lights, brackets and drainage are common places for an apparently continuous boundary to become a gap.
Use a separate detail for every awning support passing near the net plane. Keep mesh away from moving joints and hot, sharp or serviceable components. If the photograph cannot prove clearance, add a measured section or request the relevant drawing.
Mesh selection also does not replace behaviour management. No cat net should be described as bite-proof, escape-proof or an absolute guarantee. Observe the individual cat, prevent unsupervised access until handover is complete, and inspect after any chewing, climbing, impact, fixing movement, building work or awning service.
Run a Controlled Handover Cycle
Before the cat is allowed onto the balcony, inspect the complete fixed perimeter and perform a controlled awning cycle. Use the normal operating procedure, keep people clear of moving arms, and follow the manufacturer's weather limitations. Watch the mesh, edge line and fittings through the whole motion rather than checking only the endpoints.
The handover record should include:
- awning identity and approved operating procedure;
- retracted and extended photographs;
- net elevation and section with revision number;
- measured closest-clearance locations;
- substrate and fixing approval evidence;
- panel, seam and access-point IDs;
- cycle-test result and inspector;
- owner of future awning and net inspections;
- actions required after service, storms, impact or visible damage.
If any contact, snagging, unexpected flexing or loss of access appears, stop and correct the design. Leaving the net slack or permanently disabling the awning is not a substitute for an approved operating plan.
Send a Survey Pack That Can Be Quoted
For a useful quotation, send the cat-net supplier the balcony elevation, awning section, panel dimensions, substrate photos, numbered obstacles, preferred fixing approach and access requirements. State the required net material, colour, panel count, edge finish, accessories, labels, packing and destination.
Use the exact nylon product page as the inquiry landing point and request a line-by-line response. The CTA is specific: return a panel schedule and accessory list that match the approved fixing line, while marking every awning clearance or substrate decision that still requires the building or awning specialist.