
A newly installed cat net may look taut from one angle and uneven from another. Some visible movement can belong to a flexible net system, while a deep local pocket, distorted edge, hidden gap, or conflict with a window path deserves installer review. Acceptance works best when the buyer compares the installed result with the agreed design and records what is visible.
This is an installation-quality check, not a guarantee that any net makes an opening absolutely safe.
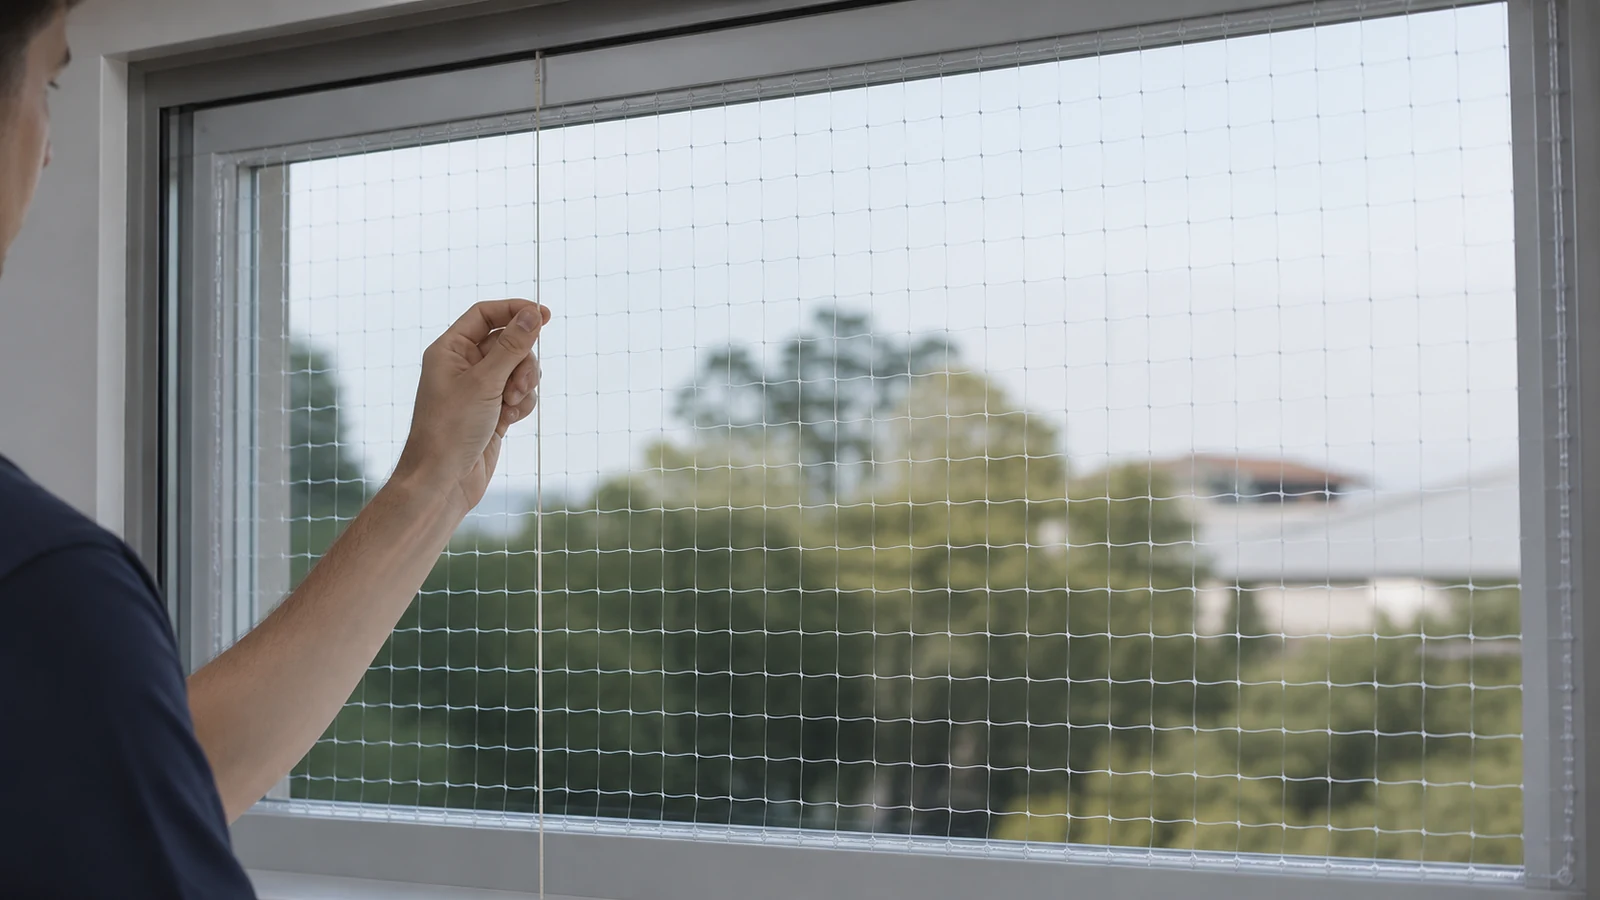
Start With the Approved Design Basis
Collect the opening measurements, product material, mesh specification, perimeter method, fixing plan, obstacle details, and installer scope. Confirm whether the project uses transparent nylon net or stainless-steel-wire-reinforced net. The products have different strand appearance and handling characteristics.
Keep the approved drawing or marked photographs at the opening. A panel cannot be judged only against an imagined perfectly flat surface when the balcony or window has steps, rails, pipes, recesses, or angled boundaries.
The measurement guide provides the geometry record that should precede installation.
View the Whole Panel Before Looking at Details
Stand inside the room or balcony at normal viewing height and photograph the complete panel. Add views from both corners and, where access is appropriate, from the side. Record lighting and background because transparent net can appear different against sky, walls, or neighboring buildings.
Look for broad evenness, a centered panel, straight boundary lines where the structure permits, and a consistent relationship with rails and frames. Avoid pulling the net by hand merely to make a photograph look flatter.
Mark visible zones on a copy of the full image. This keeps close-up photos connected to the overall opening.
Separate General Flexibility From Local Sag
Describe the shape rather than using only "loose." Record whether the panel moves broadly, forms one local pocket, bows along an unsupported edge, wrinkles at a corner, or changes around an obstacle.
| Observation | Useful Record | Installer Question |
|---|---|---|
| Broad movement | Whole-panel movement and weather conditions | Is this consistent with the approved system? |
| Local pocket | Position, size reference, nearby fixing | Does the boundary need adjustment? |
| Edge bow | Boundary length and attachment line | Is the perimeter support behaving as designed? |
| Corner wrinkle | Corner geometry and connection | Is material gathered or routed correctly? |
| Gap near obstacle | Wide and close view with measurement | How will the discontinuity be closed? |
One universal tension value is unsuitable for every net, fixing method, opening size, and substrate. The installer or system documentation needs to define the acceptance basis.
Inspect the Perimeter Continuously
Follow the boundary from one marked starting corner and move in one direction. Check the relationship among net edge, perimeter cable or finishing line, fixing points, frame, rail, wall, floor, and ceiling.
Record changes in fixing spacing, loose hardware, unclosed ends, sharp contact, damaged coating, and sections hidden behind trim. The edge finishing and fixing-point article explains why the perimeter should be reviewed as a continuous system.
Avoid tightening hardware outside the installer-approved method. Local adjustment can shift force or create a gap elsewhere.
Check Corners and Obstacles
Corners concentrate geometry changes. Photograph each corner straight on and from the side. Include pipes, drains, rails, posts, air-conditioning lines, and other penetrations.
Look for folded mesh, cut strands, unsupported transitions, openings around obstacles, or net pulled across a sharp edge. Compare each detail with the approved installer solution.
Use a ruler or safe reference when a gap needs measurement. Keep hands, tools, and pets away from an area still under review.
Test Window, Door, and Cleaning Paths
Operate windows and doors through their intended path under the installer and owner procedure. Check handles, locks, hinges, sliding sashes, screens, curtains, and cleaning access. The net should not be accepted visually while blocking a required opening or forcing users to detach a boundary for normal use.
Record any contact between moving hardware and the net. Repeated rubbing can become an inspection point even when no immediate damage is visible.
Also confirm access to drains and building elements that require maintenance.
Observe Movement Under Normal Conditions
Record the panel during ordinary indoor and outdoor air movement without creating an artificial load. Note whether the whole net moves together or one local section behaves differently.
Avoid pushing a pet, heavy object, or body weight against the installation as a test. Such actions can create risk and are not substitutes for system-specific verification.
If weather is unusually strong, follow building and installer safety advice and postpone close inspection where needed.
Create a Handover Baseline
Photograph the full panel, every corner, boundary sections, obstacles, moving openings, and product label or order reference. Record installer, date, material, opening code, fixing method, open items, and acceptance decision.
Ask the installer to explain normal movement, inspection frequency, cleaning limits, signs requiring service, and which changes need professional review. Preserve those answers in the handover file.
The baseline becomes useful during the cat net maintenance inspection. Later photos can show whether sag, edges, or hardware changed.
Related Reading
- Cat Net Edge Finishing and Fixing Points covers perimeter design details.
- Cat Net Maintenance Inspection carries the acceptance baseline into routine ownership.
Common Questions
Should every cat net look perfectly rigid?
Flexible net systems can show movement. Acceptance needs the product, opening, fixing design, and installer criteria.
Is visible sag always a failure?
A local or changing condition deserves documentation and installer review. Appearance alone does not establish the cause or final disposition.
Can the owner tighten one corner?
Use the installer-approved adjustment process. Changing one area can affect another boundary.
Why photograph the finished installation?
The images establish product identity and condition for handover, maintenance, and future service questions.
Send the Complete Opening Record
Use the MaxCatNet contact page to share opening dimensions, material, fixing method, full-panel photographs, marked sag areas, corners, obstacles, and installer questions. The whole boundary matters more than one isolated close-up.