
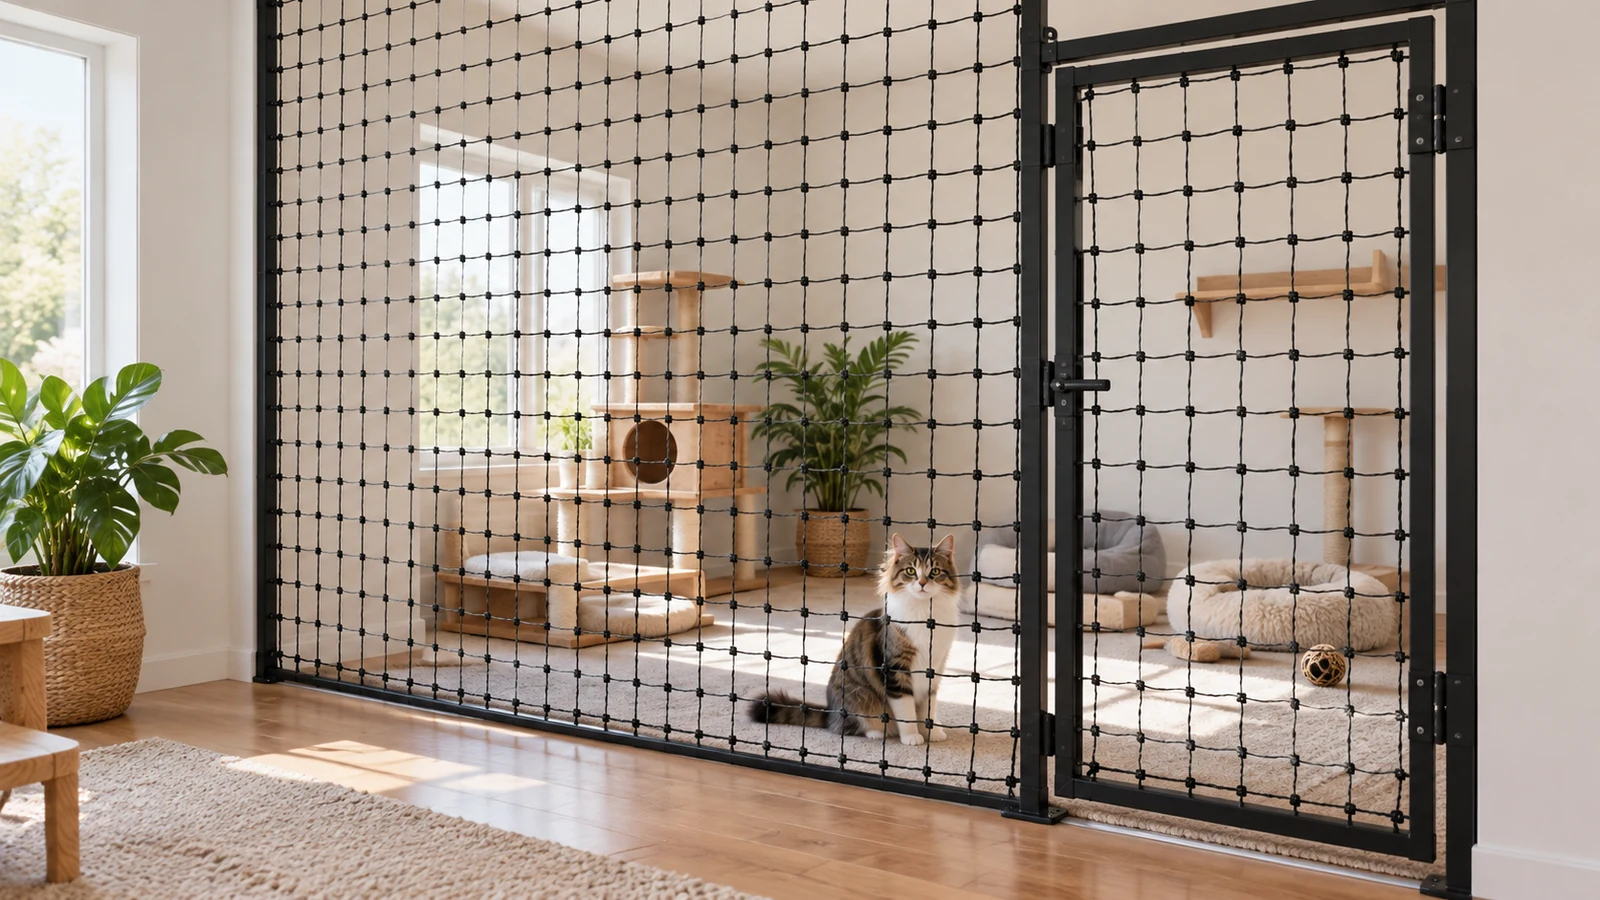
An indoor cat-room divider is rarely one simple rectangle. Doorways, skirting, ceiling drops, furniture clearances and human access can turn a single room width into several panels. The useful starting point is an opening schedule: one ID for every span, with finished width, height, edge type and access requirement.
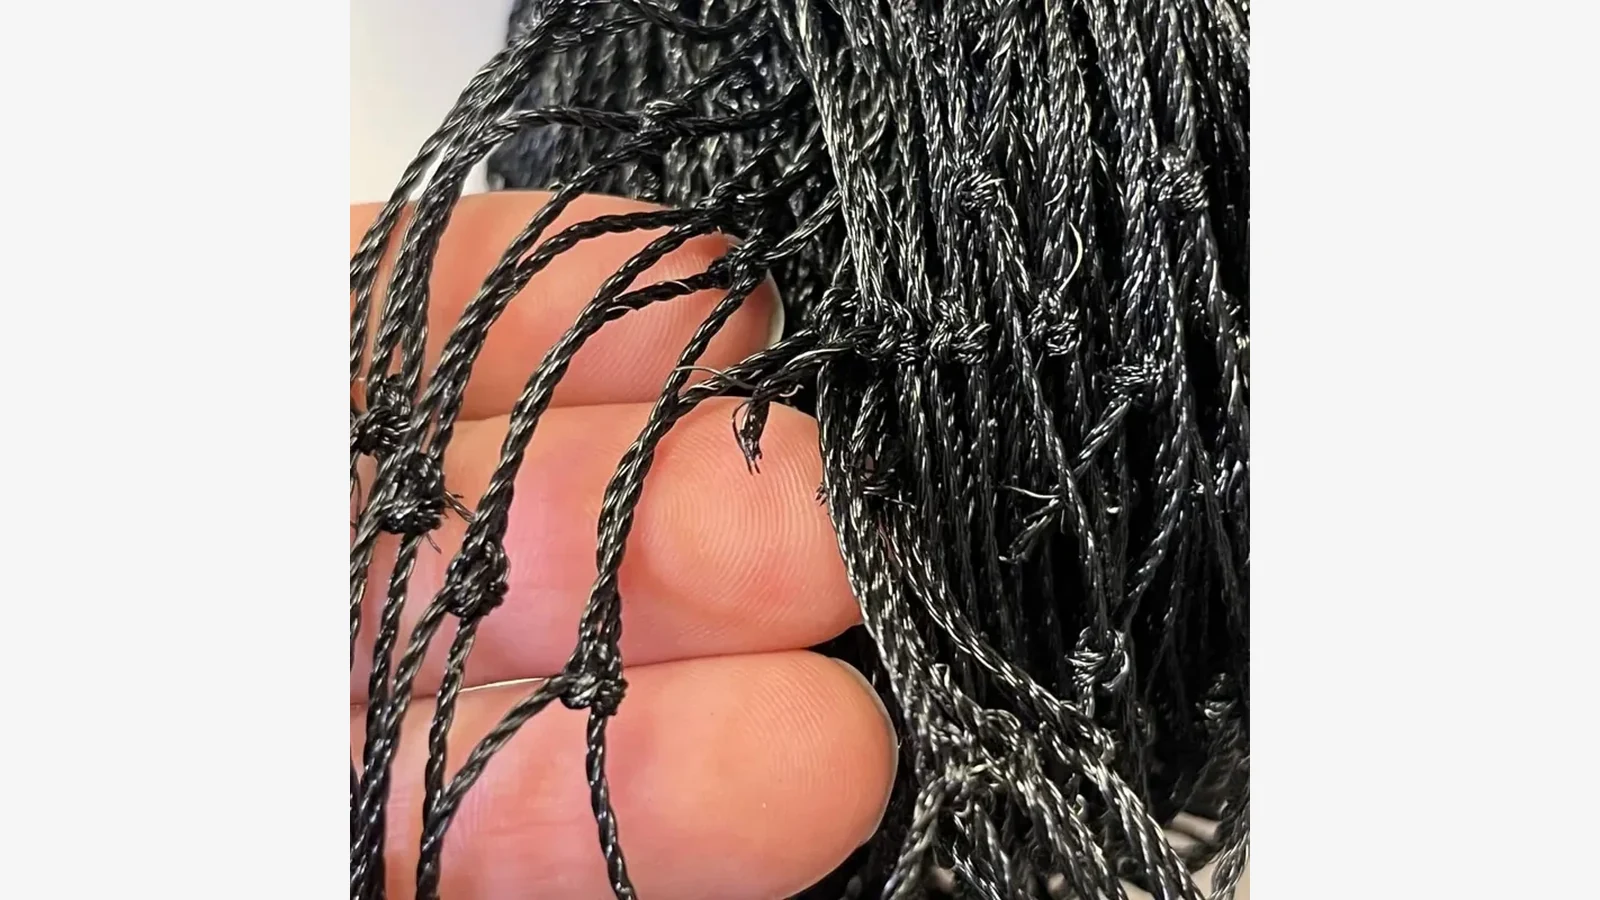
The stainless-steel wire-reinforced cat net is built from PE or HDPE multi-strand yarn with stainless-steel reinforcement. The current product information lists 1.0 mm diameter, 30 × 30 mm mesh and 12+1, 15+3 or 18+6 strand structures, with black, olive, beige and white options. Those are order variables, not permission to skip a site survey.
Give Every Indoor Opening Its Own ID
Draw the room in plan view and elevation. Mark the clear opening rather than the approximate wall-to-wall distance. For each edge, note whether the receiving surface is masonry, timber, metal framing, glass-adjacent trim or another verified substrate. Record ceiling height at both ends when the floor or ceiling is not level.
Access deserves its own line. Identify the normal walking route, cleaning route, feeding route and emergency release point. A divider panel should not quietly cover a door swing, air grille, control, sprinkler component or required escape path. Local building, fire and animal-welfare rules remain the buyer's responsibility and should be checked before the layout is released.
Decide Where One Panel Ends and the Next Begins
Long or irregular dividers are easier to order and install when seams are intentional. Place panel boundaries at surveyed structural or framing points, not at arbitrary equal intervals. The continuous-roll panel and seam takeoff method shows how to reconcile cut lengths, seam positions and panel labels before material is cut.
Create labels such as RD-01A, RD-01B and RD-01-GATE. Put the same IDs on the drawing, cut list, package and installation record. State finished opening dimensions separately from ordered net dimensions, because edge allowance and tensioning depend on the approved attachment design. Hardware and installation method should be specified by the responsible installer; they are not inferred from the net roll alone.
Treat Human Access as a Small Assembly
A walk-through section needs a defined clear opening, closure arrangement, edge treatment and operating direction. Capture whether access must work from one side or both, whether it needs supervised use and how the loose net is controlled while open. Keep the solution serviceable for cleaning and inspection.
The netting itself can be supplied as retail-size panels or continuous rolls. That choice affects where cutting, edge preparation and labeling happen. A factory-cut panel may simplify identification for repeated openings. A continuous roll can suit a site-controlled cut plan, provided the buyer has a clear allowance, seam and traceability method.
Approve Mesh, Color and Panel Identity Together
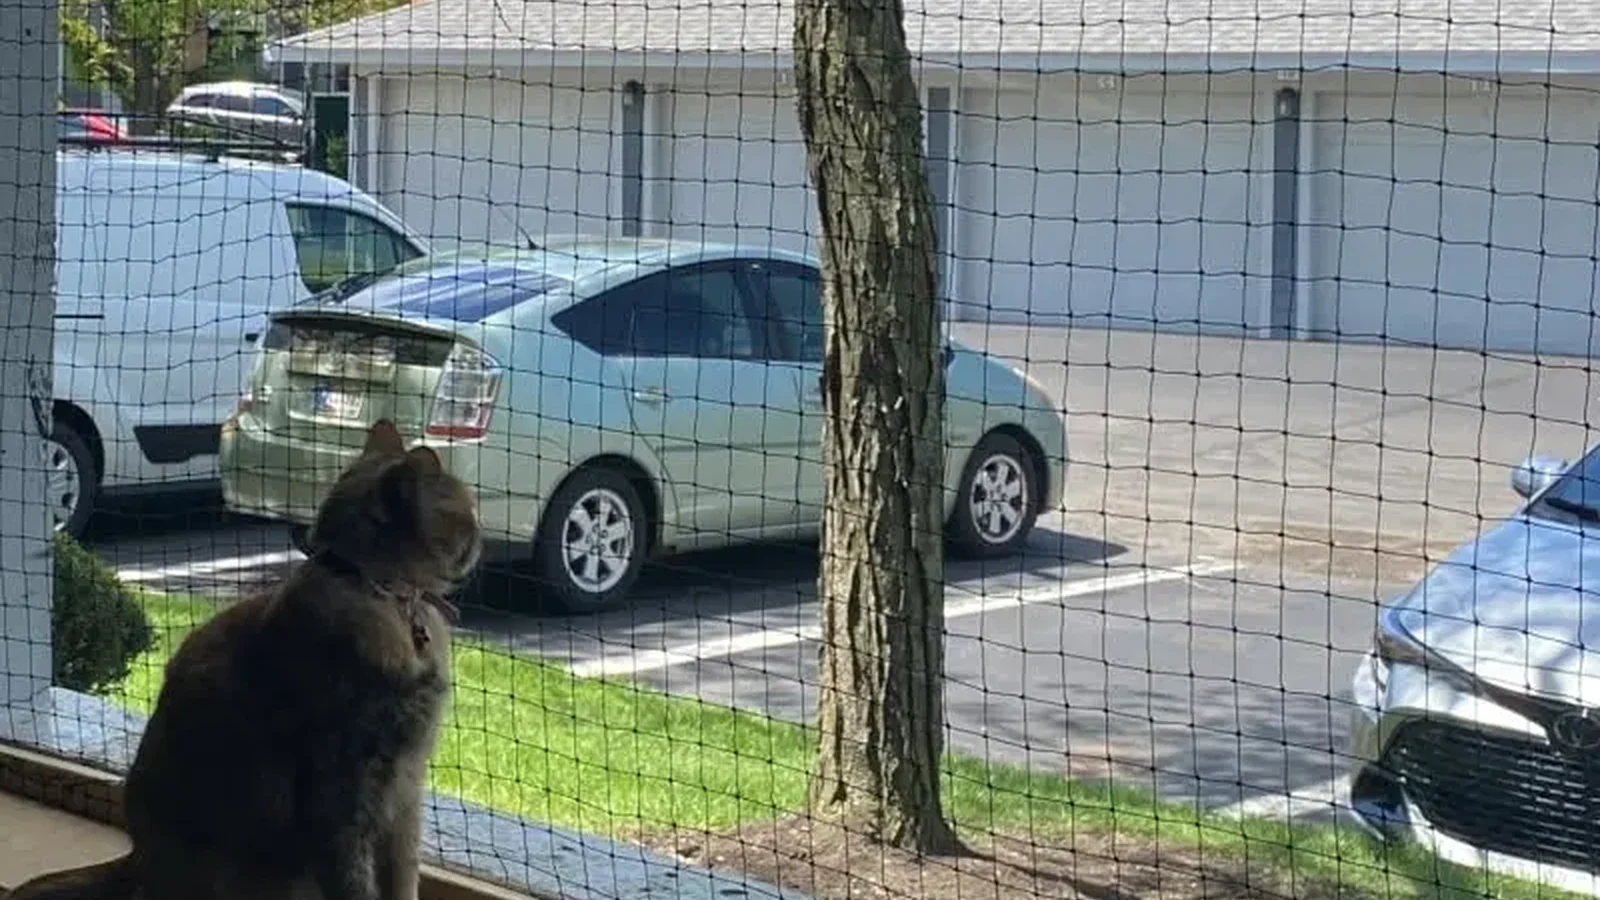
Ask for a labeled sample that names the strand structure, mesh size, nominal diameter and color. View color under the room's actual lighting and against the receiving surfaces. The visible sample should be treated as a color and construction reference, not as a promise of invisibility or a universal strength rating.
For a multi-cat room, inspect the completed boundary from both sides before release. Check reachable corners, floor gaps, ceiling transitions, seams and the access section. Record the responsible person and the action for any changed opening. A panel moved to a different ID should be rechecked against that opening.
Put the Divider on a Controlled Order Schedule
The RFQ should list each panel ID, finished opening, ordered dimensions, strand construction, 30 × 30 mm mesh, 1.0 mm nominal diameter, color, packaging label and whether the line is a cut panel or roll allocation. Attach the elevation drawing and mark which edge details are buyer- or installer-supplied.
That schedule prevents a common failure: receiving the right net material without knowing which panel belongs to which indoor opening.
Related Wire-Net Planning Guides
- Control 12+1, 15+3 and 18+6 reinforced-mesh structures in the order
- Approve wire-reinforced cat-net color by elevation and lot
- Label cut panels for projects with multiple openings
Request a Panel-Bound Divider Quote
Send the opening schedule, room elevations, edge photos, access route, preferred strand structure and color through the MaxCat contact page. Ask for every quoted panel or roll allocation to carry the same room-divider ID used on the drawing.