
A casement window creates two different shapes: the fixed opening and the space swept by the side-hinged sash. A cat-net panel can fit the opening perfectly and still block the handle, rub the sash edge, prevent cleaning, or leave an improvised access corner.
Survey the moving window before measuring the net. Record whether the sash opens inward or outward, which side carries the hinges, how far the handle projects, and where a person stands to operate and clean it. Then choose a separate net plane that stays outside that complete movement envelope.
Identify the Casement Mechanism Before Drawing the Net
Write an opening ID on the survey sheet and photograph the window closed, partly open, and at its permitted maximum. Mark the hinge side and handle side. If two sashes meet at the center, record each leaf separately; the active and secondary leaf may use different hardware and opening sequences.
Side-hinged windows still need individual records. A sash may open inward into the room or outward into a reveal. It may stop against a restrictor, clear a deep sill, or pass close to a blind, insect screen, radiator, curtain, or adjacent wall. Those details decide whether the net belongs on the room face, inside the reveal, or on an exterior fixing line assessed by the installer.
The boundary should be shown in section as well as elevation. The elevation gives width, height, corners, and panel shape. The section shows the net plane relative to the frame, sash, handle, glazing, and reveal depth.
Trace the Full Sash and Handle Envelope
Use removable tape or a sketch overlay to trace the outermost position reached by the sash and handle. Repeat the check slowly while watching the top corner, bottom corner, latch edge, and any restrictor arm. A handle that clears the mesh when the sash is nearly closed may catch it midway through the opening cycle.
Measure from the proposed fixing line to the nearest moving point at several positions. Record the smallest observed clearance rather than a single convenient dimension. Where the window has a projecting sill or deep reveal, show whether the sash crosses the intended net plane before it reaches its normal open position.
The general guide to measuring a balcony or window for cat netting covers opening dimensions, fixing points, and order details. A casement survey adds the moving sweep, hinge-side pinch zone, handle projection, and a cleaning route.
Choose a Net Plane That Can Be Built and Maintained
Three positions are commonly worth discussing with the installer:
| Possible plane | What to verify |
|---|---|
| Room-side face | Inward sash travel, handle use, curtains, blinds, and visual impact |
| Inside the reveal | Usable fixing width, sash sweep, insect screen, drainage, and access to every edge |
| Exterior face | Safe installation access, substrate, weather exposure, facade restrictions, and future maintenance |
This table is a survey aid rather than a recommendation for every building. The chosen surface must be continuous enough for the approved fixing method, reachable during installation, and inspectable later. Painted surfaces, narrow plastic trim, aged sealant, dusty masonry, or unknown facade layers cannot be approved from a photograph alone.
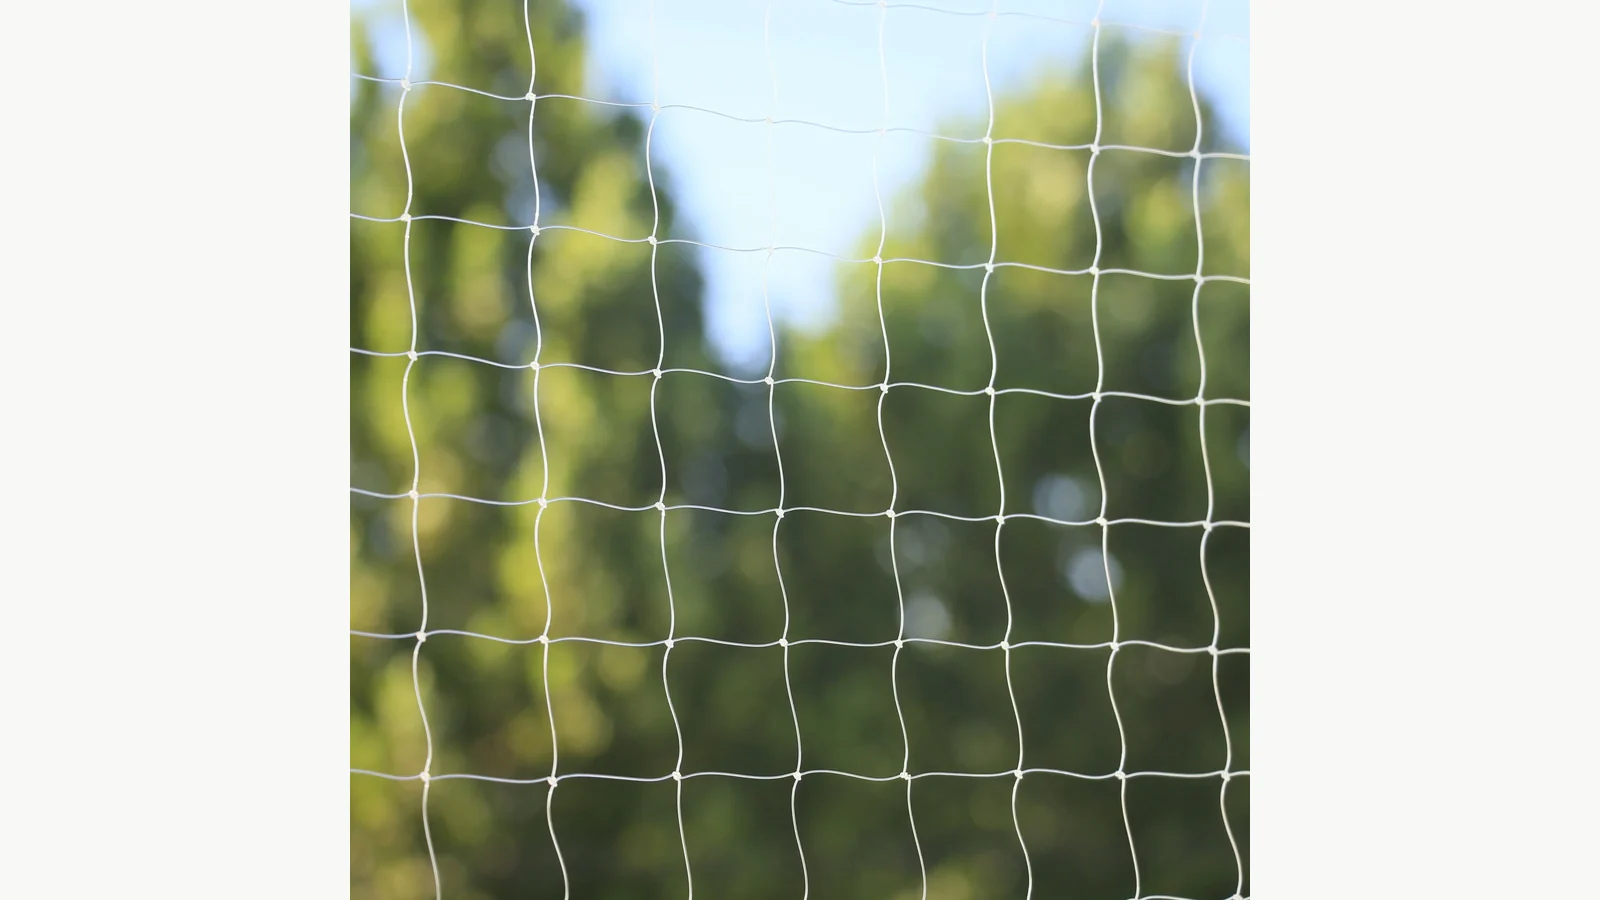
The listed transparent nylon cat protection net is 0.40 mm nylon monofilament with a 30 × 30 mm mesh. Standard rectangular sizes are available, and the page also offers custom sizing. Those product facts define the mesh; a site assessment still determines where a particular casement window can safely accept fixings.
Keep Hinges, Handles, Screens, and Blinds Separate
Make an obstacle schedule for the opening. Include:
- hinge bodies, stays, restrictors, and cover caps;
- handle projection and rotation path;
- insect screens and the way they are removed;
- blinds, shutters, and curtain tracks;
- drainage slots and frame vents;
- window alarms or sensors;
- the route used to reach both faces of the glass.
A removable insect screen needs a planned service route rather than being trapped behind a permanently tensioned panel. A fly screen and a cat net also perform different functions; one should not be treated as evidence for the fixing capacity or continuity of the other.
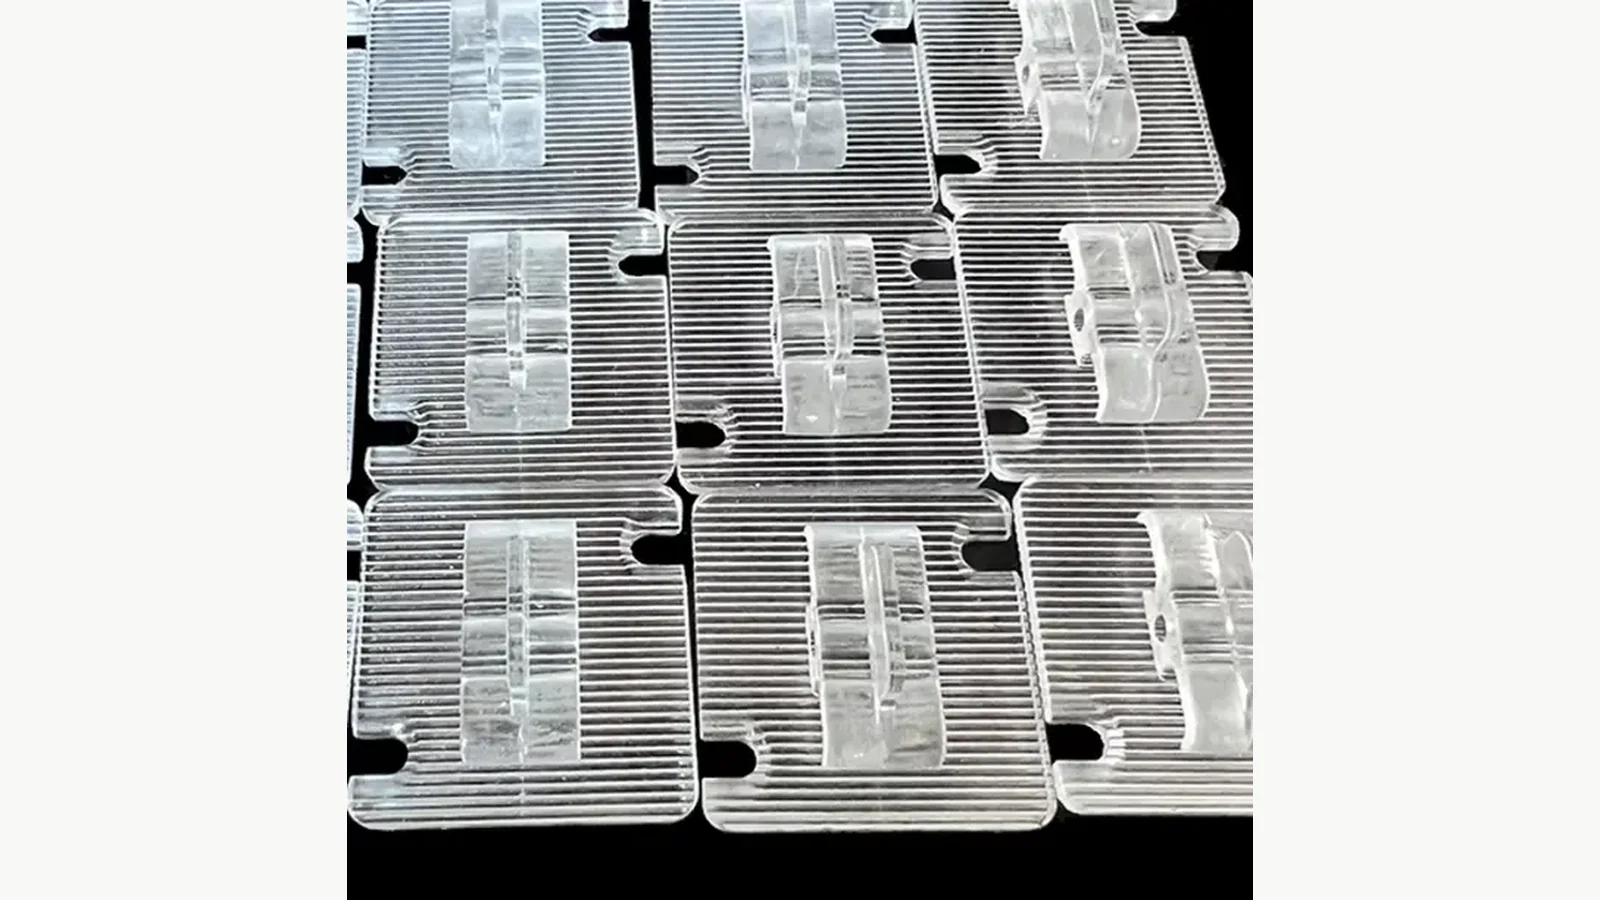
The product page describes a no-drill option using polycarbonate hooks and transparent MS adhesive. Treat that as an available system to evaluate, not permission to bond to any surface. The installer or fixing-system supplier needs the actual substrate, coating condition, usable face, environmental exposure, preparation method, and required cure conditions before approval.
Decide How People Will Open and Clean the Window
If the net plane sits in front of an inward-opening sash, normal window use may require a designed removable or opening panel. Define that access in the drawing. Record its size, hinge or release side if applicable, closure points, edge continuity, opening sequence, and inspection method.
Avoid “just unhook one corner” as the maintenance plan. A loose corner can be forgotten, reattached unevenly, or leave a gap that is hard to see in transparent mesh. The access section should have a panel ID and a simple closed/open status that the resident or facility staff can check.
For exterior cleaning, identify whether access comes from inside, from a balcony, or through a professional facade-maintenance arrangement. Cat-net planning must not encourage a person to lean through an opening or work outside without an approved method. If safe cleaning access cannot coexist with the proposed panel, revise the net plane or the access design before ordering.
Select Material From the Cat's Behavior and the Site
Transparent nylon is often chosen when preserving light and views is a priority. It is not automatically the right answer for every cat or every window. Chewing, repeated climbing, outdoor exposure, multi-cat use, and inspection frequency should be discussed before material approval.
The article on whether a cat may chew a safety net explains why behavior belongs in the nylon-versus-wire-reinforced decision. Neither material should be described as escape-proof, and the net remains a pet-specific product. It is not child fall protection, a guardrail, or a substitute for the window's required safety hardware.
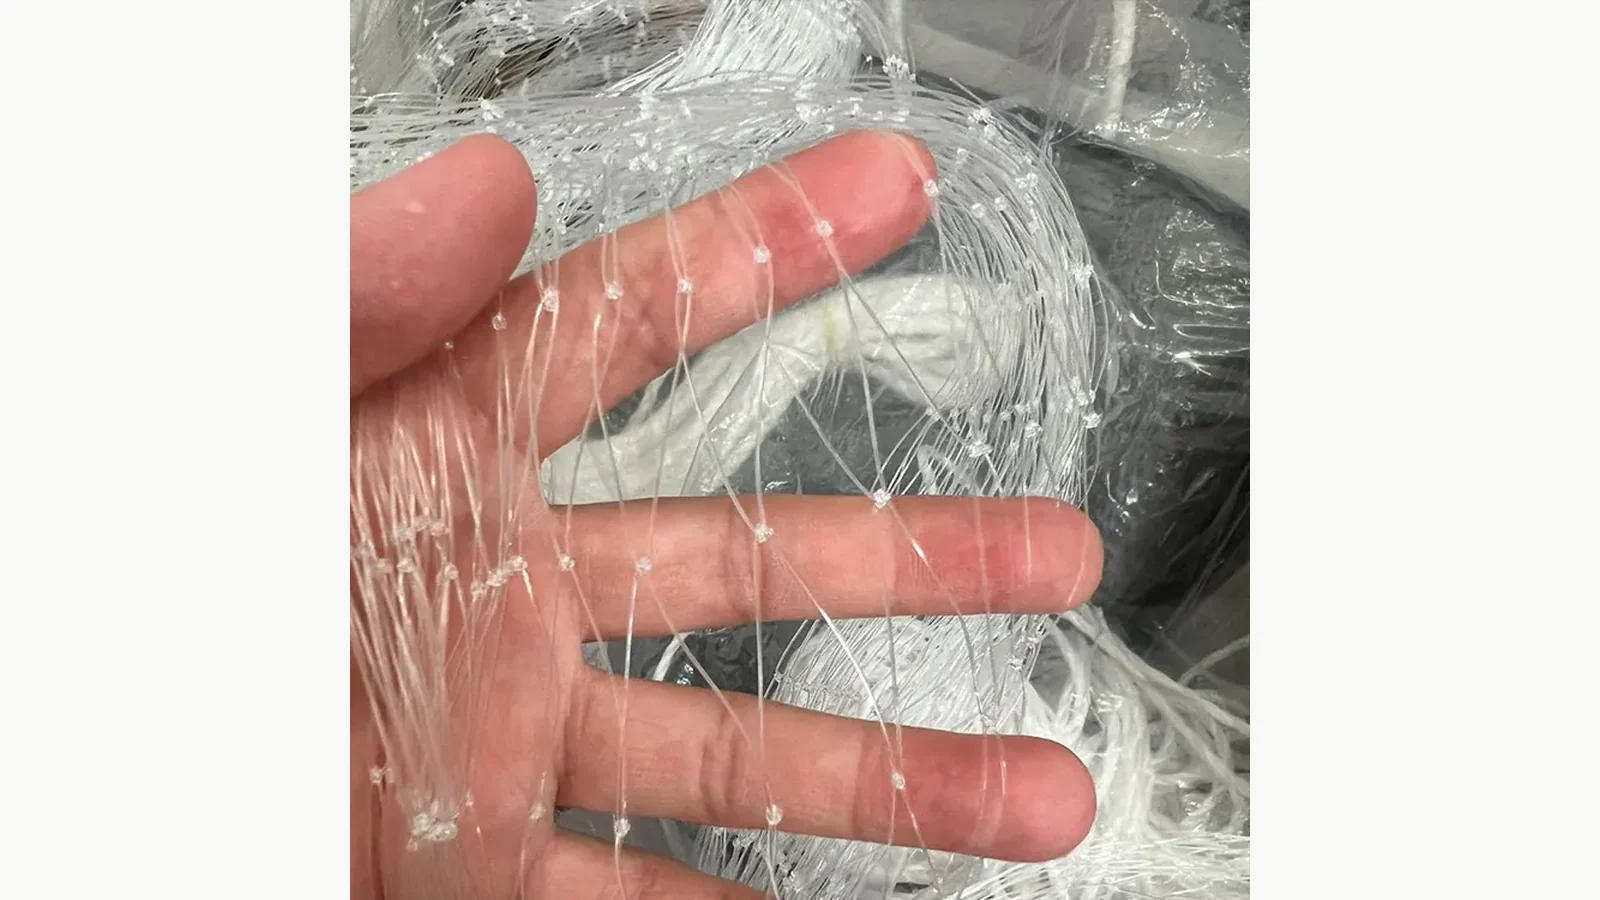
For a custom order, state the selected product entity, mesh, strand, color, finished dimensions, edge treatment, fixing approach, and accessory set. If several windows look similar, assign each a separate opening ID; small differences in hinge position or reveal depth can change the panel or access design.
Build a Casement-Window Survey Pack
A useful supplier and installer handoff includes:
- opening ID, room, floor, and photo reference;
- inside and outside photographs with the sash closed and open;
- front elevation of the intended fixing line;
- side section showing frame, reveal, sash sweep, handle, and net plane;
- measured width and height at multiple points;
- substrate and usable fixing-face notes on all four edges;
- hinge, restrictor, blind, screen, sensor, and drainage locations;
- proposed fixed or opening panel arrangement;
- cleaning and maintenance route;
- drawing revision, survey date, and approval status.
Before production, confirm that the dimensions describe the fixing line rather than only the daylight opening. Tie every photograph to a callout on the drawing. If the supplier needs a template or more offsets, resolve that request before cutting.
Test the Finished Opening Before Handover
After installation, close and secure every access section. Follow the perimeter in good light and inspect corners, hinge-side returns, handle-side edges, and any joint between panels. Look for missed fixings, abrasion, excessive local distortion, and gaps around hardware.
Operate the sash through every approved mode while another person watches the clearance. Test the handle, restrictor, blind, screen, and planned cleaning access. Photograph the final closed boundary and record the panel ID and installation date for later inspection.
A good casement-window installation does not force a choice between an openable window and a complete pet boundary. It starts with both functions on the same drawing, keeps their movement paths separate, and gives the user a clear way to inspect and operate each one.
Related Window Guides
- Cat Net Planning for Tilt-and-Turn Windows covers a window with two distinct opening modes.
- Cat Net Planning for Awning and Top-Hung Windows focuses on top-hinged sash travel and net clearance.
- Cat Net for Recessed Windows explains how reveal depth, handles, and the fixing plane interact.