
Ordering the wrong cat net size can create more than an installation inconvenience. A net that is too small may be overstretched and leave gaps around the edges, while an oversized net may sag, look untidy or create areas where a cat could become entangled.
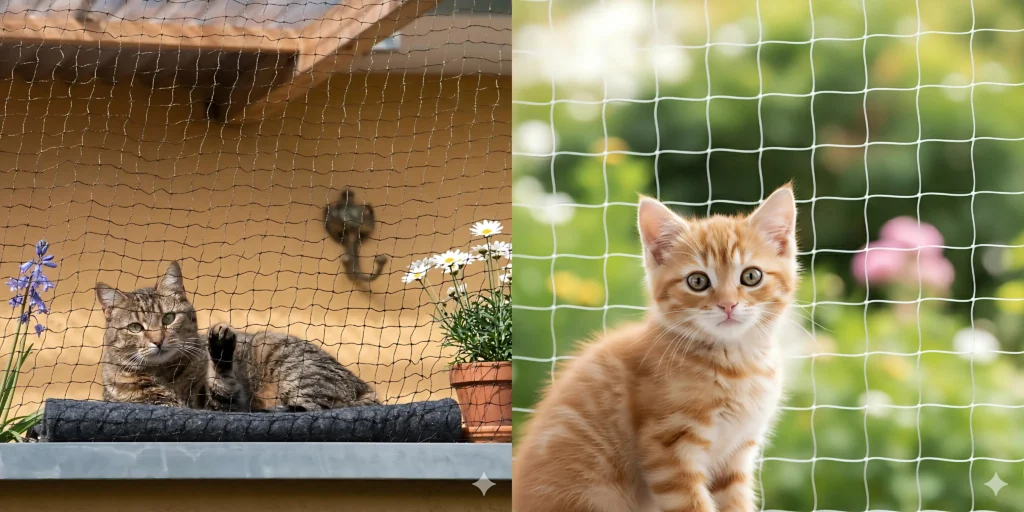
Measuring a balcony for a cat net therefore involves more than recording one width and one height. You also need to check side openings, railing gaps, ceiling conditions, obstacles and the surfaces available for fixing the net.
This guide explains how to measure different balcony types, prepare a clear measurement drawing and provide a supplier with the information needed to recommend the correct net size and installation accessories.
Quick Answer
To measure a balcony for a cat net, record:
- The full width of the front opening
- The height from the floor or railing base to the ceiling
- The width and height of every open side
- Gaps below and between balcony railings
- Corners, pipes, drains and other obstacles
- Available fixing surfaces
- Whether drilling is permitted
- The material of the walls, ceiling and railings
For an L-shaped or irregular balcony, measure each section separately rather than providing only the total area.
Make a simple drawing, label every measurement and take clear photos from inside the balcony. The supplier can then determine whether one continuous net or several separate panels will provide a better fit.
Why Accurate Measurements Matter
A cat net works by creating continuous coverage around an open space. Even when the net itself is strong, an incorrect measurement or poorly planned fixing point can leave an escape route.
Common problems caused by inaccurate measurements include:
- Gaps along the top, sides or floor
- Excessive tension on hooks and anchors
- Loose or sagging sections
- Insufficient material around corners
- Poor fitting around pipes and railings
- Difficulty connecting separate net panels
- Unnecessary cutting and material waste
The goal is not to pull the net as tightly as possible. The goal is to create stable, complete coverage without open edges or excessive stress on the net and its fixings.
What You Need Before Measuring
Prepare the following items:
- A reliable tape measure
- A notepad or printed measurement form
- A pencil
- A mobile phone or camera
- A simple balcony sketch
- A second person for large or difficult openings
Do not lean over the railing or climb onto unstable furniture while measuring. If part of the balcony cannot be measured safely from inside, ask a professional installer for assistance.
Keep the cat indoors during measuring and installation. An unfinished net should never be treated as a temporary safety barrier.
Identify Your Balcony Type
Before recording dimensions, determine which balcony structure you have.
Recessed Balcony
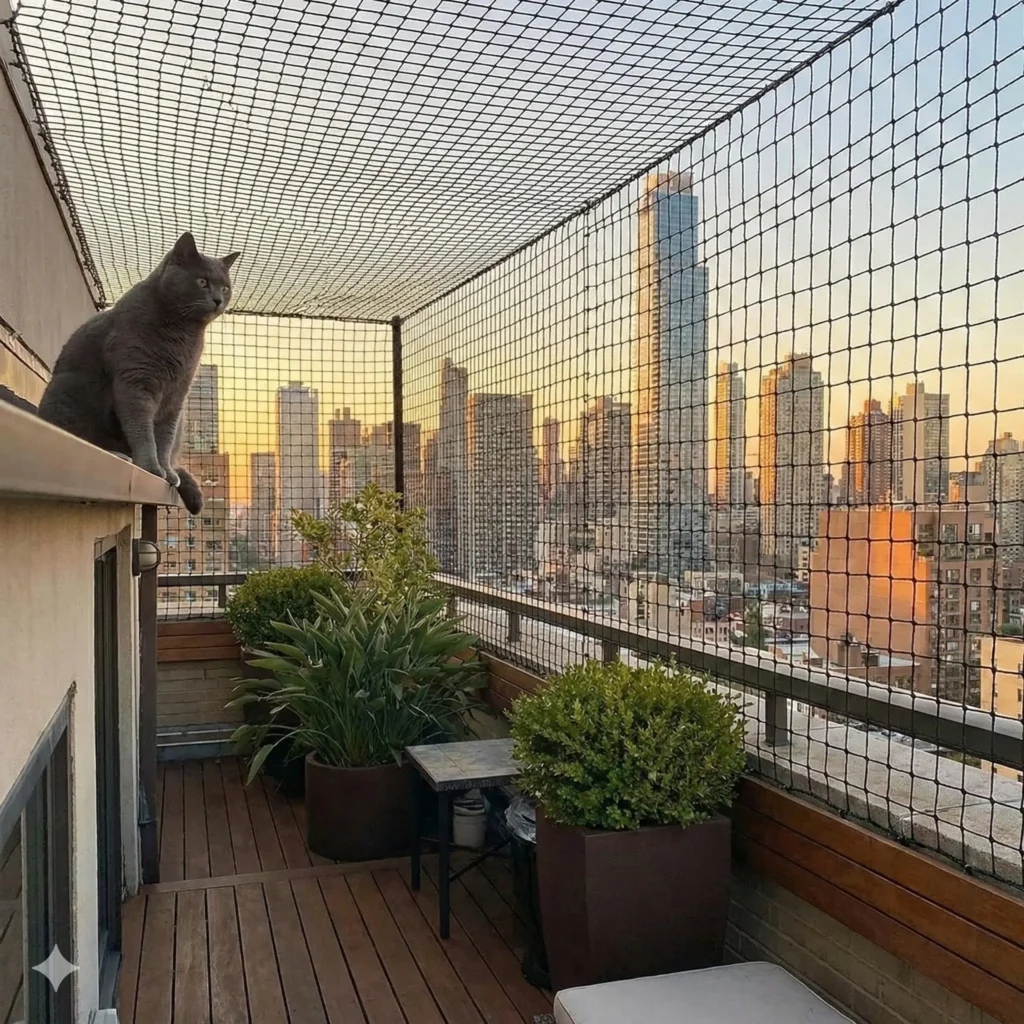
A recessed balcony normally has two side walls and a solid ceiling. This is usually the simplest structure because the front opening can often be covered with one rectangular net panel.
You still need to check whether the opening width and height are consistent at the left, centre and right sides.
Open-Sided Balcony
An open-sided balcony may have a front railing but one or both sides remain exposed.
Measure the front and each open side as separate sections. Do not assume that the two side openings are identical.
L-Shaped or Corner Balcony
An L-shaped balcony has more than one outward-facing section. Each section should be measured and labelled separately.
For example:
- Section A: Front opening
- Section B: Left return
- Section C: Right return
- Section D: Upper opening
Do not provide only the combined square metres. The supplier needs the width and height of each section to plan the cutting and connection points.
Balcony Without a Ceiling
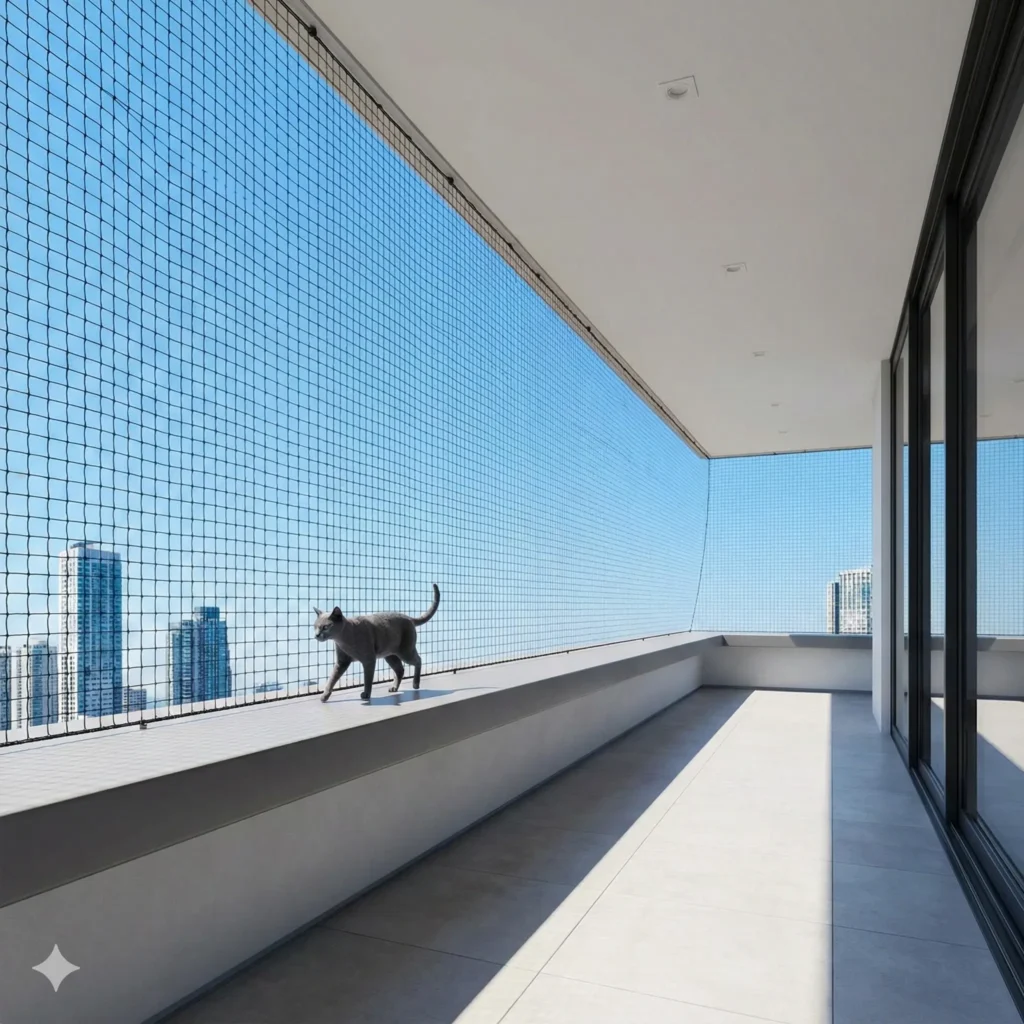
An open-top balcony has no solid ceiling for attaching the upper edge of the net.
This type of installation may require vertical support poles, inward-angled extensions or a specially designed frame. In addition to the balcony dimensions, record the railing height, railing material and possible positions for support poles.
Juliet Balcony
A Juliet balcony usually has a railing directly outside a door or large window, with little or no standing platform.
Measure the entire door or window opening, the railing dimensions and the gaps between the railing and the building structure.
Rental Balcony
For a rental property, first determine whether drilling is permitted.
If permanent fixing is prohibited, record the available railings, columns, metal surfaces and possible positions for tension poles or removable supports. A no-drill system still requires stable fixing points and should not be assumed suitable for every surface.
Step 1: Draw a Simple Balcony Plan
Start with a basic drawing of the balcony as viewed from inside.
The drawing does not need to be architectural. Its purpose is to show:
- Front opening
- Left and right sides
- Ceiling or open top
- Railing position
- Walls and columns
- Doors and windows
- Pipes, drains and air-conditioning equipment
- Potential fixing points
Label each section with a letter. Use the same letters when recording the measurements and naming the photos.
A clear drawing is often more useful than a list of numbers without context.
Step 2: Measure the Front Opening
Measure the full horizontal width of the front opening.
Take measurements at:
- The top
- The middle
- The bottom
Balcony walls and railings are not always perfectly parallel. If the three measurements are different, record all of them rather than choosing only the largest or smallest number.
Next, measure the vertical height at:
- The left side
- The centre
- The right side
For a balcony with a ceiling, measure from the intended lower fixing line to the intended upper fixing line. Do not automatically use the railing height as the cat net height. Most balcony installations need coverage above the railing.
Step 3: Measure Every Side Opening
If either side of the balcony is open, measure it as a separate panel.
Record:
- Side width
- Side height
- Shape of the opening
- Railing height
- Wall or column position
- Possible fixing surfaces
For triangular, sloped or irregular openings, measure the main dimensions and provide a clear photo with the measurement points marked.
Do not assume the supplier can determine scale from an unmarked photograph.
Step 4: Check the Bottom and Railing Gaps
Cats can investigate surprisingly small openings, especially around the floor and railing edges.
Measure:
- Gap below the railing
- Distance between vertical railing bars
- Gap between the railing and side wall
- Openings around drainage channels
- Space behind air-conditioning pipes
- Corners where two railings meet
These measurements help determine whether the net should start at the floor, attach to the railing base or continue behind part of the railing.
The installation should not leave an open route around the edge of the net.
Step 5: Record All Obstacles
Balconies often contain objects that affect the shape and position of the net.
Common obstacles include:
- Air-conditioning units
- Drainpipes
- Water outlets
- Exterior lights
- Clothes-drying racks
- Handrails
- Window shutters
- Roof beams
- Decorative columns
- Balcony furniture
Record the position and approximate dimensions of each permanent obstacle.
Where possible, the net should form a continuous barrier around the obstacle rather than stopping before it. Irregular openings may require additional rope, hooks, cable ties or a separately cut section.
Step 6: Identify the Fixing Surfaces
A measurement is incomplete without information about where the net will be attached.
Record the material of each possible fixing surface:
- Concrete
- Brick
- Rendered wall
- Tile
- Glass
- Aluminium
- Painted steel
- Stainless steel railing
- Wood
- Plastic panel
The same attachment method cannot be used on every surface.
A drilled anchor may be suitable for concrete but inappropriate for glass. Adhesive hooks may work on some smooth, properly prepared surfaces but may not be suitable for rough walls, weak paint, dusty render or areas exposed to high wind loads.
For no-drill installation, provide close-up photographs of the surface so the fixing method can be evaluated properly.
Step 7: Decide Between Drill and No-Drill Installation
Drill Installation
A drilled installation commonly uses hooks, eye bolts, plugs, tension rope and cable ties.
It may be more suitable for:
- Permanent installations
- Large balcony openings
- Exposed or windy locations
- Irregular balcony structures
- Professional installation projects
The wall and ceiling material must be suitable for the selected anchors.
No-Drill Installation
No-drill systems may use:
- Adhesive hooks
- Transparent structural adhesive
- Tension poles
- Clamps
- Cable ties
- Magnetic hooks on suitable steel surfaces
These systems are popular for rental apartments, but “no drilling” does not mean “no planning.”
The surface condition, curing time, balcony exposure and net tension all affect the result. Large, open or wind-exposed balconies may require a more substantial support system.
Always follow the fixing-product instructions and confirm that the proposed method is suitable for the actual surface.
Step 8: Prepare a Measurement Sheet
A complete measurement sheet could look like this:
| Item | Measurement or Information |
|---|---|
| Front opening width | 3.20m |
| Front opening height | 2.45m |
| Left side opening | 0.85m × 2.45m |
| Right side | Solid wall |
| Railing height | 1.10m |
| Gap below railing | 80mm |
| Ceiling | Solid concrete |
| Wall material | Painted concrete |
| Railing material | Aluminium |
| Installation preference | No-drill |
| Balcony exposure | Partially protected from wind |
| Cat behaviour | Active climber |
| Preferred appearance | Transparent |
| Required accessories | Hooks, rope and cable ties |
Use one measurement unit throughout the form. Millimetres or centimetres are normally easier for detailed openings, while metres can be used for the main dimensions.
Do not mix inches, centimetres and metres without clearly identifying each unit.
How to Calculate the Required Net Size
For a simple rectangular opening, the basic coverage area is:
Opening width × opening height
However, this calculation provides only the covered area. It does not automatically determine the final cutting size.
The finished net size may also depend on:
- Edge fastening method
- Whether a border rope is included
- Net construction
- Required corner connections
- Cutting tolerance
- Whether one or several panels will be used
- Installation allowance recommended by the supplier
Do not order a smaller net because you expect it to stretch across the opening. Excessive stretching may pull on the attachment points and create gaps around the edges.
Provide the exact finished opening dimensions and allow the supplier or installation specialist to confirm the appropriate production size.
L-Shaped Balcony Calculation
For an L-shaped balcony, record each section separately:
- Panel A: width × height
- Panel B: width × height
- Panel C: width × height
The total area can be calculated by adding the area of each panel, but the individual dimensions must still be retained.
Two balconies with the same total square metres may require completely different net shapes.
Choosing the Right Net After Measuring
The balcony dimensions determine the required size, but the cat’s behaviour and installation environment help determine the material.
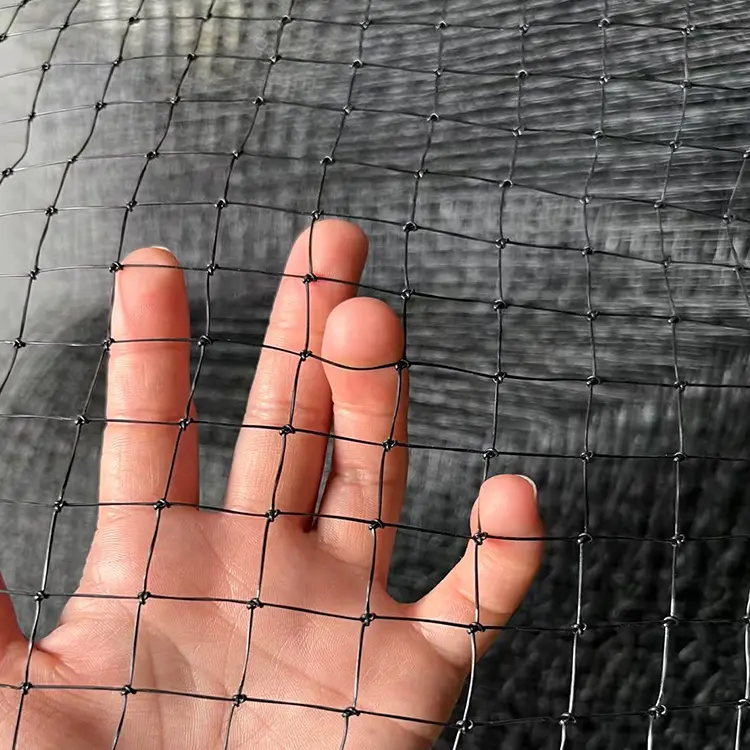
Transparent Nylon Cat Net
A transparent nylon cat protection net is suitable for customers who value visibility and a discreet appearance.
It is commonly selected for:
- Apartment balconies
- Windows
- Standard home use
- DIY installation kits
- Areas where appearance is important
Outdoor nylon netting should be UV-stabilized and inspected periodically for ageing, brittleness or damage.

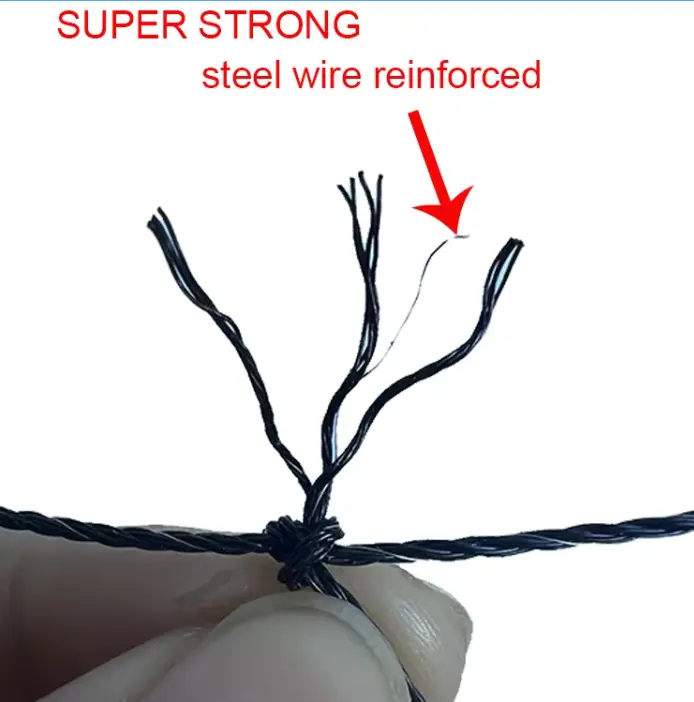
Stainless Steel Wire Reinforced Cat Net
A stainless steel wire reinforced cat net provides greater resistance to biting, scratching and deformation.
It may be more suitable for:
- Cats that chew or climb
- Large or highly active cats
- Larger balcony areas
- Long-term outdoor use
- Professional installation projects
- Buyers prioritising strength over transparency
No material should be described as completely indestructible. The net and all fixing points still require correct installation and periodic inspection.
Common Balcony Measurement Mistakes
Measuring Only the Railing
The railing height is not the same as the total opening height. Cats may climb or jump above the railing, so the entire open area must be considered.
Ignoring the Side Openings
A front net cannot protect an open side. Measure every possible route around the proposed barrier.
Providing Only Square Metres
Area alone does not show the balcony shape. Always provide the width and height of each section.
Assuming the Walls Are Straight
Measure at several points. Older buildings and rendered surfaces may have noticeable dimensional differences.
Forgetting Pipes and Fixed Equipment
Air-conditioning pipes, drains and clothes rails can interrupt the net or prevent it from lying in the planned position.
Ordering the Net Too Small
A cat net should not be stretched to compensate for missing coverage.
Assuming Adhesive Hooks Work Everywhere
Surface type, paint condition, moisture, temperature and wind exposure can all affect adhesive performance.
Sending Photos Without Measurements
Photos are useful, but they do not provide a reliable scale unless measurement points are clearly marked.
Safety Checks Before Letting a Cat Use the Balcony
After installation, inspect the entire perimeter.
Check that:
- No gaps remain at the top, sides or floor
- The net is connected continuously around corners
- Hooks and anchors are secure
- Cut edges are properly finished
- The net is not excessively loose
- The net is not over-tensioned
- Pipes and obstacles do not create escape routes
- The cat cannot reach unsafe ledges outside the enclosure
Cats Protection advises enclosing balconies from ceiling to floor and warns that cats may become entangled or escape through gaps if netting is not secured correctly. It also recommends supervising cats while they use a balcony. You can read its balcony safety advice for indoor cats.
Inspect the installation regularly and after strong wind, storms, construction work or any incident where the cat has climbed or bitten the net.
A cat net is intended for pet containment. It must not be sold, installed or promoted as a child fall-protection system.
Information B2B Buyers Should Collect
Distributors, private-label sellers and installation companies should collect more than standard net sizes.
Useful order information includes:
- Most common balcony dimensions in the target market
- Preferred retail kit sizes
- Required roll width and length
- Transparent or coloured material
- Standard or wire-reinforced construction
- Mesh size
- Installation accessories
- Packaging language
- Instruction manual requirements
- Barcode and private-label requirements
- Installation warnings
- Replacement and inspection guidance
Installation companies may prefer continuous rolls that can be cut for each project. Online retailers may need standard-sized kits with clearly labelled accessories and illustrated instructions.
Providing customers with a reusable measurement form can reduce incorrect orders and improve after-sales support.
Frequently Asked Questions
How Much Extra Cat Net Should I Order?
There is no universal allowance suitable for every cat net and fixing method. Measure the exact opening and ask the supplier to confirm the cutting allowance based on the net construction, border design and installation system.
Can Cat Netting Be Cut to Size?
Many nylon and reinforced cat nets can be cut, but the cut edge may require proper finishing or fastening to prevent distortion. Follow the supplier’s cutting instructions.
Can I Install a Cat Net on a Balcony Without a Ceiling?
Yes, but the installation may require vertical poles, angled supports or a custom frame. The railing dimensions and proposed support positions should be included in the measurement drawing.
Can a Cat Net Be Installed Without Drilling?
Some balconies can use adhesive hooks, clamps, tension poles or magnetic hooks. Suitability depends on the balcony structure, surface material, weather exposure and required net tension.
Is a 30mm Mesh Suitable for Every Cat?
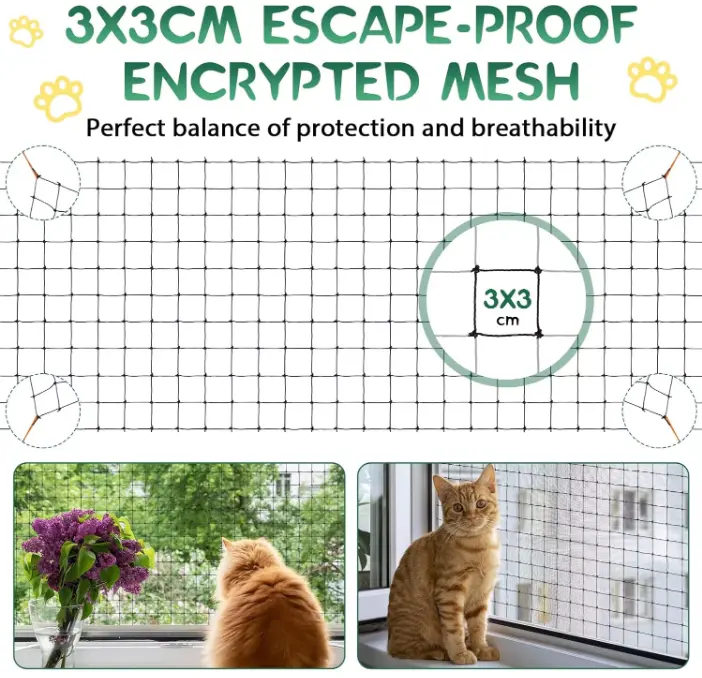
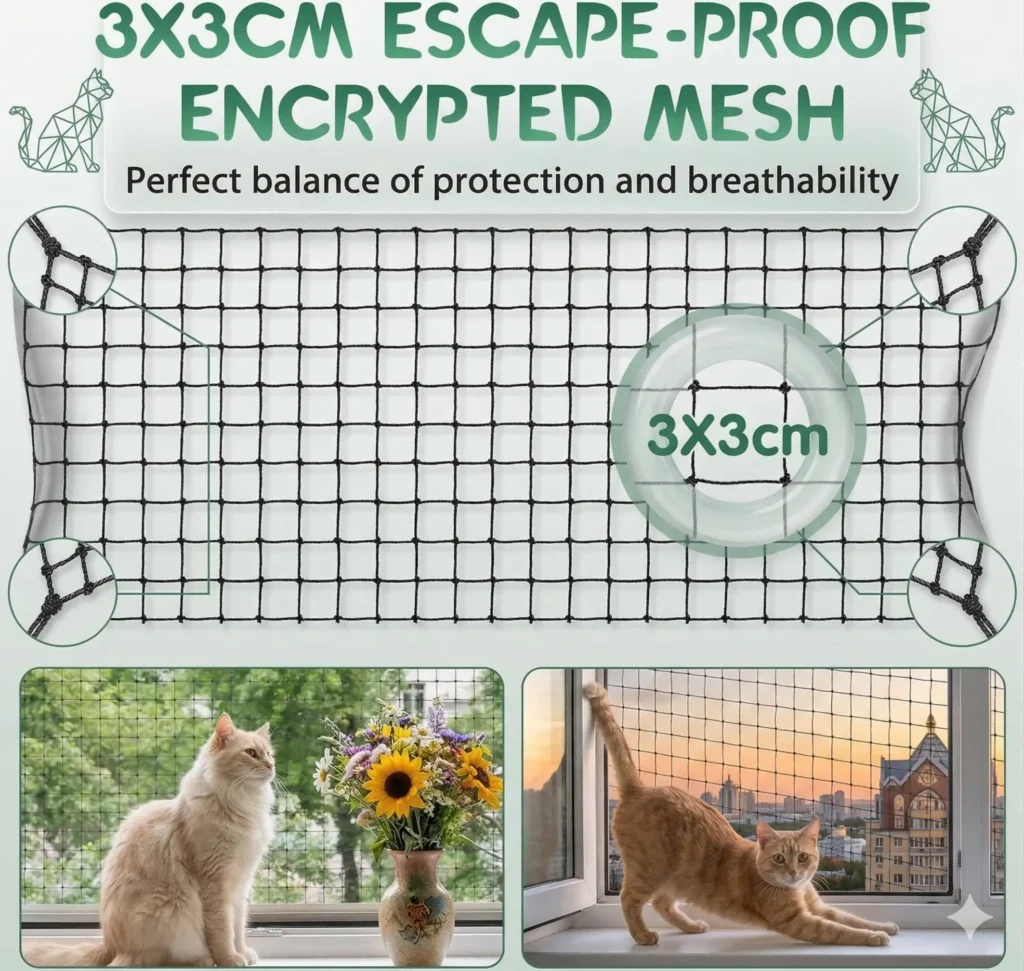
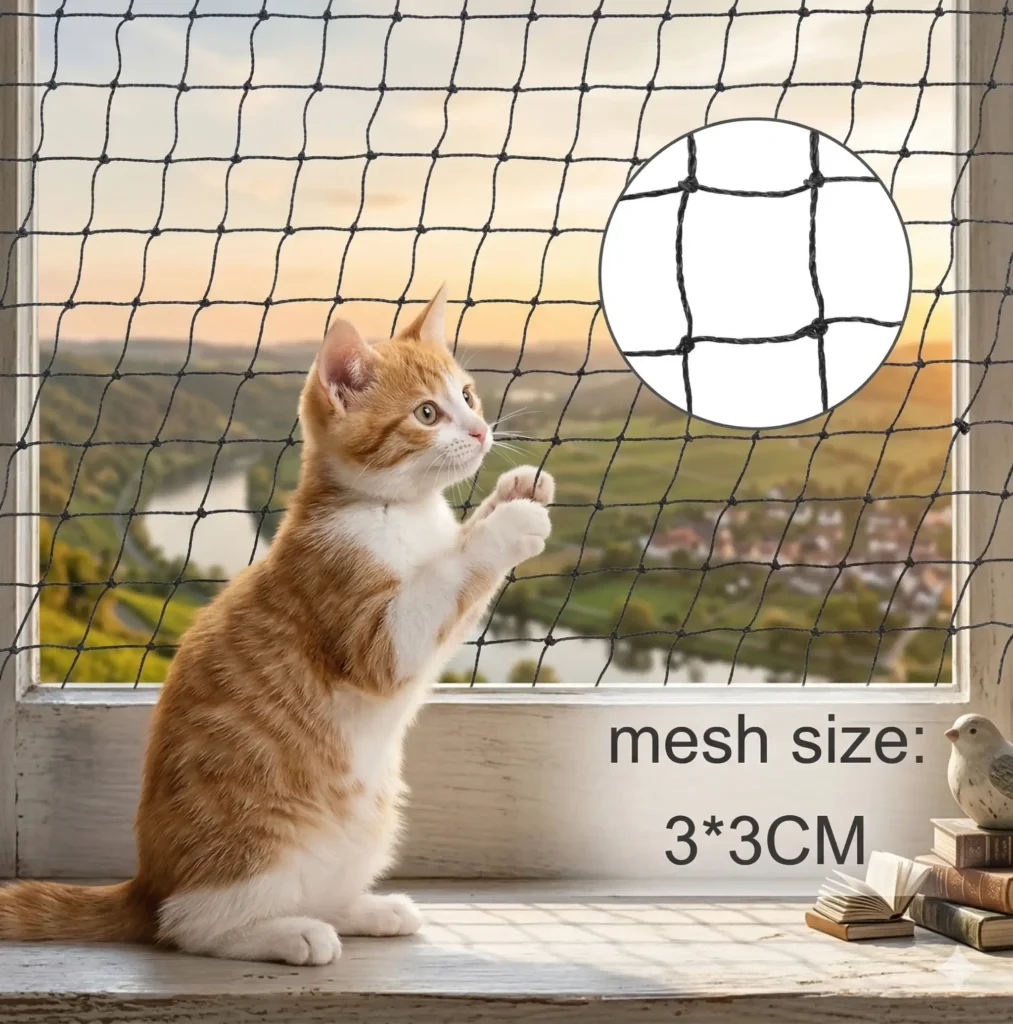
A 30mm mesh is commonly used for cat protection nets, but mesh size alone does not guarantee suitability. Consider the cat’s size, age, behaviour and ability to climb or chew. Kittens and very small cats may require additional assessment.
Should the Cat Net Be Tight or Loose?
It should provide stable, continuous coverage without large sagging sections or excessive tension. Pulling the net too tightly can place unnecessary stress on hooks and anchors.
Do I Need Separate Panels for an L-Shaped Balcony?
Not always. Some installations can use one continuous net, while others work better with separate connected panels. Provide the dimensions of each section and a labelled drawing so the supplier can recommend the better layout.
Final Measurement Checklist
Before requesting a quotation, confirm that you have:
- Measured the front width at several points
- Measured the height at the left, centre and right
- Recorded every side opening
- Checked the railing and floor gaps
- Marked pipes and permanent obstacles
- Identified the fixing surfaces
- Selected drill or no-drill installation
- Taken clear balcony photos
- Prepared a labelled drawing
- Described the cat’s size and behaviour
- Stated the preferred net material
- Listed the required accessories
If you are unsure about the correct size, send us your measurements, drawing and balcony photos. We can help review the opening and recommend a suitable net type, production size and accessory kit for your project.
For a broader introduction to materials and applications, read our cat net guide for balconies and windows.
Contact MaxCatNet for a Custom Size Recommendation
About the Author
David Song has more than 10 years of experience in international trade and works with cat protection nets and customized outdoor netting products for overseas markets. His content focuses on product specifications, installation requirements, quality control and practical sourcing information for buyers.
Last updated: August 3, 2026