
An open staircase is not one rectangular opening. A flight rises, a landing turns, a handrail changes height, and an open riser or side return can create a second plane that is almost invisible in a front photograph. A useful cat-net quotation therefore starts with a map of separate planes and numbered edges—not with one overall width and height.
The survey should let an installer answer four questions: where the net boundary begins and ends, where it changes direction, what each edge is made from, and which areas must remain accessible or movable. Product selection comes after that geometry is understood. Photos alone can support the record, but they cannot replace measurements or a competent site review.
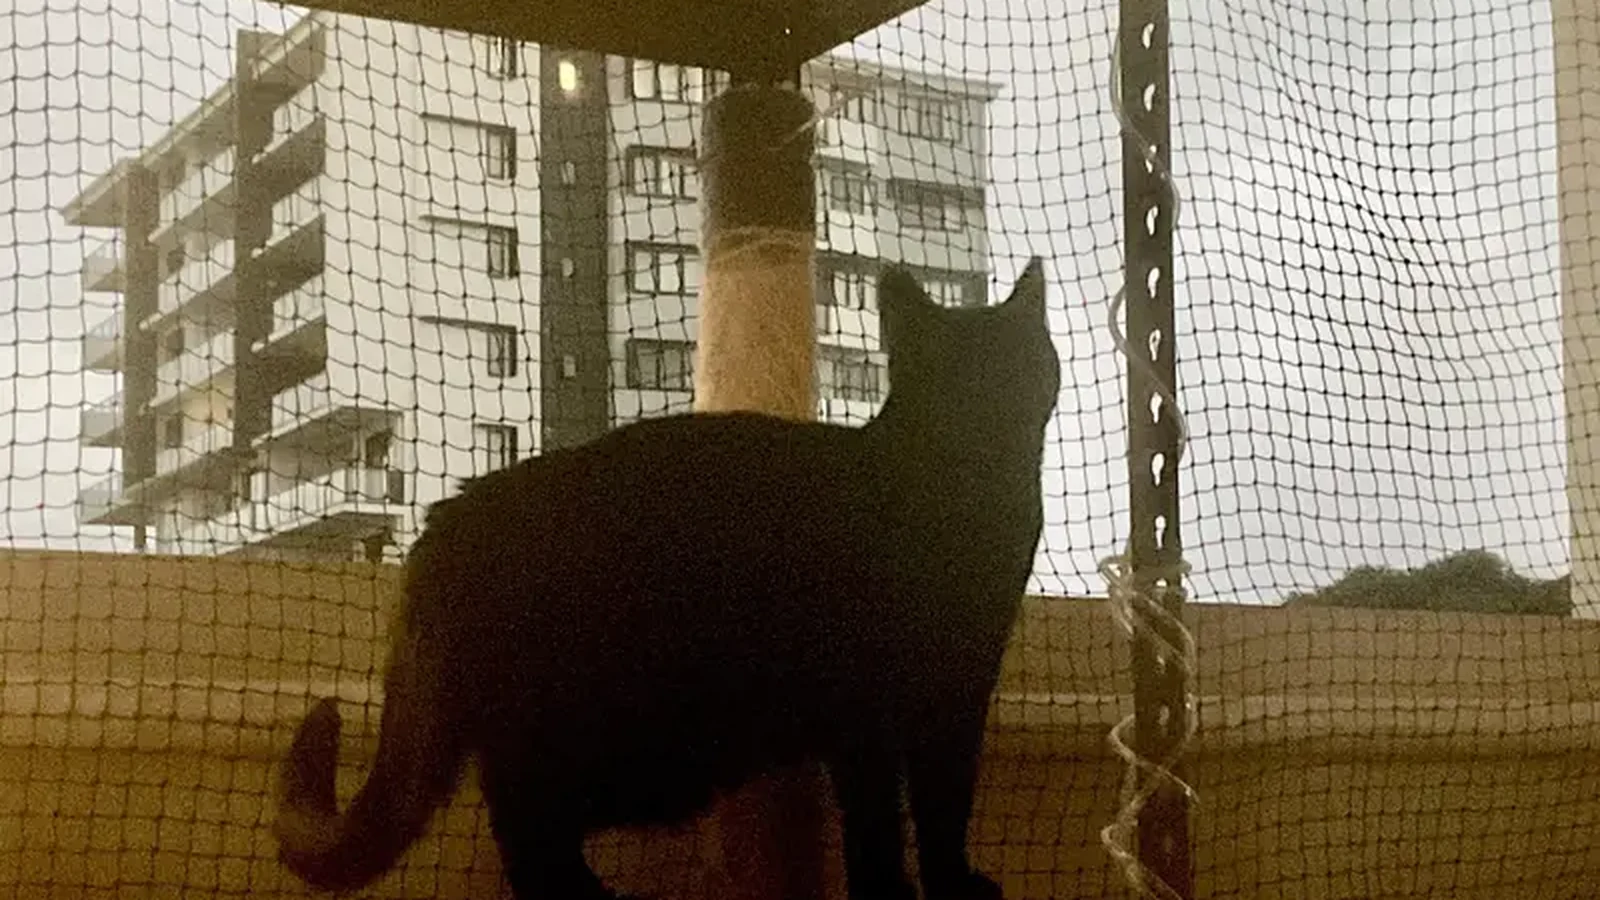
Draw the Stair as Plan Views and Elevations
Begin with a simple floor plan for each level touched by the staircase. Mark the lower floor, each flight, every landing, the upper floor edge, nearby doors and the direction of travel. Give each view a stable ID such as P1 for the lower plan, E1 for the first-flight elevation and E2 for the landing return.
Then draw an elevation for every open side. One long staircase may need several elevations because a camera facing the first flight cannot show the landing return or the far side of a half-turn. Add a section where an open riser, stair stringer, soffit or ceiling edge changes the possible net plane.
The exact stainless-steel wire-reinforced cat net product record lists stair among its applications. It also presents 12+1, 15+3 and 18+6 constructions, a 1.0 mm line reference and a 30 × 30 mm mesh. Those are product fields for an RFQ. Fixing position and method still require site and installer review.
Give Every Potential Net Plane a Name
Use one code for each continuous surface the net may occupy. For example:
| Plane ID | Typical location | Survey question |
|---|---|---|
| F1 | open side of first flight | Does the boundary follow the sloping handrail or another reviewed line? |
| R1 | open riser zone | Is a separate vertical or stepped solution being considered? |
| L1 | landing outer edge | Where does the flight plane terminate and the landing plane begin? |
| T1 | upper-floor return | Does the boundary continue past the last tread or stop at a post? |
| U1 | underside or soffit transition | Is this a true open route, a service zone or outside the proposed scope? |
Treat the planes as survey IDs rather than assumed cut panels. The codes exist so the owner, installer and supplier can discuss the same geometry. The final design may combine or split them after fixing lines, installation access and material behaviour are reviewed.
The published handrail-to-ceiling boundary survey is useful for straight posts and upper edges. A staircase adds a moving height and a direction change, so each flight and return still needs its own elevation.
Number the Edges, Posts and Direction Changes
For each plane, label edges clockwise: F1-E1, F1-E2 and so on. Note whether the edge is a handrail, newel post, wall, slab, ceiling, stair stringer, balustrade or another substrate. Take a close photograph with the edge code visible on a temporary label or written card.
Measure between fixed reference points that another person can find. Record whether a measurement is horizontal, vertical, along a slope or diagonal. When a staircase is not square, preserve the actual geometry instead of forcing it into a rectangle. Capture both relevant diagonals and show exactly which corners they connect.
At every direction change, add three items: a wide context image, a close view of the junction and a sketch showing which planes meet. This is especially important where a sloping flight reaches a level landing, where a handrail meets a wall, or where a vertical post does not align with the intended upper boundary.
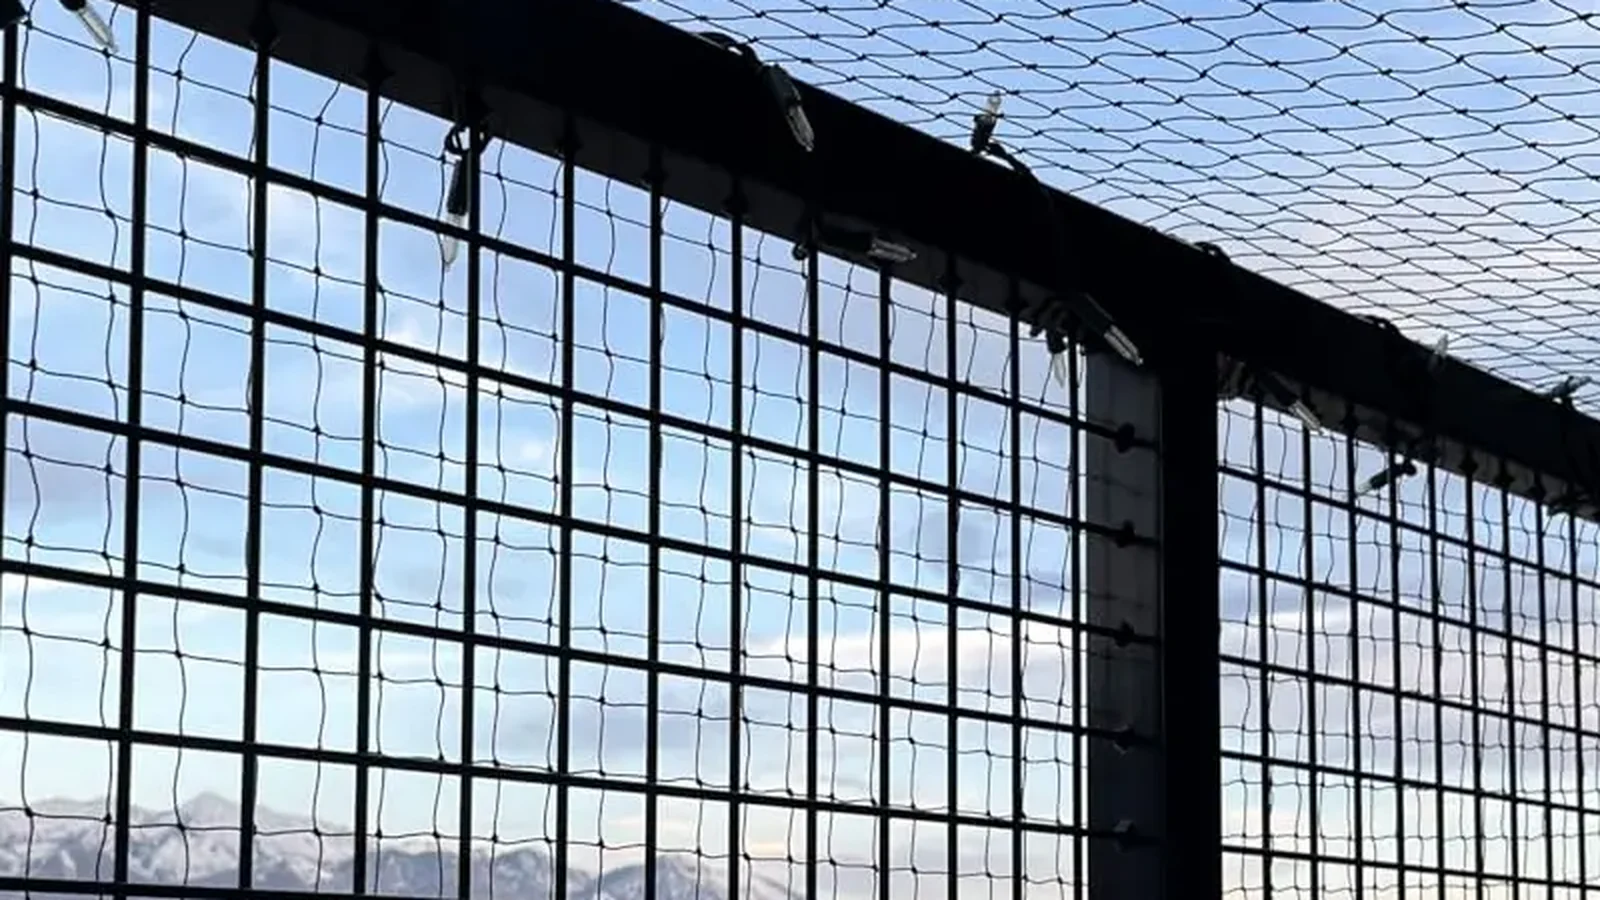
Treat Open Risers and Under-Stair Voids as Separate Questions
An open-riser flight creates repeated gaps, while an open side creates one larger boundary. They are not the same measurement problem. Photograph the tread, riser gap, stringer and underside from both directions. Record the smallest and largest repeated dimensions if they vary; installer review must precede any prescribed net path.
Also map access into any under-stair storage, electrical panel, cleaning zone or building service. A proposed boundary should not silently block inspection, maintenance or evacuation requirements. The property owner and competent installer need to confirm what may be enclosed and what must stay accessible.
If furniture, shelving, plant pots or cat furniture sits beside the stair, show it on the plan and photograph the space with and without movable items when possible. The survey should distinguish the permanent building geometry from objects that can change the route or provide access to an edge.
Record Moving Parts and Human Use
Walk the staircase as it is normally used. Note door swings, gates, folding elements, hand contact zones, cleaning routes, carried-object clearance and the path for moving furniture. Mark where a person must grip the handrail and where staff need to reach a light, alarm, detector or service point.
The purpose is not to promise that netting is suitable in every location. It is to reveal conflicts before a quote. A clean elevation can hide a door that opens across the proposed plane or a landing corner used to turn large items.
Provide the installer with the cat-use context as well: number and approximate size of cats, observed climbing or chewing behaviour, supervised or unsupervised access, and any known contact points. This information supports a professional suitability review; it does not turn the product into child fall protection or a certified guardrail.
Separate Material Choice From Fixing Approval
The product page presents drilled and no-drill approaches, but a staircase survey should not choose between them from appearance alone. Record the actual substrate at every coded edge and identify finishes, hollow sections, glazing, decorative caps, existing damage or landlord restrictions.
Ask the installer which fixing line is acceptable, what access is needed, how corners and terminations are handled, and whether the proposed system can be inspected and maintained. Any fixing component, load statement or substrate claim should come from the responsible installer or supplier documentation for the real site.
Wire-reinforced and transparent nylon products must also remain separate entities. A photograph of one provides no approval evidence for the other. Put the selected construction, colour, mesh, finished size, edge treatment, accessories and installation method on the exact quotation line.
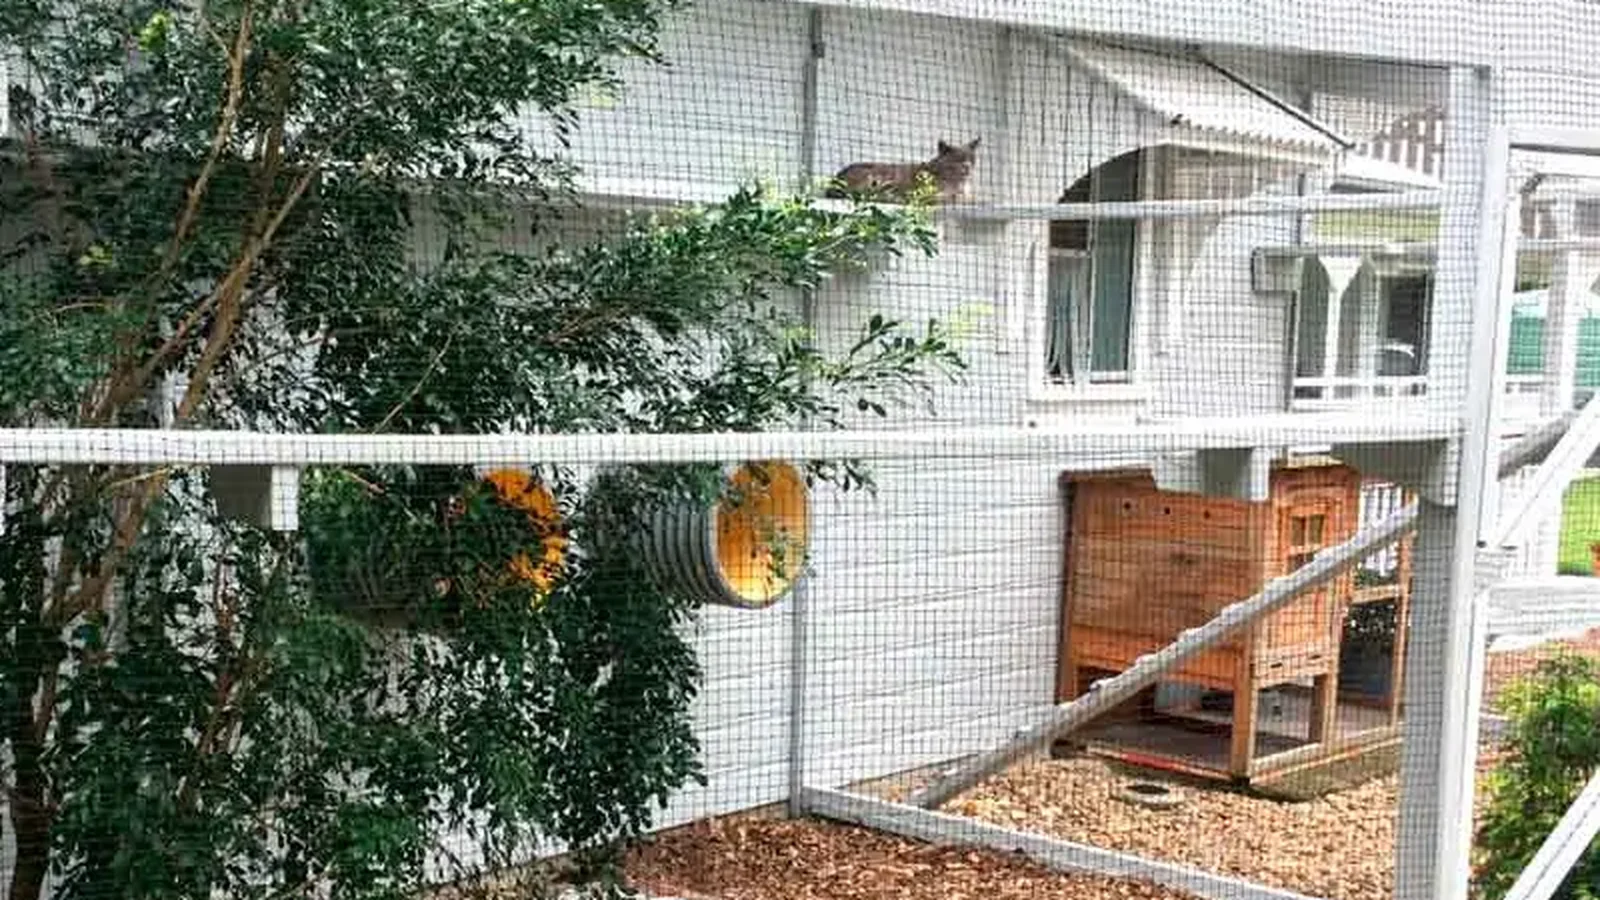
Build a Quote-Ready Survey Pack
Compile the record in a predictable order:
- address or project ID, survey date and surveyor;
- plan and elevation index;
- plane schedule with purpose and status;
- edge schedule with measurements and substrate notes;
- numbered wide and close photographs;
- doors, gates, handrail contact, service and cleaning access;
- cat-use context and explicit exclusions;
- open questions for the property owner, installer and supplier.
Mark every dimension as measured, estimated or pending. Preserve awkward geometry rather than rounding it into a clean number to simplify the form. A supplier can price a known rectangle; an installer needs to know when the actual boundary is not one.
After the installer proposes a layout, return the marked-up plan to the site and compare every plane and edge. Revision letters should distinguish the original survey from the approved installation drawing. If one edge moves, record which panel dimensions and accessories are affected.
Related Reading
- Measuring an L-Shaped Balcony for Cat Net Panels shows how to split a turning boundary into controlled planes.
- Cat Net Mounting Substrate Survey keeps material identification separate from fixing approval.
- Cat Net Cut-Panel Identification for Multi-Opening Projects helps carry plane IDs into packing and installation.
Send the Stair Geometry, Not Just a Photo
For a MaxCatNet quotation, send the project and destination, numbered plan/elevation views, every measured edge, substrate notes, moving and access zones, cat-use context, landlord or drilling limits, preferred colour and construction, and the installer’s marked fixing review. Ask for the exact panel schedule, accessories, packing identity and approval evidence. The final installation and safety decision belongs to the competent parties responsible for the real staircase.