
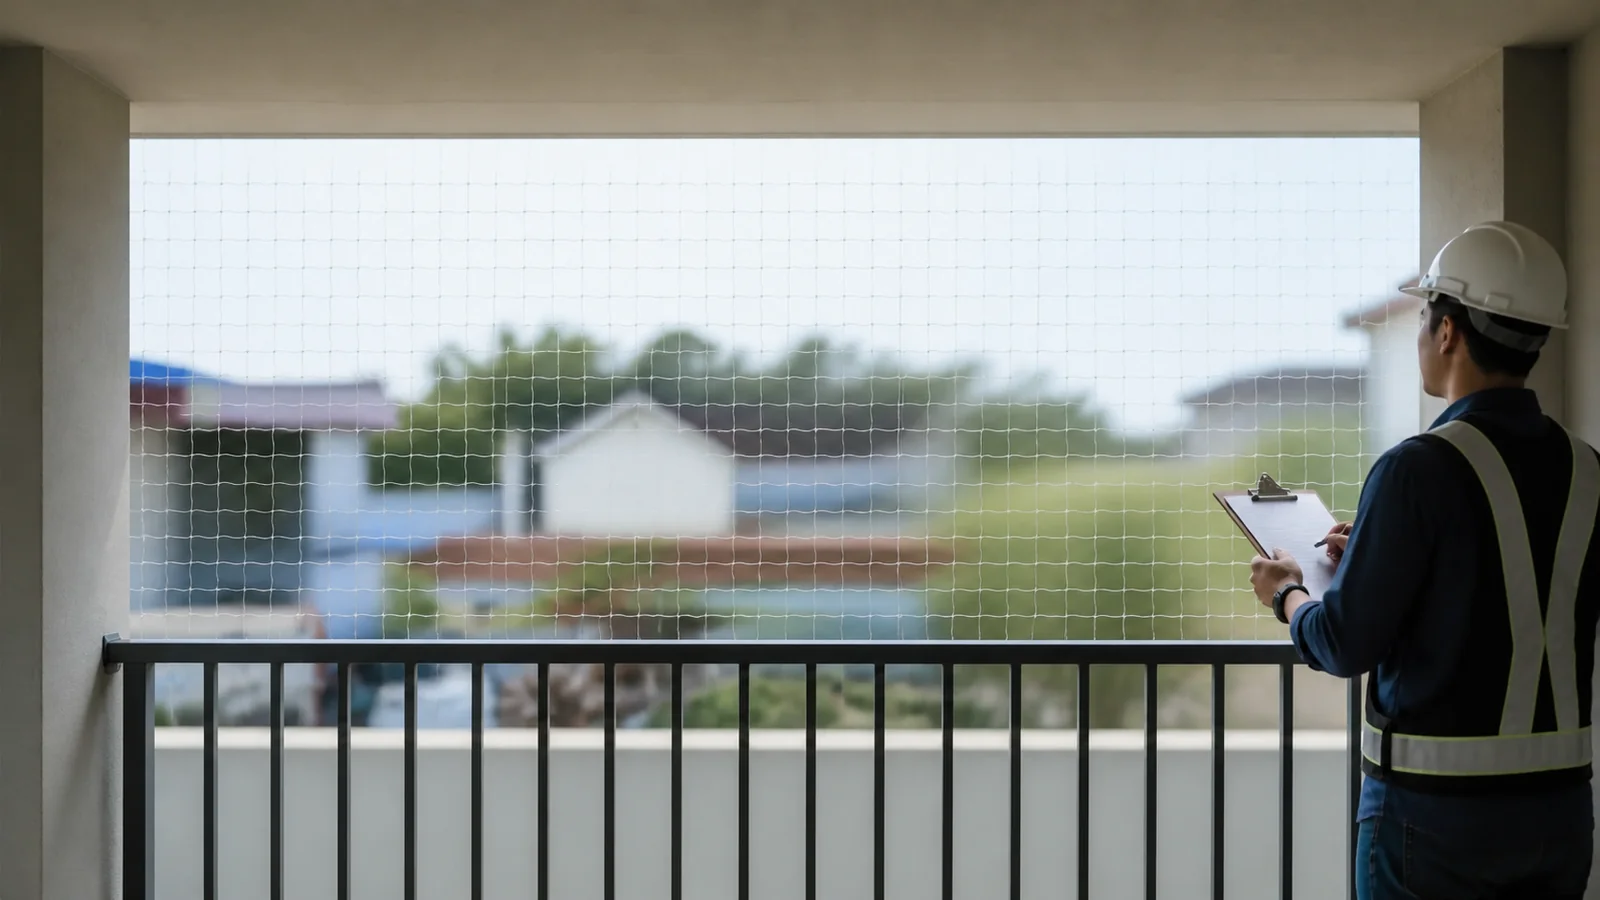
The phrase 'handrail to ceiling' sounds like one rectangular panel, but real balconies rarely have four simple edges. The handrail may change height, glass panels may sit below it, posts interrupt the line, the ceiling may step around beams, and side returns may end against walls, windows, or open gaps. A credible quotation and installation concept must map the entire enclosure boundary, including every transition where a gap could appear.
Define the Enclosed Volume
Draw a plan and elevation showing the dwelling side, outer handrail line, ceiling or slab edge, side boundaries, corners, doors, windows, and any open return. Mark whether the net plane aligns with the inside, center, or outside face of the handrail. That location affects dimensions and access.
State which areas are inside the proposed enclosure. Never leave a side return implicit because the front width is known. For an L-shape or projecting corner, create separate plane IDs.
Survey the Lower Boundary Along the Handrail
Record handrail material, top profile, joints, posts, brackets, glass-panel tops, balusters, gaps beneath or beside the rail, and any change in height. Measure from a shared datum and photograph every transition. The visible handrail cap may not be an approved fixing substrate, particularly when it belongs to a glass railing assembly.
Show how the lower net edge is expected to pass posts and corners. Final attachment details need installer and building approval; a supplier drawing should not invent an anchor into an unknown assembly.
Map the Ceiling and Upper Transitions
Measure ceiling height at both ends and wherever beams, soffits, lights, drains, facade joints, or level changes occur. Record surface material as observed and flag concealed construction. Check whether a suspended lining or removable panel needs maintenance access.
A straight lower handrail does not guarantee a straight upper line. Provide segmented dimensions for steps and offsets rather than one average height. Use diagonals or plumb references where geometry appears out of square.
Close Side Returns and Corners
At each end, show whether the boundary meets a wall, window frame, column, privacy screen, pipe zone, or another railing. Record width, heights, profile depth, and the smallest visible gap. Corner close-ups should include both adjoining planes.
Where a door or window opens into the enclosure, map handles, travel, and cleaning access. If a side remains open because fixing is prohibited, the design is incomplete until the responsible installer defines an approved solution or restricts use.
| Boundary Segment | Survey Fields | Typical Uncertainty |
|---|---|---|
| Lower handrail line | Profile, posts, level changes, gaps | Suitability of railing assembly for fixing |
| Upper ceiling line | Height, beams, soffits, services | Concealed substrate and access panels |
| Side returns | Material, width, openings, offsets | Window/door movement and mixed materials |
| Corners | Both plane profiles and smallest gaps | Continuity around posts or trims |
Choose Product and Panel Boundaries Carefully
Transparent nylon can reduce visual prominence, while the wire-reinforced net offers a PE/HDPE structure with stainless steel wire for projects where bite resistance is an important buyer concern. Neither choice removes the need for complete boundaries, appropriate installation, supervision, and inspection. Review nylon and wire-reinforced product details separately.
Ask the supplier to show panel divisions, edge lengths, orientation, and transitions. If the enclosure uses different panel planes, assign IDs that match packing and handover. Never approve a visual rendering without a dimensional schedule.
Verify the Boundary After Installation
Inspect the full lower edge, upper edge, side returns, corners, posts, panel joins, and access details. Look for unintended openings, twisted mesh, rubbing points, loose or damaged components, and interference with doors or maintenance. Use photographs from the same IDs as the survey.
The installer should confirm the completed work under the project criteria. Reinspect after facade work, railing service, ceiling access, window replacement, or any impact. The net is a cat-specific product and must not be described as child fall protection.
Translate the Survey Into an Edge Schedule
Create an edge schedule for every panel plane. List edge ID, start corner, end corner, measured length, profile changes, visible material, proposed installer detail reference, access restriction, and verification status. Corners receive their own IDs because two individually measured edges can still leave an ambiguous transition. This schedule lets the supplier, installer, and buyer discuss the same location without relying on a marked-up photograph alone.
Separate physical geometry from attachment decisions. The measured top of a metal handrail is a location; it is not proof that the cap can accept hooks, adhesive, drilling, rope tension, or another method. The ceiling finish may be a lining rather than structure. Give substrate and fixing fields an unverified status until the responsible installer or building party confirms them. This prevents a quotation drawing from quietly becoming an engineering claim.
Where profiles change, add sections through the boundary. A side view can show glass below a rail, a post projection, the offset to the desired net plane, and the smallest remaining gap more clearly than a plan. Use actual dimensions and label the direction. For complex corners, a site template or three-dimensional scan may support the survey, but critical output still needs accountable verification.
Before production release, trace a finger around the complete edge schedule on the plan: lower line, corner, side return, upper line, opposite return, and every panel connection. Each transition needs a detail or an explicit unresolved status. A missing edge often becomes obvious during this continuity review. The final handover should use the same IDs so later maintenance can identify exactly which ceiling segment, post, or handrail transition has changed.
Plan Safe Survey Access
Some dimensions sit near an outer edge, high ceiling, glazing, or obstructed corner. The survey plan should identify access equipment, competent personnel, weather limits, occupancy control, and locations that cannot be measured safely from the floor. Never lean outside a railing or improvise a ladder position to complete a quotation field. Use photos, remote measurement, building drawings, or a qualified site visit as supporting methods, then mark the required verification. A blank with an owner is safer and more useful than a number collected through unsafe access or guessed from perspective.
Buyer Checklist
- Draw the enclosed volume in plan and elevation.
- State the net plane relative to the handrail.
- Record every post, bracket, glass edge, height change, and lower gap.
- Segment ceiling measurements around beams, soffits, and services.
- Measure side returns, corners, doors, windows, and smallest gaps.
- Require installer confirmation for all substrate and fixing assumptions.
- Use the same boundary IDs for drawings, panels, photographs, and handover.
Frequently Asked Questions
Can a handrail be used automatically as the lower fixing line?
No. The exact railing assembly, permitted method, loads, and installer assessment determine whether and how it can form part of the boundary.
Is one height measurement enough?
Not when ceiling levels, rail heights, or profiles vary. Measure at endpoints and every meaningful transition.
Can the front panel be installed before side returns are solved?
The enclosure should not be treated as complete while a boundary remains unresolved.
Related Product or Reading
For irregular plans with a return corner, continue with measuring an L-shaped balcony and keep plane IDs consistent.
Discuss the Exact Project
Send MaxCatNet the plan, elevations, boundary schedule, post and corner photos, materials, movement paths, panel preference, and installer questions.