
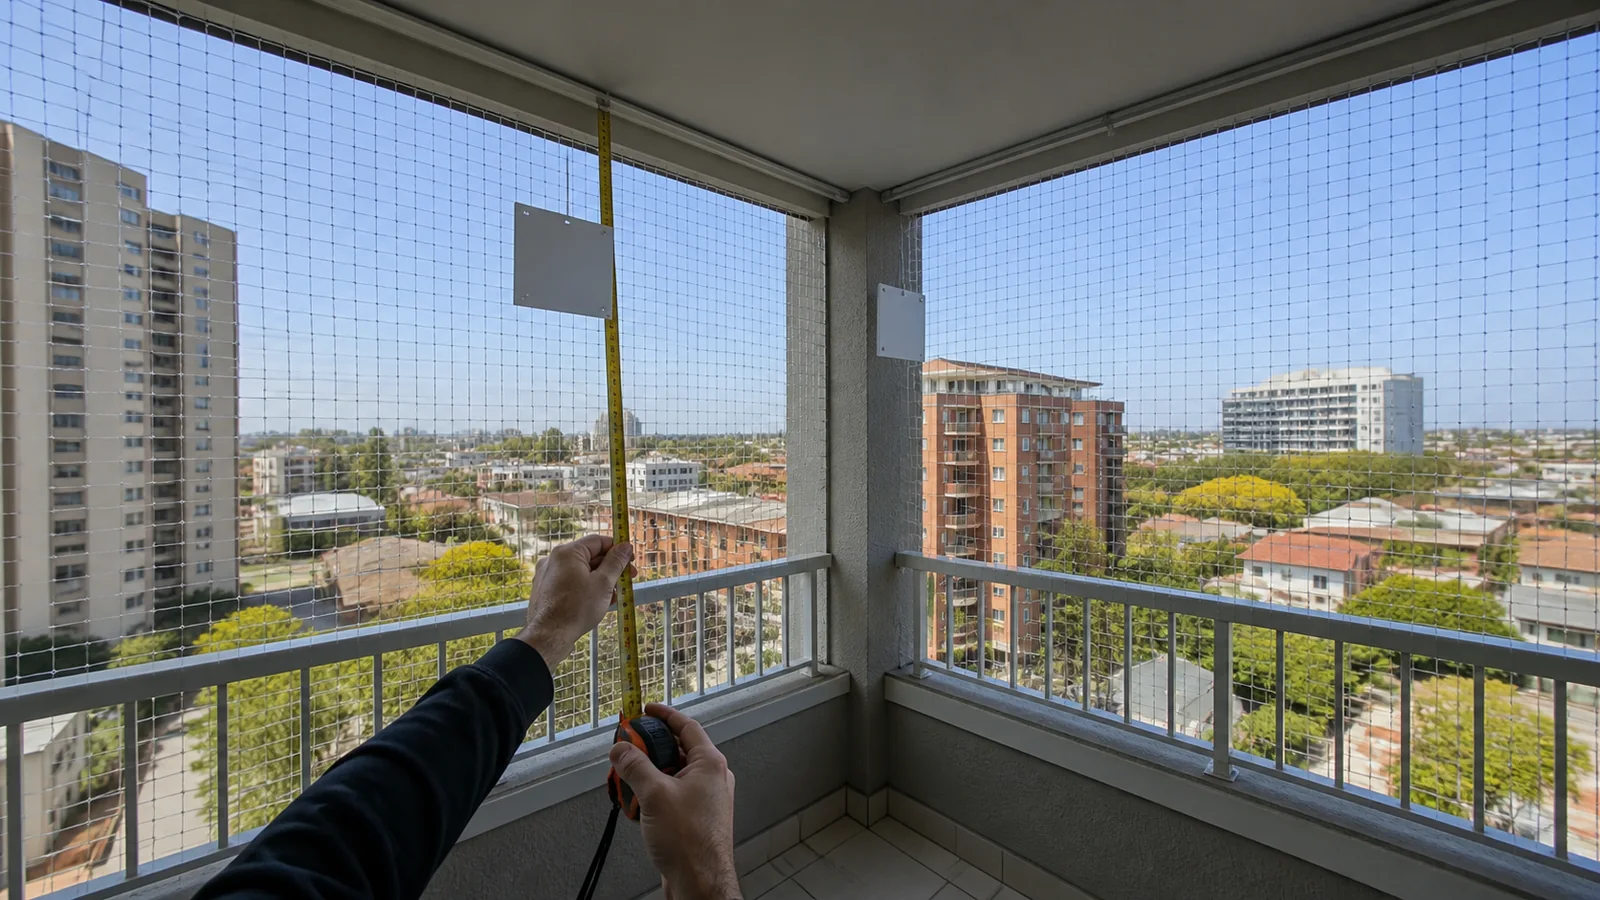
An L-shaped balcony contains at least two outward-facing planes and a shared return corner. It may also include side walls, open ends, handrail changes, columns, drainage pipes, ceiling steps, or glazing. Sending only the longest width and one height invites assumptions about where panels meet and what can support the perimeter. A better quotation starts with a plan view, assigns an ID to each plane, and records every boundary from the same datum system.
Draw the Shape Before Taking Dimensions
Sketch the balcony from above as if the ceiling were removed. Mark the dwelling wall, both balcony legs, the inside return corner, outer railing line, doors, windows, columns, and open ends. The sketch does not need to be architectural, but the left and right orientation must match the photographs.
Name the outward planes A and B. Name side returns C and D if they also need net coverage. Add a photo ID and arrow for each viewing direction. A supplier can then say 'Plane B top boundary' instead of trying to infer a location from IMG_4382.
Choose Shared Datums
Select a repeatable horizontal datum such as the finished floor line or top of handrail and a vertical datum such as a building corner or column face. State where the tape begins and ends. Record whether dimensions are clear openings, surface-to-surface lengths, or centerline distances.
Never add installation allowance unless the supplier or installer requests a specific method. Provide measured geometry first. The final cut size depends on edge treatment, tensioning approach, fixing line, and installer practice.
Measure Each Plane as Its Own Opening
For Plane A, record lower width, upper width, left height, right height, and at least one diagonal where practical. Repeat for Plane B. If the upper and lower widths differ, never average them. Record the actual values and show which endpoint belongs to the inside corner.
Measure the return corner at several levels if posts, trims, or railings change profile. A plan dimension may look square while the usable fixing line steps around a post. Add close-up photos with a ruler or tape visible, without hiding the edge.
| Plane Record | Minimum Geometry | Context to Add |
|---|---|---|
| A: first outer face | Top, bottom, two heights, diagonal | Railing and ceiling boundaries |
| B: return outer face | Top, bottom, two heights, diagonal | Shared corner and open end |
| C/D: side returns | Width, heights, obstruction offsets | Wall, glazing, or open boundary |
| Shared corner | Offsets at relevant levels | Post, trim, gap, and substrate |
Map Boundary Materials and Interruptions
For every edge, record the material or assembly visible to the surveyor: concrete, masonry, metal frame, glass railing system, ceiling lining, timber, or an unknown concealed construction. Never assume the visible finish is a suitable fixing substrate. Mark uncertainty for installer verification.
Record handrail brackets, drains, pipes, lights, movable screens, window handles, service access, and any gap that could interrupt a continuous boundary. Provide offsets from a named corner, not only close-up photos. Building approval and permitted fixing methods must be confirmed separately.
Decide Whether the Corner Uses One Panel or Several
Panel division is an installation and production decision, not something a buyer should guess from appearance. One continuous piece may be possible for some flexible net layouts, while separate panels may make identification, handling, replacement, or corner control clearer. The correct option depends on the perimeter, material, edge finish, panel size, and installer method.
Ask the supplier to show seam or panel boundaries on the returned drawing. Give each panel a unique ID and orientation mark. If a corner connection is proposed, request a detail showing how the boundary remains continuous without creating an unsupported claim of absolute safety.
Issue a Quotation Pack That Can Be Checked
Combine the plan view, plane schedule, numbered photographs, close-ups, material notes, access constraints, requested net material, and known installation restrictions. Use the broader cat net measurement guide for standard opening fields.
Treat supplier dimensions as a clarification drawing, not automatic site approval. The installer should verify critical geometry, substrate, edge path, access, and the final fixing concept before cutting or installation. Revisions need dates so an old balcony sketch is not used after building work.
Check the Geometry for Contradictions Before Quotation
A measurement pack becomes more reliable when the numbers are checked against one another. Compare the plan-view lengths with the lower and upper widths recorded for each plane. Where an L-shape appears square, compare diagonals; unequal results can reveal that a corner is not 90 degrees, a wall is not parallel to the railing, or endpoints were taken from different faces. Never force the values to agree. Mark the discrepancy and ask the installer which geometry needs a site template or direct verification.
Photographs can also test the schedule. Every dimension line should have a visible start and end point in at least one photo or annotated sketch. If Plane B ends at the outside face of a post in the schedule but the photo suggests an inside face, resolve that definition before cutting. Use a revision cloud or change note when a datum moves. Replacing a number without explaining its endpoints can produce a second inconsistent drawing.
For multi-panel orders, calculate the boundary twice: once as individual planes and once as the continuous route around the enclosure. The totals will not necessarily equal cut sizes because edge treatment and corner details remain separate, but a missing side return or duplicated corner often becomes obvious. Keep measured opening geometry, supplier manufacturing dimensions, and installer set-out dimensions in different columns.
Finally, identify the measurements that cannot be verified remotely. Examples include concealed substrate, a sloped slab, a deep return behind a post, a ceiling step hidden by a blind, or access that prevents a safe tape measurement. Give those fields an installer verification required status instead of a guessed number. A quotation can proceed with clearly stated assumptions, but production release should wait until critical unknowns have an accountable answer.
Buyer Checklist
- Draw a plan view and label every net plane.
- Use shared horizontal and vertical datums.
- Record top, bottom, both heights, and diagonals per plane where practical.
- Measure the return corner at the levels where its profile changes.
- Map materials, posts, pipes, drains, handles, and open boundaries.
- Ask the supplier to return panel IDs and corner logic on a drawing.
- Have the installer confirm substrate, critical geometry, and final fixing details.
Frequently Asked Questions
Can one overall width be used for an L-shaped balcony?
It hides the return corner and the separate direction of each plane, so it is not enough for a reliable custom quotation.
Should buyers deduct tension allowance?
Provide measured geometry first unless the supplier or installer gives a documented cutting method for the selected edge and fixing system.
Are photos enough for the return corner?
Photos explain shape, but critical offsets and boundaries still need dimensions and installer confirmation.
Related Product or Reading
Use cat net cut-panel identification when the L-shaped balcony will be divided into several manufactured panels.
Discuss the Exact Project
Send MaxCatNet the plan view, plane schedule, photos, boundary materials, access restrictions, preferred net material, and installer questions for a structured quotation review.