
An oversized balcony, terrace, or indoor opening may be wider or taller than the practical panel supplied for the job. That does not make the project impossible, but it changes the planning unit. The installer is no longer handling one rectangle; the job becomes a set of identified panels, planned joins, perimeter edges, corners, obstacles, and access routes.
A useful seam plan begins before cutting. It shows where each panel starts and ends, how its mesh direction is oriented, which structural line supports the join, and whether doors, awnings, drains, rails, or cleaning access cross that line. The buyer can then confirm the supplied joining components and inspection method with the installer instead of discovering the seam arrangement while working at height.
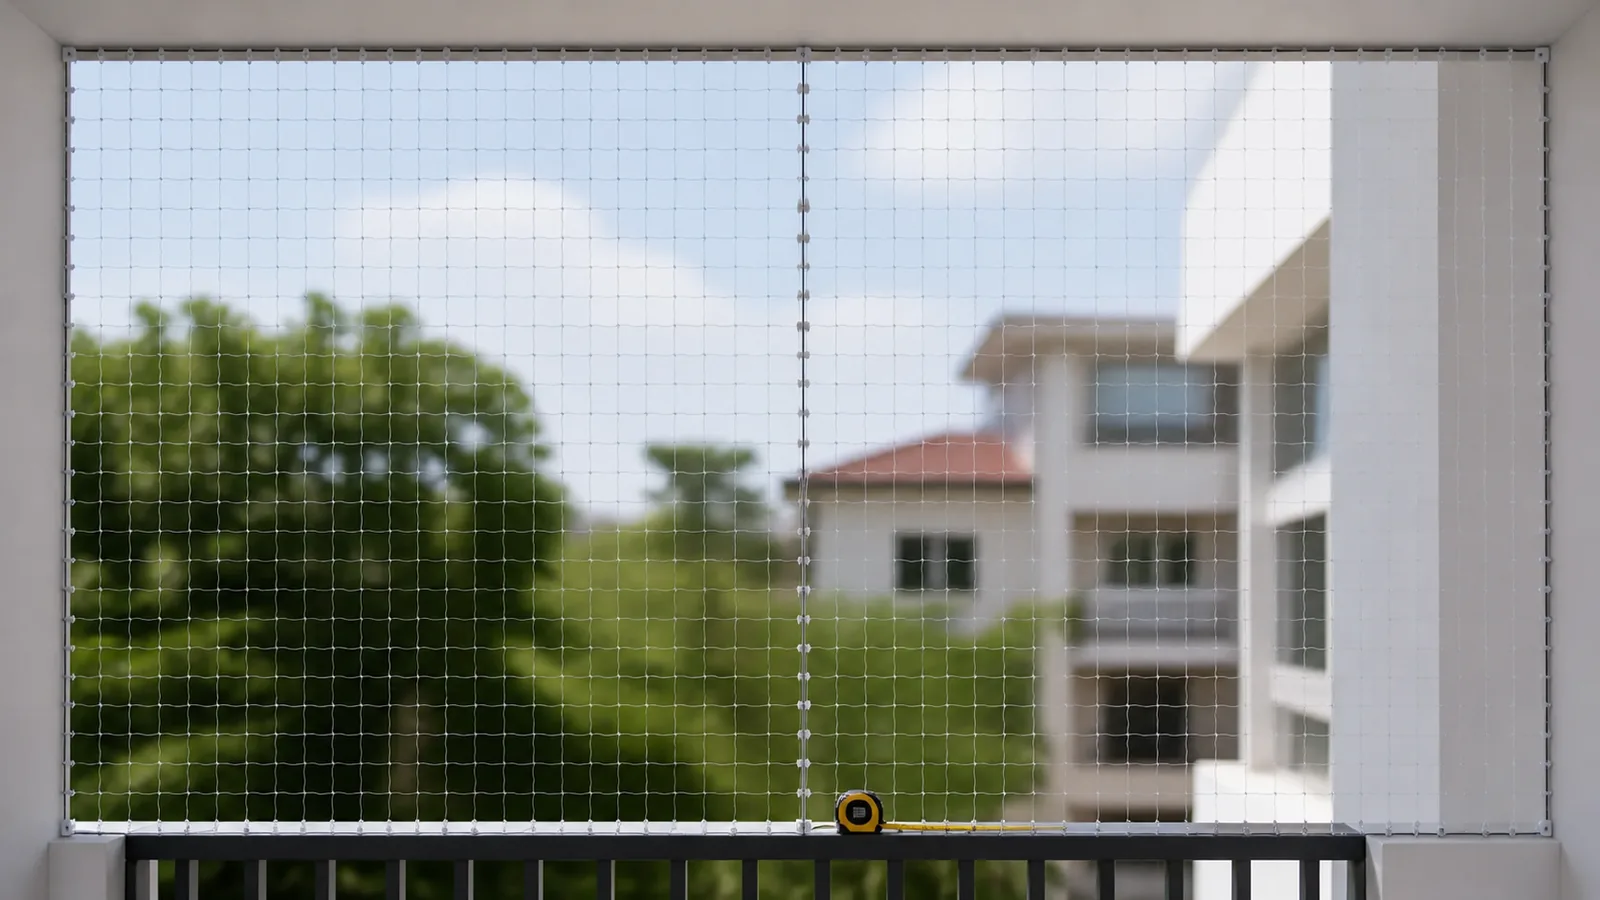
Map the Whole Opening as Connected Planes
Draw the full protected boundary before deciding how many panels are needed. The working record for this stage covers overall width and height, returns and corners, ceiling or top edge, floor or lower edge, railings, doors and windows, and fixed obstacles.
Records for this stage
- overall width and height: source, location, owner, status, and date.
- returns and corners: source, location, owner, status, and date.
- ceiling or top edge: source, location, owner, status, and date.
- floor or lower edge: source, location, owner, status, and date.
- railings: source, location, owner, status, and date.
- doors and windows: source, location, owner, status, and date.
Why this stage can fail: Dividing only the largest front plane while side returns or irregular upper areas remain undefined. Use overall width and height, returns and corners, and ceiling or top edge to document the exception, and keep floor or lower edge with the reviewer's decision.
Release condition: Every plane and transition has a name, dimension source, and proposed panel identity. Record any exception against doors and windows, name its owner and next action, and keep fixed obstacles open until resolved.
Place Seams Away From Moving Features
Choose join lines that remain observable and remain clear of routine movement. The working record for this stage covers door sweep, sliding track, awning path, shutter travel, planter position, cleaning route, and drainage point.
Records for this stage
- door sweep: source, location, owner, status, and date.
- sliding track: source, location, owner, status, and date.
- awning path: source, location, owner, status, and date.
- shutter travel: source, location, owner, status, and date.
- planter position: source, location, owner, status, and date.
- cleaning route: source, location, owner, status, and date.
Why this stage can fail: Placing a seam where hardware rubs it or where furniture prevents later inspection. Use door sweep, sliding track, and awning path to document the exception, and keep shutter travel with the reviewer's decision.
Release condition: The marked seam line stays clear through the full movement and maintenance cycle. Record any exception against cleaning route, name its owner and next action, and keep drainage point open until resolved.
Confirm the Supplied Joining Method
Match the drawing to the components and guidance supplied for the selected net system. The working record for this stage covers net construction, joining cord or approved connector, edge cable or frame, overlap detail when specified, tool list, and installer acknowledgment.
Records for this stage
- net construction: source, location, owner, status, and date.
- joining cord or approved connector: source, location, owner, status, and date.
- edge cable or frame: source, location, owner, status, and date.
- overlap detail when specified: source, location, owner, status, and date.
- tool list: source, location, owner, status, and date.
- installer acknowledgment: source, location, owner, status, and date.
Why this stage can fail: Inventing a knot, clip, adhesive, or overlap because it appears convenient on site. Use net construction, joining cord or approved connector, and edge cable or frame to document the exception, and keep overlap detail when specified with the reviewer's decision.
Release condition: The panel join, perimeter fixing, and corner transitions follow one documented installation method. Record any exception against installer acknowledgment, name its owner and next action, and keep confirm the supplied joining method open until resolved.
Identify Panels Before Cutting
Give every roll segment and finished panel a location code that survives cutting and transport. The working record for this stage covers roll number, panel code, cut length, orientation, top edge mark, seam partner, and installation sequence.
Records for this stage
- roll number: source, location, owner, status, and date.
- panel code: source, location, owner, status, and date.
- cut length: source, location, owner, status, and date.
- orientation: source, location, owner, status, and date.
- top edge mark: source, location, owner, status, and date.
- seam partner: source, location, owner, status, and date.
Why this stage can fail: Stacking similar transparent pieces without labels and rotating or exchanging them during installation. Use roll number, panel code, and cut length to document the exception, and keep orientation with the reviewer's decision.
Release condition: Each cut panel can be traced from the cutting plan to its exact opening and adjoining panel. Record any exception against seam partner, name its owner and next action, and keep installation sequence open until resolved.
Inspect the Join as Part of the Perimeter
Review seams, corners, edges, and penetrations as one continuous installed boundary. The working record for this stage covers seam continuity, connector spacing per approved method, local slack, edge transition, snag point, loose end, and photograph reference.
Records for this stage
- seam continuity: source, location, owner, status, and date.
- connector spacing per approved method: source, location, owner, status, and date.
- local slack: source, location, owner, status, and date.
- edge transition: source, location, owner, status, and date.
- snag point: source, location, owner, status, and date.
- loose end: source, location, owner, status, and date.
Why this stage can fail: Checking only the outer edge while the internal join receives no close visual and hand review. Use seam continuity, connector spacing per approved method, and local slack to document the exception, and keep edge transition with the reviewer's decision.
Release condition: The join is continuous, free of visible damage, and recorded with any exception assigned for correction. Record any exception against loose end, name its owner and next action, and keep photograph reference open until resolved.
Oversized Opening Seam Plan
Use one row per proposed join so ordering and installation teams discuss the same physical line.
| Review Point | Evidence to Keep | Release Question |
|---|---|---|
| Map the Whole Opening as Connected Planes | overall width and height, returns and corners, ceiling or top edge, and floor or lower edge | every plane and transition has a name, dimension source, and proposed panel identity. |
| Place Seams Away From Moving Features | door sweep, sliding track, awning path, and shutter travel | the marked seam line stays clear through the full movement and maintenance cycle. |
| Confirm the Supplied Joining Method | net construction, joining cord or approved connector, edge cable or frame, and overlap detail when specified | the panel join, perimeter fixing, and corner transitions follow one documented installation method. |
| Identify Panels Before Cutting | roll number, panel code, cut length, and orientation | each cut panel can be traced from the cutting plan to its exact opening and adjoining panel. |
| Inspect the Join as Part of the Perimeter | seam continuity, connector spacing per approved method, local slack, and edge transition | the join is continuous, free of visible damage, and recorded with any exception assigned for correction. |
Panel Seam Planning Checklist
- Sketch every connected plane, return, opening, and obstacle before dividing the net area.
- Keep proposed seams away from moving doors, tracks, shutters, and regular cleaning routes.
- Confirm joining components and edge details for the selected net rather than improvising a connection.
- Label cut panels with orientation and seam partners before they leave the cutting area.
- Photograph each completed join together with its nearby perimeter transitions and exception record.
Cat Net Seam Questions
Is a seam automatically a weak point?
Its performance cannot be judged from the word seam alone. The net construction, joining method, support line, workmanship, loading, and inspection all matter. Buyers should request the intended detail and verify the installed join.
Should a seam run vertically or horizontally?
There is no universal answer. Panel dimensions, mesh direction, structural support, access, appearance, and installer method determine the practical orientation for a particular opening.
Can two leftover pieces simply be tied together?
Unplanned leftovers may have unknown orientation, edge condition, and dimensions. Use only a joining method accepted for the selected system and identify both pieces in the project record.
Related Product or Reading
- Nylon cat protection net range: provides the real product scope for the panel plan
- Cat net seams and stitching: explains construction and inspection questions for joined panels
Prepare a Panel and Seam Drawing
Share the opening sketch, plane dimensions, obstacles, moving features, proposed panel boundaries, seam lines, edge structure, access needs, and installation method with MaxCatNet. That project evidence lets MaxCatNet review the selected transparent nylon cat net panel system for this buyer task: Plan how multiple cat net panels meet across one oversized opening without treating a seam as an unrecorded site improvisation.