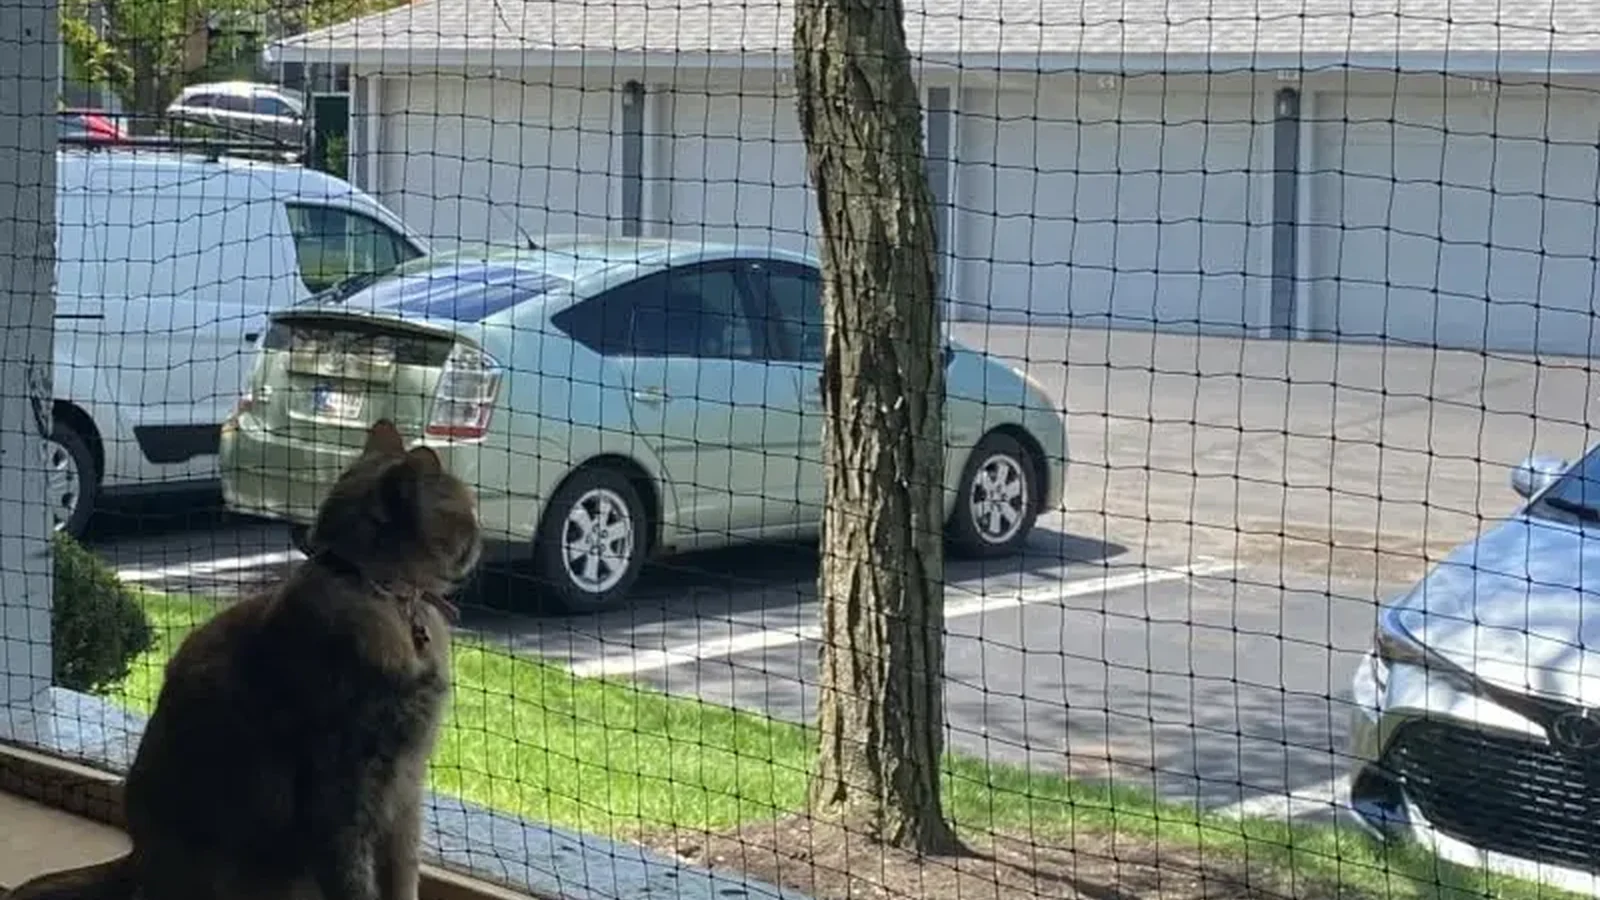
For a wire-reinforced cat net, the mesh is only one part of the installation. The edge structure transfers tension to the balcony, window or frame. If the fixing line is incomplete, placed on a weak surface or interrupted by doors, pipes and corners, the net order may not fit the real opening. Buyers should specify the wire-reinforced mesh and the fixing structure together.
What the fixing structure must do
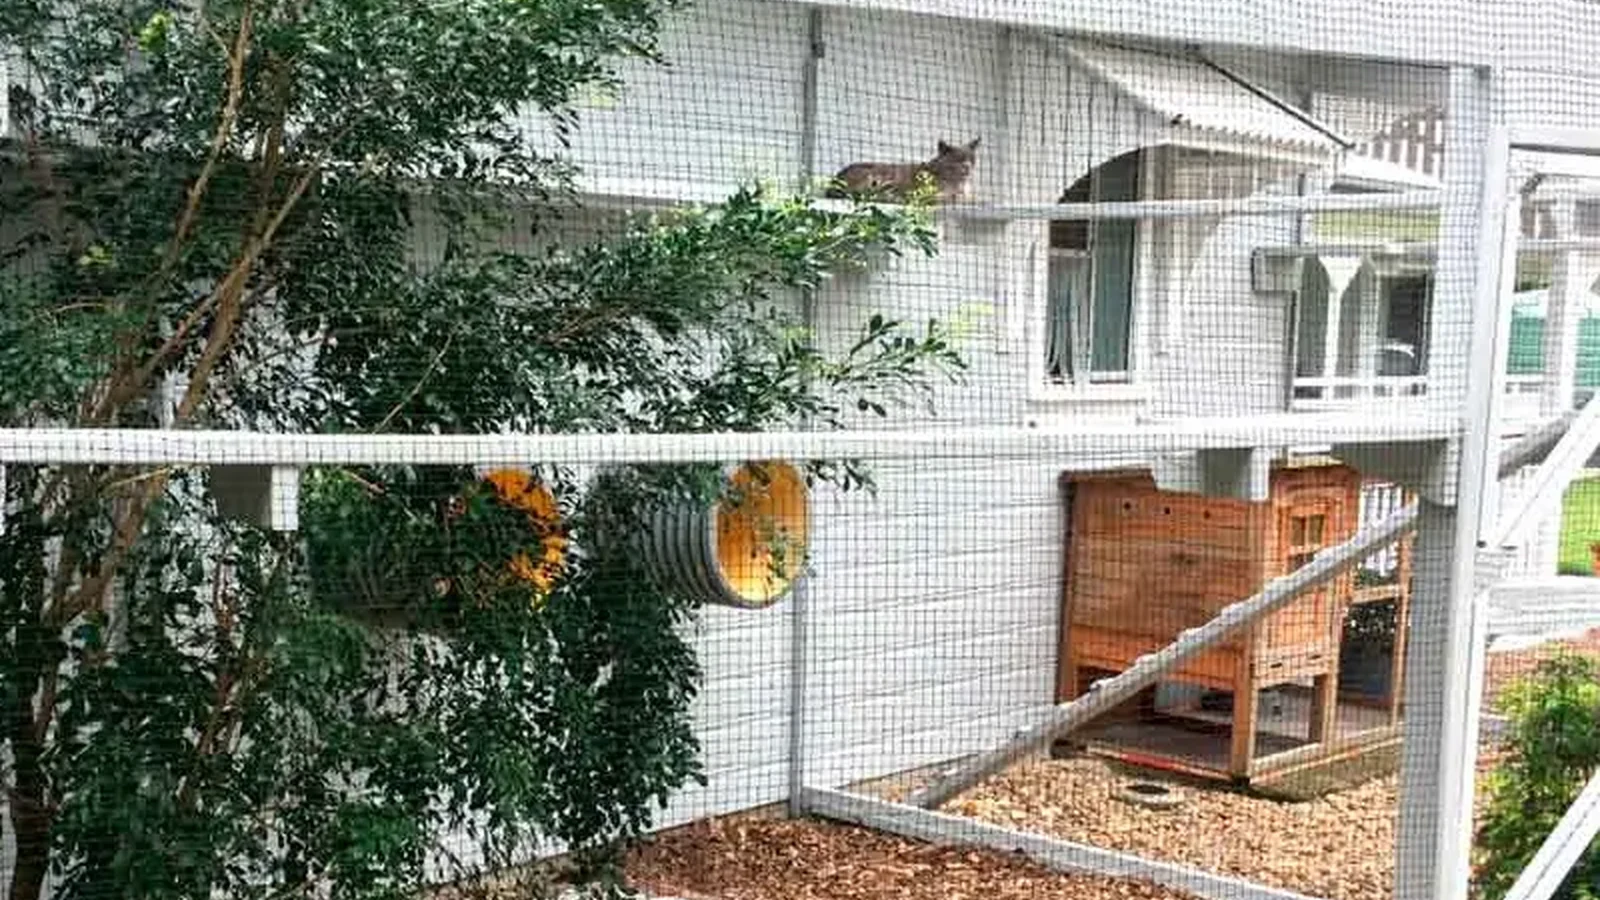
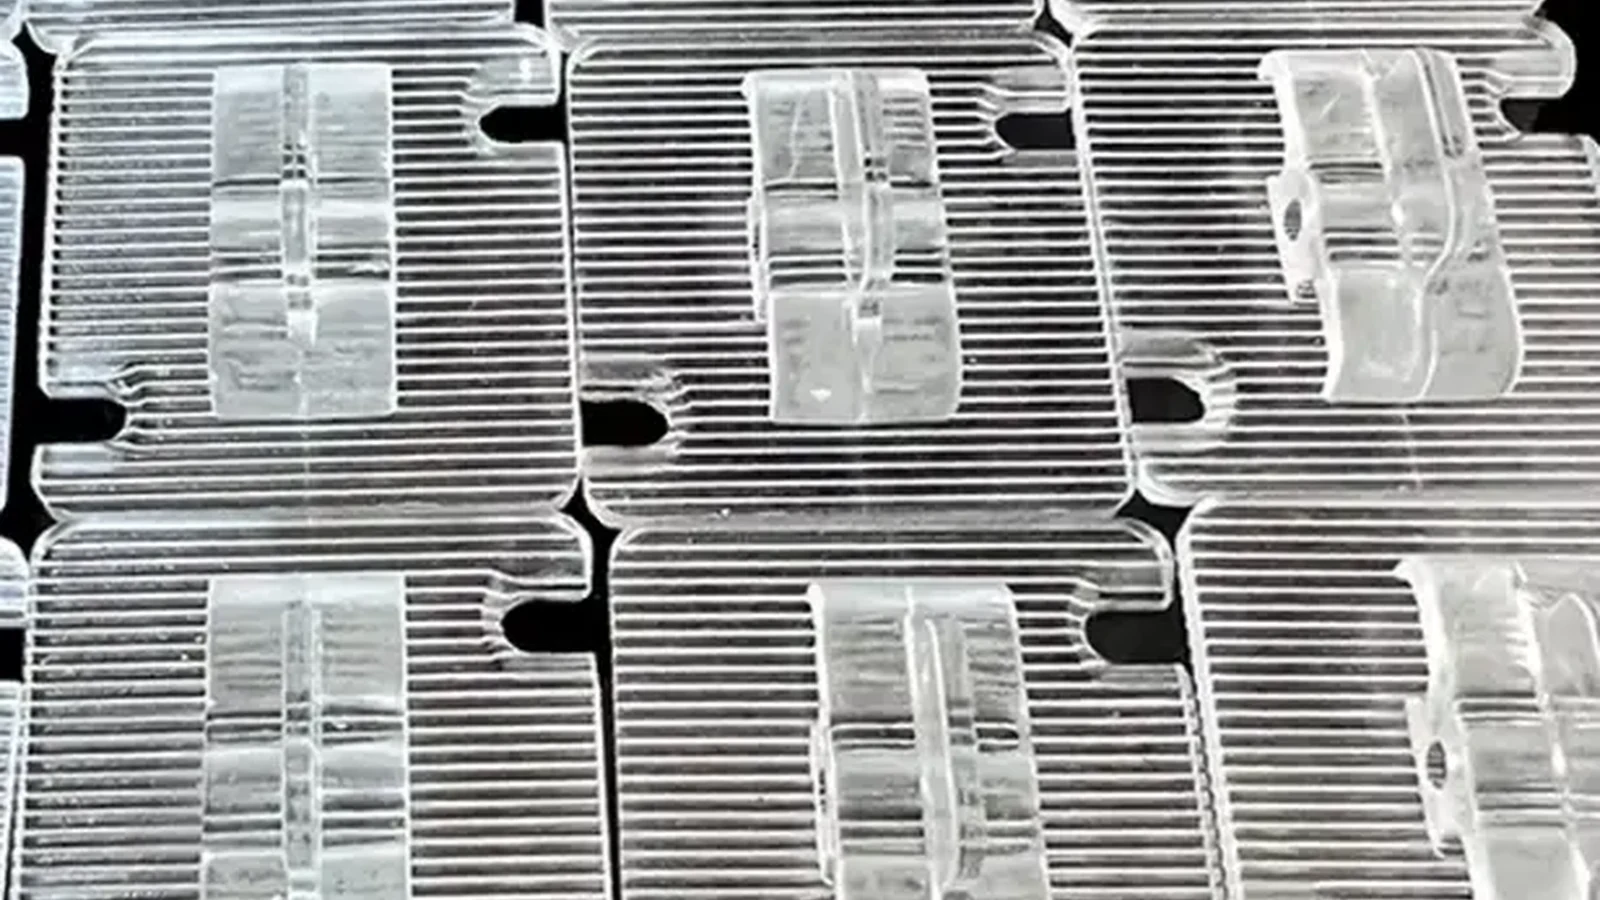
The fixing system creates a continuous boundary around the protected opening. It may include a frame, posts, hooks, eyelets, clips, rope, cable or other accessories selected for the site. The exact combination depends on the surface and the installation method; it should not be assumed from a product name alone.
The important question is not whether the net can be attached at a few points. It is whether the perimeter gives the panel a clear, continuous and maintainable edge. Corners, return walls, balcony ceilings, railings, window reveals and access openings all change the structure.
Start with the surface, not the mesh roll
Survey each side of the opening and record what the fixing will attach to:
- concrete, masonry, metal, timber or a finished frame;
- a solid edge or a hollow/covered surface;
- a balcony railing, parapet, ceiling or window reveal;
- a shared boundary where drilling is restricted;
- an area crossed by drainage, air-conditioning or door hardware.
The same wire-reinforced net can require different edge accessories on different surfaces. Send photos of corners and transitions, not only a front-facing photo of the opening.
Drilled fixing vs no-drill fixing
Drilled fixing can create a more direct attachment to a suitable solid substrate, but it requires permission, accurate hole placement and a plan for utilities or finished surfaces. The installer should confirm anchor type, edge distance, corner spacing and whether the substrate can carry the intended fixing arrangement.
No-drill fixing can be useful where drilling is not allowed or where the buyer wants a reversible installation. It may use clamps, adhesive-compatible components, pressure-fit parts or an existing frame, depending on the site. No-drill does not mean “attach anywhere.” The surface must be clean, compatible and strong enough for the selected method, and the edge path must remain continuous.
For both methods, ask how the system is tensioned, how corners are finished and how a damaged section can be replaced. The fixing structure is a site-specific engineering and installation decision, not a guarantee that any method works on every balcony or window.
Keep nylon and wire-reinforced entities separate
Transparent nylon cat net and stainless steel wire-reinforced cat net are different product entities. Nylon may be selected where a lighter, less visually prominent mesh is preferred. Wire-reinforced mesh may be selected where the buyer prioritizes a metal-reinforced construction and a more substantial panel feel. The choice should follow the cat behavior, exposure, visibility preference, dimensions and installation plan.
Review the stainless steel wire-reinforced cat net separately from the transparent nylon cat protection net. A balcony and window cat-net guide is useful for measuring the opening, but the fixing structure still needs to be described in the RFQ.
Order details that prevent a poor fit
Include the following in the request:
- opening width, height and depth, with a sketch for irregular areas;
- photos of all corners, returns, sills, rails and ceiling edges;
- substrate and whether drilling is allowed;
- door, window and access-opening movement;
- selected wire-reinforced mesh construction and color preference;
- perimeter accessory requirements, panel joins and replacement access;
- packing format, panel labels and installation sequence for multi-unit orders.
If a balcony has a planter, handrail, shared divider or external unit, show its position relative to the proposed boundary. These details can change the panel shape and the location of the fixing line.
A practical approval sequence
First approve the measured boundary. Next approve the substrate and fixing method for each side. Then confirm mesh, panel dimensions, seams, access openings and accessories. Before installation, compare the delivered components with the approved sketch and keep the opening path usable for doors, windows and maintenance.
Avoid absolute claims such as “escape-proof” or “bite-proof.” A responsible order describes the mesh, edge structure, installation limits and maintenance requirements clearly. For custom panels, accessories or distributor packing, send the site photos and measurement sketch through the MaxCatNet contact page.