
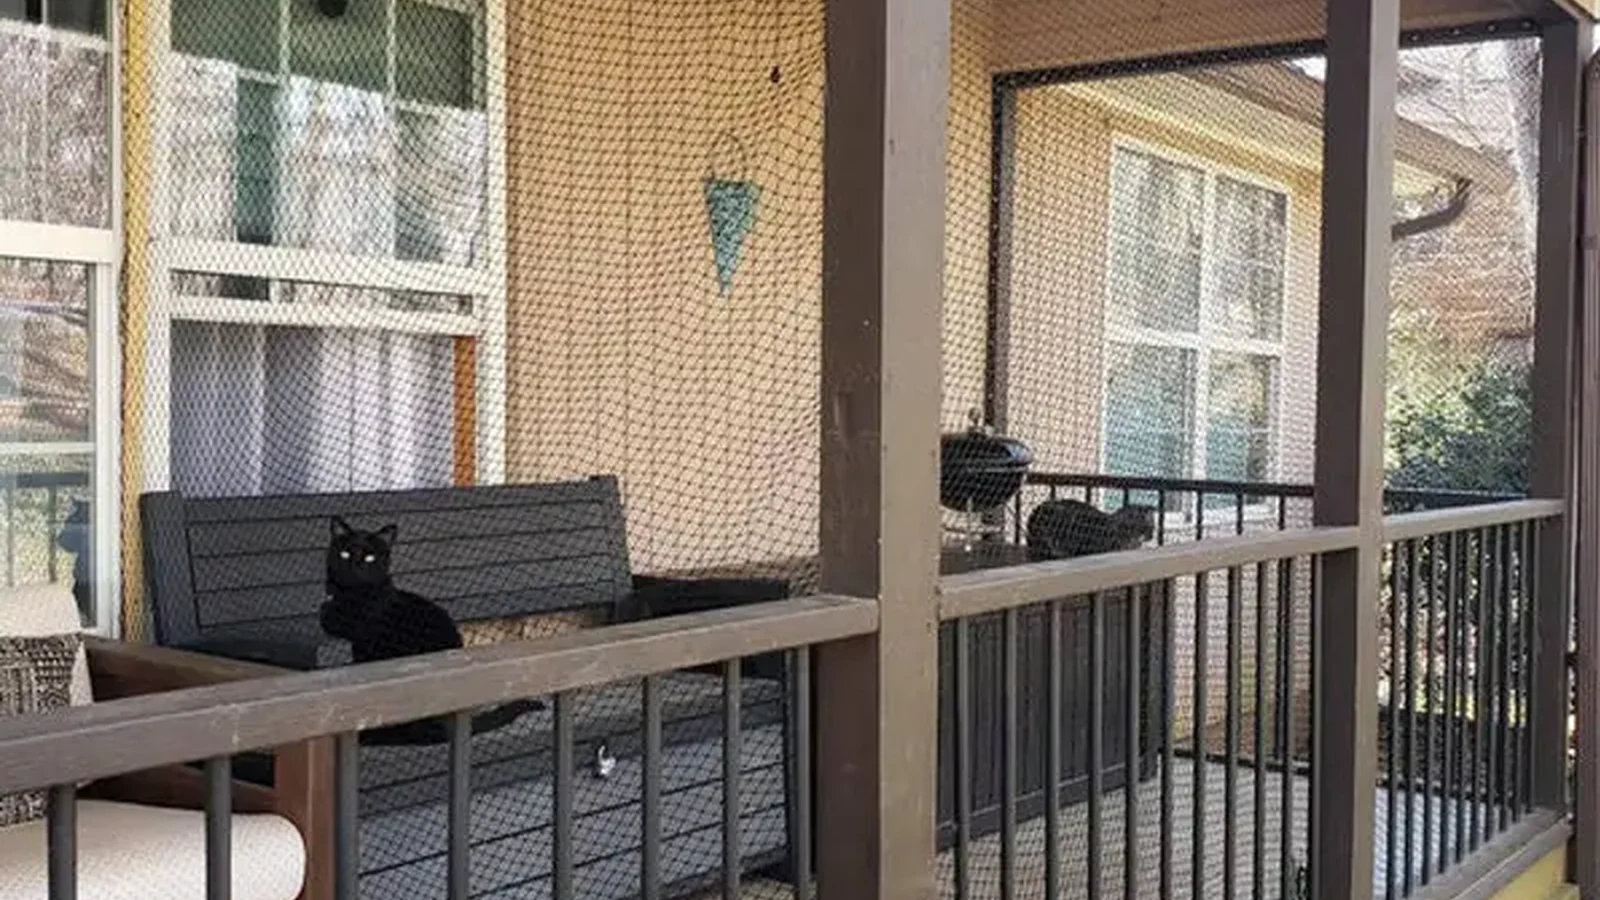
A cat net for a garden fence needs more than a piece of mesh tied to the existing fence. The buyer must plan the full boundary: the fence height, posts or poles, top return or angled section, bottom edge, corners, gate transition and the surface used for fixing. If one part of the perimeter is open, loose or easy to bypass, the material choice alone cannot solve the installation.
For a standard garden boundary, the practical starting points are:
- Transparent nylon cat net when low visual impact, light handling and a discreet appearance are important.
- Wire-reinforced cat net when the project needs a more robust mesh structure, larger panels, higher tension or a product line aimed at active cats and professional installers.
- No-drill installation only when the fence, handrail, posts or clamp system provides a suitable mechanical structure. “No-drill” describes the fixing method, not a guarantee that every fence can carry a net.
The goal is a continuous, maintainable pet barrier. Avoid absolute escape-proof or child-protection claims; the correct boundary depends on the cat, the site, the structure and the installation quality.
What changes when the fence has no roof
A normal garden fence mainly closes the sides. A cat net must also address the top edge because the cat can climb, jump or use the fence as a launch point. A side panel that ends at the existing fence height may leave a clear route over the boundary.
Common top structures include a vertical extension above the fence, an angled return toward the garden, a supported overhead panel or a complete enclosure. The best option depends on fence material, available posts, garden use, tree branches, neighbouring boundaries and whether people need to pass through the area.
The top structure must be supported independently enough that the net does not pull the fence out of alignment. A tall net attached only to weak pickets may move in wind or create gaps at the top. Plan intermediate posts or a top rail where the run is long, and avoid leaving a loose span between two strong corners.
Plan the boundary as six connected parts
1. Existing fence line
Record the fence material, height, thickness, gaps and condition. Timber, metal mesh, masonry and composite panels present different fixing surfaces. A fence that is already loose, rotten or flexible is not a reliable anchor simply because it is tall enough.
2. Posts and top rail
Posts carry the tension from the net and top structure. Mark every corner, gate post, change in direction and long straight run. If the project uses poles, state whether they are drilled to the fence, clamped to a handrail, fixed to masonry or supported by a separate frame.
3. Top return or overhead closure
Choose whether the net rises vertically, angles inward or continues overhead. An inward return can reduce the direct path over a fence, but it needs adequate support and clearance from branches or garden furniture. A complete overhead closure may be more appropriate for an open run, but it changes the material quantity and access plan.
4. Bottom edge
Close the gap at the soil, paving, deck or fence base. Garden surfaces are rarely perfectly level, so measure dips, drains, steps and planting beds. Leave enough flexibility for maintenance without creating a low opening at the edge.
5. Corners and transitions
Corners need a deliberate panel or cable path. A flat panel should not be pulled around a sharp change of direction without a planned edge closure. For an L-shaped garden, record each plane separately and show the corner in a simple sketch.
6. Gate and human access
The gate is a moving boundary. Decide whether the net terminates at the gate frame, follows the gate leaf, or forms a separate vestibule or overlap. The opening must remain usable for people without creating a permanent gap beside the latch or hinge.
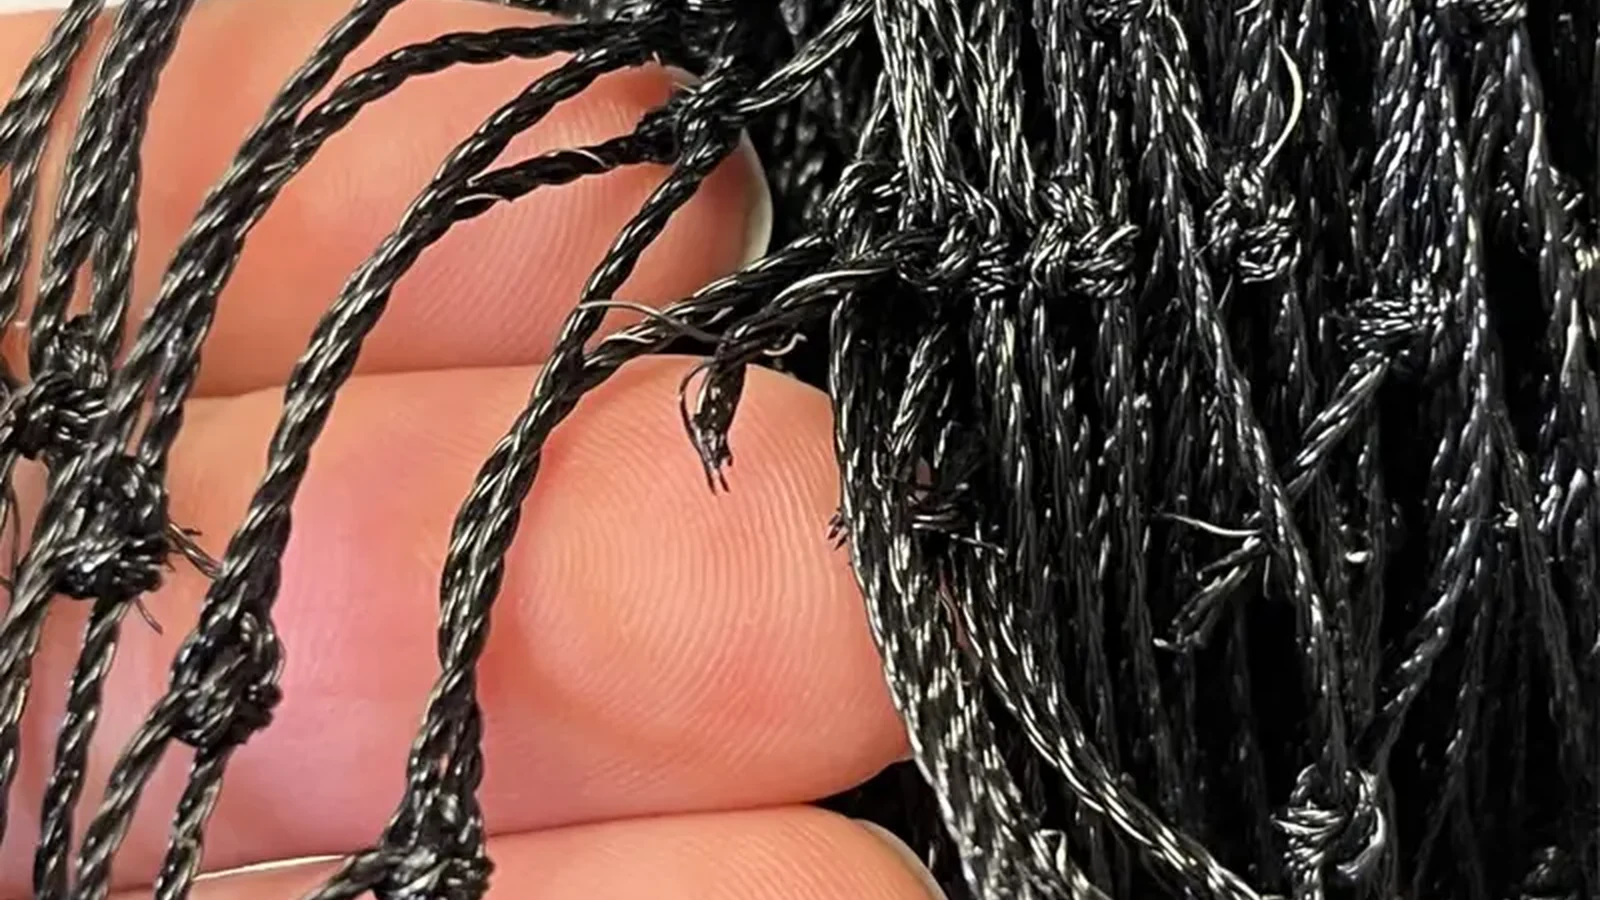
Nylon vs wire-reinforced cat net for a garden fence
Transparent nylon cat net
Transparent nylon monofilament is useful when sightlines, daylight and a discreet appearance matter. It is lightweight and can be easier to handle for small panels or retail kits. The transparent nylon cat net range lists a transparent monofilament structure, UV-stabilized material and made-to-size options.
For a garden fence, nylon is a sensible starting point when the run is well supported, the intended tension is moderate and the buyer values low visual impact. Specify the mesh size, strand diameter, panel or roll format and the edge-finishing method. The net should not be treated as a substitute for a rigid top frame where the site needs one.
Wire-reinforced cat net
Wire-reinforced netting combines a PE or HDPE outer structure with stainless steel wire reinforcement. It can be a better fit when the project needs a more substantial mesh, longer outdoor runs, stronger resistance to deformation or a product aimed at professional installation. The wire-reinforced cat net range lists the reinforced structure, common mesh and colour options, and both drilled and no-drill installation approaches.
Wire reinforcement does not remove the need for good posts, edge fixing or a coherent top structure. A stronger mesh can still leave a gap if the corner, bottom edge or gate transition is poorly planned. It can also be more visible than transparent nylon, so show the intended colour and fence background in the quotation photos.
| Selection factor | Transparent nylon | Wire-reinforced |
|---|---|---|
| Visual impact | Lower visibility | More visible, with colour options |
| Handling | Light and flexible | More substantial structure |
| Typical buyer priority | Appearance, daylight and retail-kit handling | Robust structure, larger runs and installer projects |
| Main design check | Edge finishing and support against sag | Post, corner and tension capacity |
| Installation options | Drilled or suitable no-drill system | Drilled or suitable no-drill system |
No-drill or drilled fixing?
No-drill systems can use clamps, tension poles, adhesive hooks or other accessories, depending on the substrate and product system. They are useful where the owner cannot drill into masonry or wants a reversible installation. The fixing points still need to resist movement, weather and the load created when the net is tensioned.
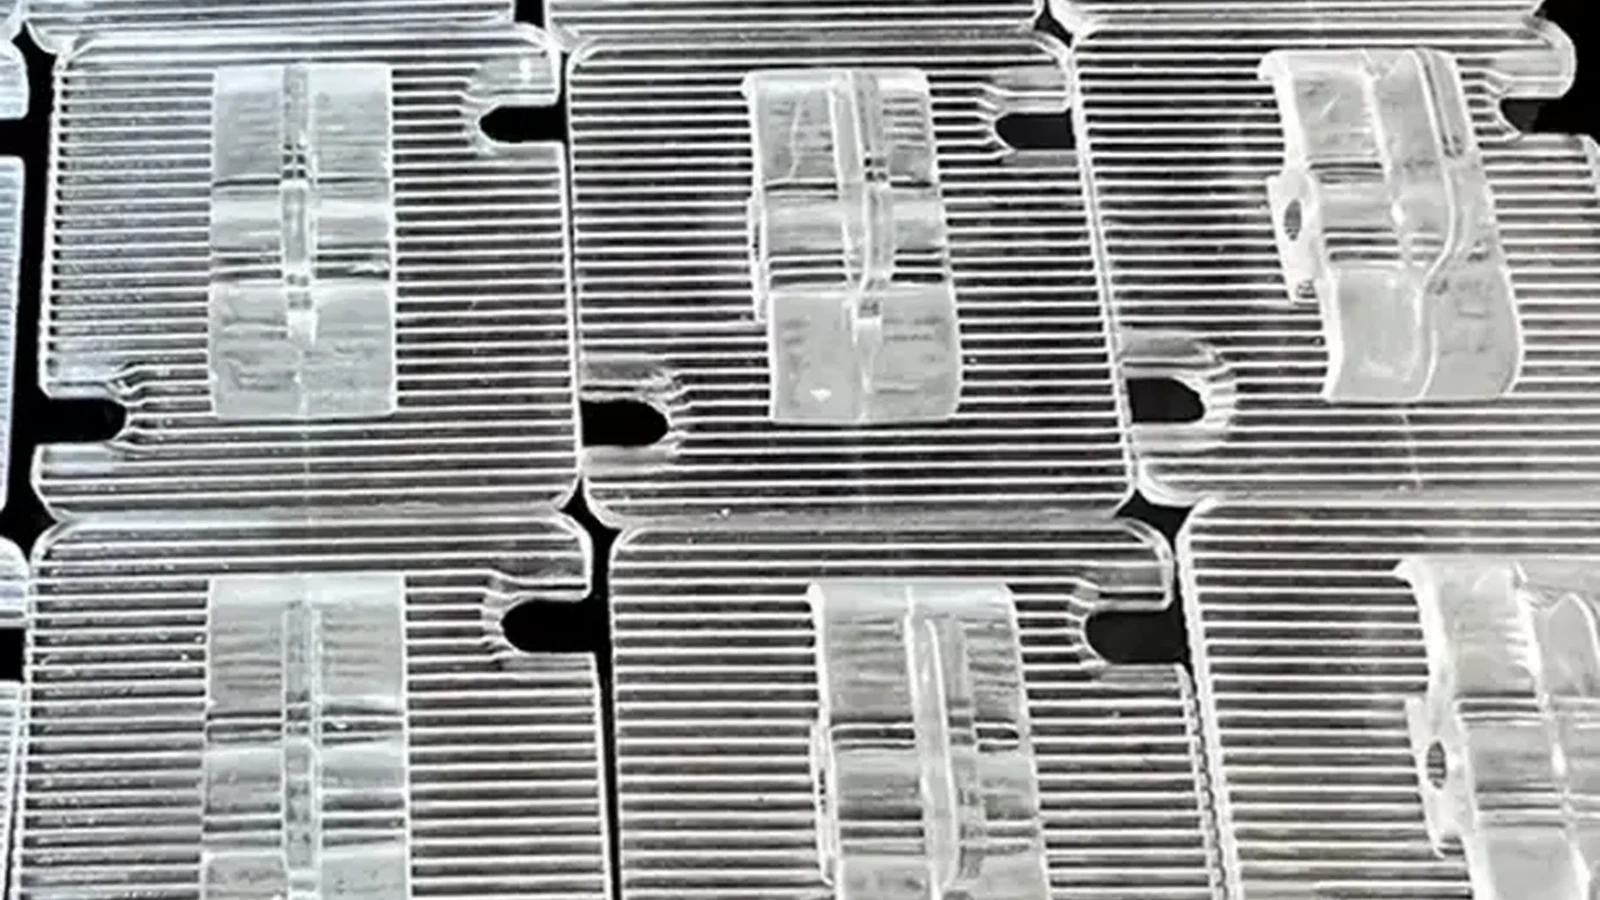
Use no-drill when the fence or frame offers a defined clamping or pole location and the accessory is designed for that surface. Record whether the fence is round, square, smooth, porous, painted or irregular. Adhesive hooks require a clean, dry and stable surface; treat them as a surface-specific method rather than a permanent solution by default.
Drilled installation is more appropriate when the project requires fixed anchors into suitable masonry, timber or a prepared metal frame and the owner permits permanent work. The order should identify anchor type, hole locations, edge cable or rope, posts and the installer’s responsibility for sealing or repairing the substrate.
The cat protection nets manufacturer page presents nylon, wire-reinforced and no-drill product paths. Use it to separate material selection from installation structure rather than selecting a net first and improvising the support later.
A garden-fence survey that produces a usable quote
Send a plan view and an elevation. Mark the overall fence length, each plane, existing fence height, desired top height, post spacing, gate width, corner angles, ground changes and nearby trees or furniture. Add photos from both sides of the boundary.
Then list:
- Material choice: transparent nylon or wire-reinforced.
- Mesh size, strand or wire specification and colour.
- Roll, cut-panel or made-to-measure format.
- Top structure: vertical extension, angled return, overhead panel or other supported frame.
- Lower edge: soil, paving, deck, wall or existing mesh.
- Gate design and how the net will open with it.
- Drilled or no-drill fixing, including the substrate at every anchor.
- Required accessories, packing, labelling and installation responsibility.
If the garden has several planes or an irregular fence, use the cat net measurement guide as a measurement discipline: separate the planes, mark obstacles and include photos instead of sending only a total area. The guide is not a garden-fence design, but the same measurement principle prevents a panel from being sized to the wrong boundary.
Mistakes that create gaps or rework
- Measuring only the fence length and ignoring the top return, gate and corners.
- Attaching the top of the net to a flexible fence without intermediate support.
- Leaving a lower gap where the ground slopes away from the fence.
- Allowing branches, planters or furniture to become launch points beside the boundary.
- Choosing no-drill accessories before checking the fence surface and clamp geometry.
- Mixing nylon and wire-reinforced panels without a clear edge or transition detail.
- Cutting the net before the full perimeter, gate and top structure have been dry-fitted.
Related product options
- Transparent nylon cat net for low-visibility garden boundaries.
- Stainless steel wire-reinforced cat net for more substantial outdoor and installer-led structures.
- Cat protection nets manufacturer page for material and installation-system comparison.
For a garden-fence quotation, send the boundary drawing, fence photos, material preference, top-structure idea and fixing restrictions through the MaxCatNet contact page. The useful buying decision is not only nylon or wire. It is the complete boundary structure that the selected material, posts, top return, lower edge and gate can support.